Dill Pickle Saltines
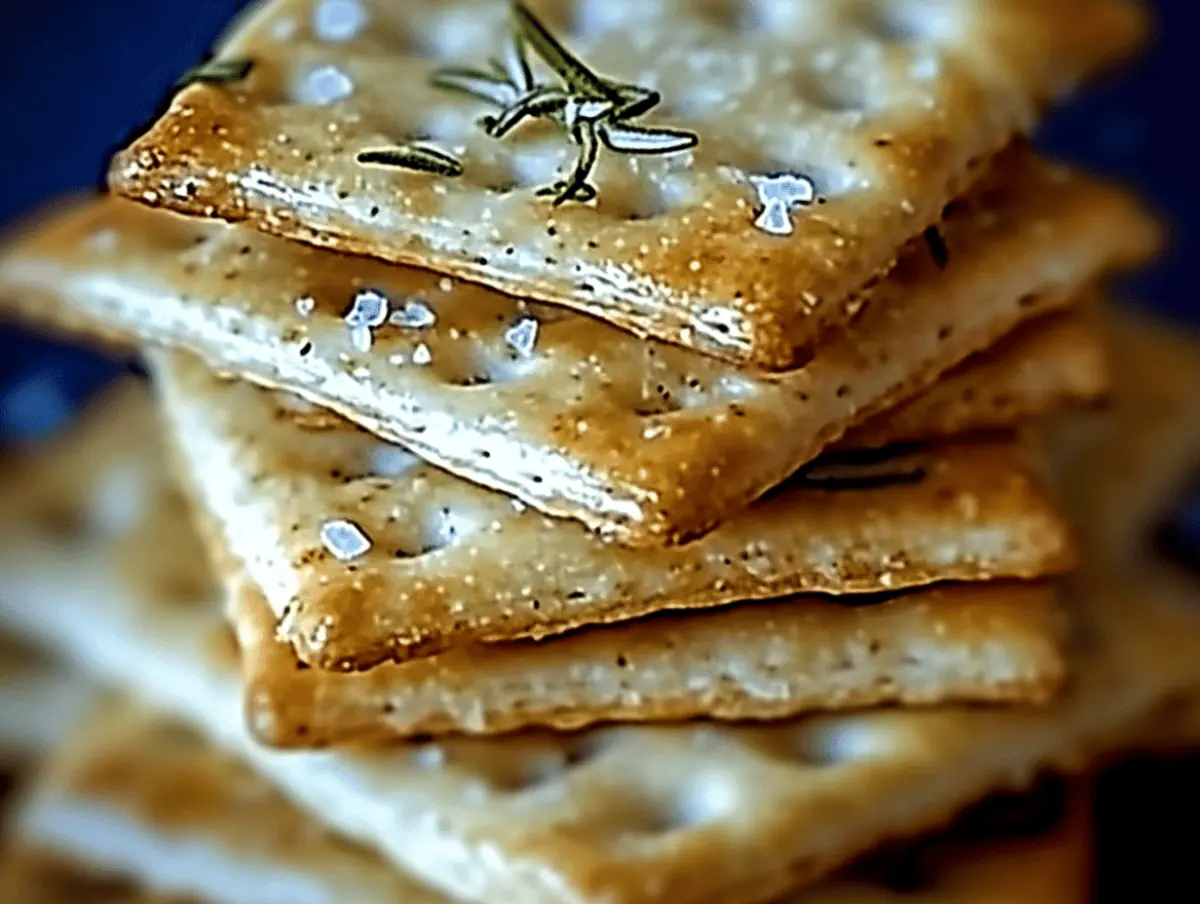
Ingredients
- 1sleeve of saltine crackers: The base of our snack (these crackers are known for their light and crispy texture, making them a great vehicle for our flavorful topping.)
- 1 cupdill pickle juice: The star ingredient (dill pickle juice provides the signature tangy flavor that permeates the crackers, creating that addictive taste we love.)
- 2 tbspolive oil: This oil helps to keep the crackers crisp while adding a rich flavor that balances the tanginess of the pickle juice.
- 1 tspgarlic powder: Garlic powder adds an aromatic depth to the flavor profile (enhancing the overall taste experience.)
- 1 tsponion powder: Similar to garlic powder (onion powder contributes a subtle sweetness and savoriness that complements the tangy pickles.)
- 1 tspdried dill: Dried dill reinforces the dill flavor and gives a pleasant herbal note to the dish.
- 1 tspblack pepper: Black pepper adds a gentle kick that complements the overall flavor and enhances the savory elements.
Instructions
- 1
Preheat the oven: Begin by preheating your oven to 350°F (175°C). This will ensure that your crackers bake evenly, becoming crispy and delicious.
- 2
Prepare the baking sheet: Line a baking sheet with parchment paper. This will prevent the saltines from sticking and make cleanup easier.
- 3
Mix the coating: In a medium-sized bowl, combine 1 cup of dill pickle juice, 2 tbsp of olive oil, 1 tsp of garlic powder, 1 tsp of onion powder, 1 tsp of dried dill, and 1 tsp of black pepper. Stir well until the ingredients are thoroughly combined.
- 4
Coat the saltines: Arrange 1 sleeve of saltine crackers in a single layer on the prepared baking sheet. Using a spoon or a drizzle bottle, carefully pour the pickle juice mixture over the saltines, flipping them gently to ensure they are coated on both sides.
- 5
Bake the crackers: Place the baking sheet in the preheated oven and bake for approximately 10-12 minutes, or until the crackers are crispy and have taken on a slight golden hue. Keep an eye on them to prevent burning.
- 6
Cool and serve: Once baked, remove the saltines from the oven and let them cool for a few minutes before enjoying. Their flavor will continue to develop as they cool down.