- Prep
- 10 min
- Cook
- 5 min
- Total
- 135 min
- Serves
- 4
- Calories
- 120 kcal
On this page15 quick jumps
TOC
15 quick jumps
Introduction
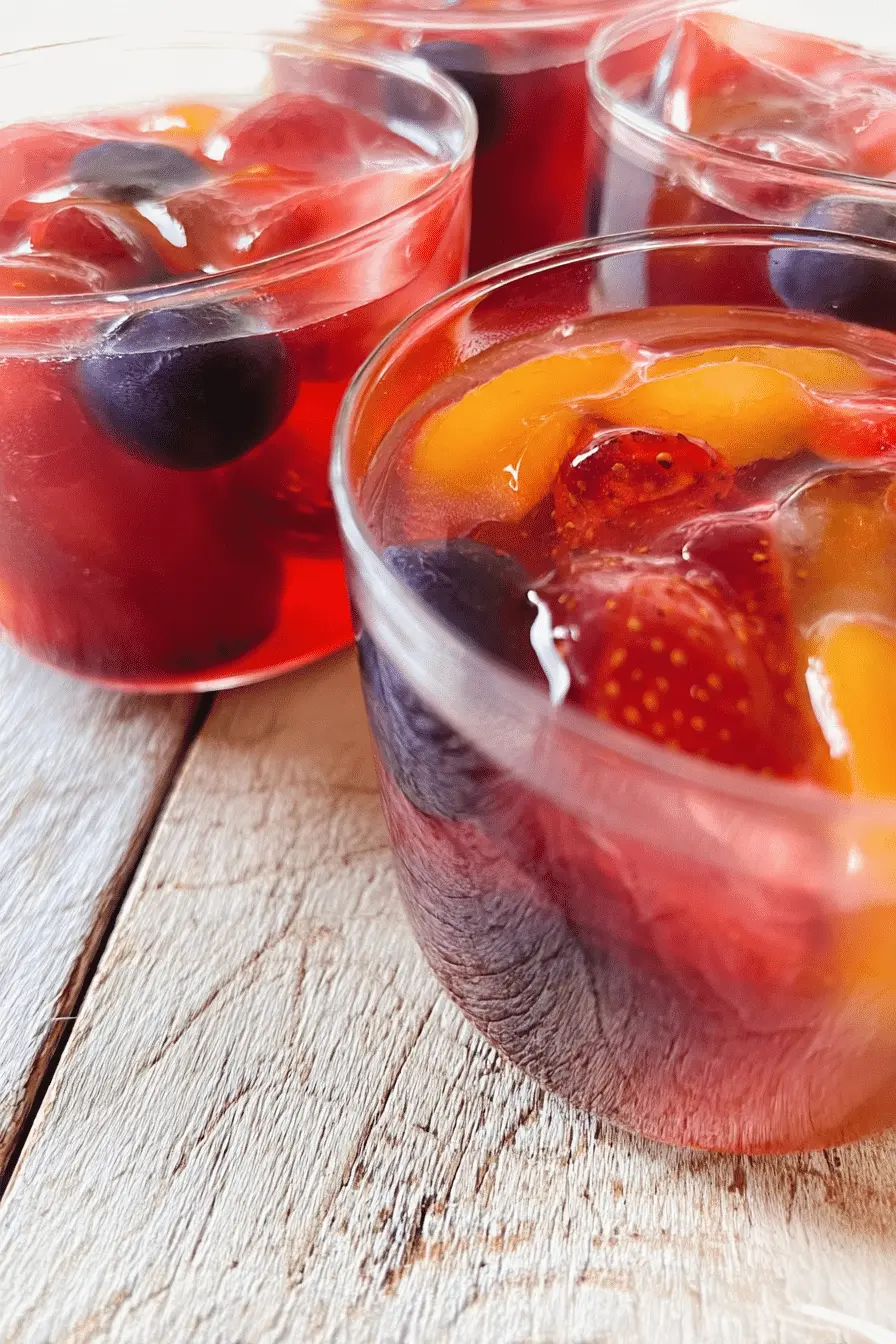
I make this agar agar fruit jelly every summer when friends and family gather on the patio. In my kitchen it’s become the reliable showstopper: bright slices of fruit suspended in a glossy, firm jelly that feels fresh on a warm afternoon. I like that it’s light, pretty on a platter, and can be made to suit everyone’s preferences — vegan, gluten-free, or low-sugar.
What drew me to agar agar at first was how clean and translucent the set becomes when handled correctly. After a few batches of fiddly results I learned which fruits and temperatures play nicely with the gelling process. Now I can usually turn out perfectly clear layers and neat unmolds without a last-minute scramble.
I also love that making this jelly is a casual, social activity. You can set several molds at once, keep a bowl of mixed fruits ready, and let the dessert come together while conversations drift. Below I share the tools I use, the tweaks that saved bad batches, and simple presentation ideas to make this a centerpiece at your next summer party.
Read on for ingredient swaps, the technical bits that matter, and practical step-by-step guidance so your jelly is consistently beautiful and firm.
Why This Agar Agar Fruit Jelly Is Perfect for Summer Parties
This jelly looks like a party on a plate: vivid colors, glossy surfaces, and individual portions that guests can pick up and enjoy. It’s refreshingly cool in both temperature and appearance, making it ideal after a sun-drenched meal. Because the base is made from plant-derived agar agar, the dessert is naturally vegan and gluten-free, which makes it an easy choice when you’re catering to mixed dietary needs.
Sensory notes: imagine the gentle snap of the set jelly, the cool, juicy burst of fruit, and the bright, citrusy aroma of fresh slices. The visual contrast between translucent layers and jewel-like fruit gives this dish a celebratory feel without heavy fuss.
Everything You Need for Agar Agar Fruit Jelly
Below I list ingredients and tools conversationally so you can gather everything before you start. I won’t include exact measurements here — those are handled in the recipe card elsewhere — but I’ll explain each item’s purpose and offer swaps when useful.
- Agar agar powder – The gelling agent; gives a firm, clean set. If you need a non-vegan option, gelatin can be used but expect different handling and texture.
- Water or clear juice – The liquid base that dissolves the agar; clear fruit juices add color and flavor. For richer flavor, you can use a mild tea or diluted fruit concentrate.
- Sugar or alternative sweetener – Balances acidity and brightens fruit flavors. Use coconut sugar, honey (not vegan), or a liquid sweetener to taste.
- Mixed fresh fruits – Adds texture, color, and freshness. Choose firm, bite-sized pieces so they stay suspended and neat in the set jelly.
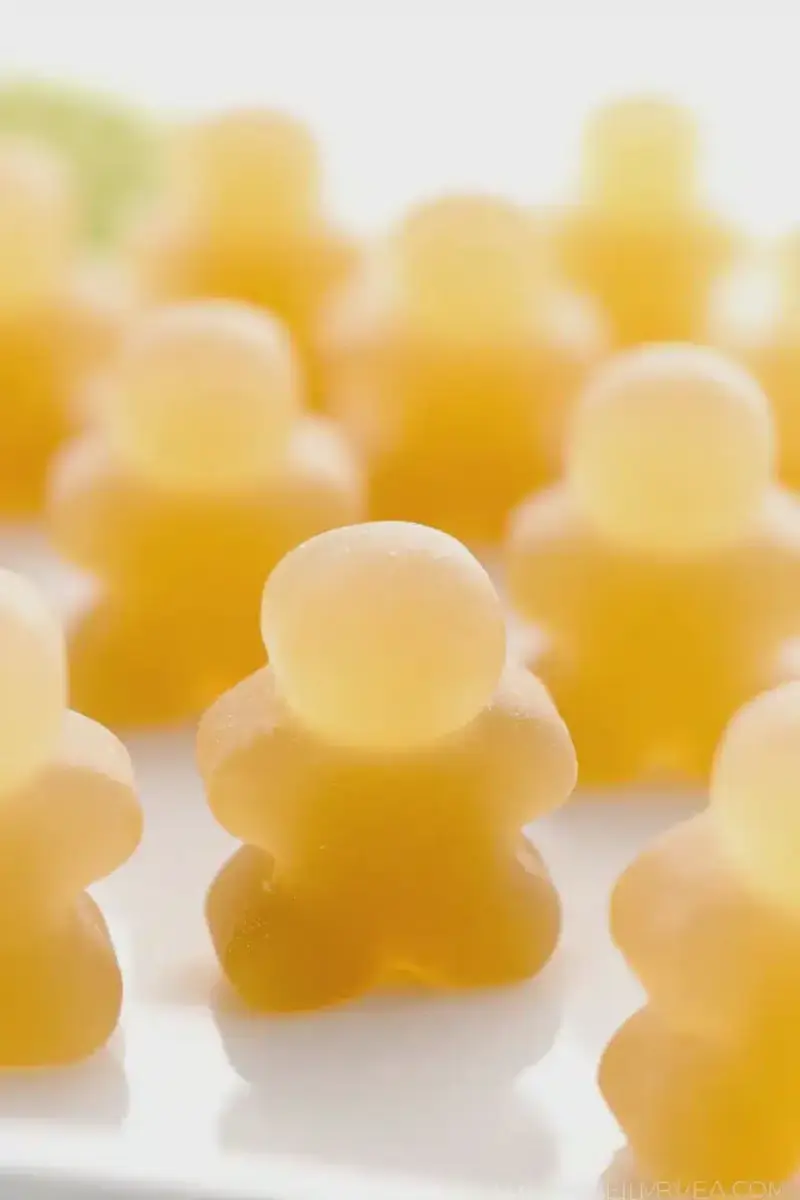
- Moulds or a pan – Silicone moulds, small jars, or a shallow tray for an unmolded cake-style jelly; different shapes change how guests interact with the dessert.
- Skewer or ladle – For positioning fruits and gently pouring liquid to avoid splashes that disturb set layers.
- Lemon or lime (optional) – A squeeze can brighten flavors but use sparingly because high acidity can weaken the set.
- Tools – A fine mesh sieve for clarity, a saucepan with even heat distribution, and cling film for storing overnight.
For more ideas on which juices and fruits make bright, colorful layers, check this resource on the best fruits and juices.
The Secret to a Firm, Clear Jelly Texture
Getting a clean, firm set with agar agar boils down to ratios, full dissolution, and gentle handling. Use just enough agar to firm the liquid and be sure it dissolves completely — undissolved particles will ruin clarity and texture. Heat helps dissolve agar, but once dissolved you should avoid boiling vigorously to prevent cloudiness.
Acidity and certain enzymes in fruit can interfere with gelling, so be aware which fruits are problematic (see the acidic-fruit section below). Temperature also matters: pour while the agar mixture is warm so it slips smoothly around fruit, then cool it steadily to form even, glossy layers.
- Full dissolution – Stir until no grains remain; a quick strain through a fine sieve removes any lingering bits and keeps the jelly clear.
- Temperature control – Work with warm, not boiling, liquid when adding agar; pour when warm so it settles around fruit without making air bubbles.
- Watch acidity – If a fruit is very acidic, compensate (see Pro Tips and the acidic-fruit section).
Best Fruits and Juices for Bright, Colorful Layers
Choose fruits that give you contrast and a range of textures — firm berries, coin-sliced grapes, mango cubes, and seedless citrus segments work beautifully. Avoid fruits that are excessively watery or very high in enzymes (like fresh pineapple) unless they are cooked or pre-treated to neutralize the enzymes.
For juice layers, use clear or lightly colored juices for the cleanest look: apple, white grape, or diluted citrus are great bases. For bolder color, use concentrated juices sparingly so the agar still has enough structure to set.
To explore more ideas on pairing juices and fruits for vivid, layered jellies, see this article on the best fruits and juices.
How to Make Agar Agar Fruit Jelly (Step-by-Step)
Timing and gentle technique make this process straightforward. Below I break the steps into an easy sequence so you can prepare multiple molds without stress.
- Prep your fruits: wash, dry, and cut into bite-sized pieces so they sit neatly in the molds.
- Heat your liquid base until warm and add your sweetener; stir until fully dissolved.
- Sprinkle agar agar powder into the warm liquid while stirring to avoid clumps; continue heating gently until agar is fully dissolved.
- Strain the mixture through a fine sieve for clarity and remove any foam from the surface.
- Pour a small layer into your mold and let it set slightly (a few minutes) so fruit won’t sink immediately.
- Arrange fruit pieces on the lightly set layer, alternating colors for visual appeal.
- Gently ladle more warm agar liquid over the fruit, pouring slowly to avoid splashing and air pockets.
- If fruit pieces peek above the liquid, nudge them down carefully with a skewer before the jelly fully firms.
- Cover the molds and refrigerate until fully set — at least a couple of hours for firmness.
Pro-Tips (bulleted for easy scanning):
- I always strain the agar mixture; it removes tiny undissolved particles and keeps the jelly crystal clear.
- Pour warm, not boiling, agar liquid to reduce air bubbles and prevent fruit from discoloring.
- If you want perfectly flat layers, chill the poured layer until it’s just set before adding the next.
- Work with dry fruit — excess surface water causes cloudy spots or watery pockets in the set jelly.
Why Temperature and Acidity Matter with Agar Agar
Agar agar melts at higher temperatures and sets as it cools; unlike gelatin, it sets at room temperature and remains stable in warm conditions. That means timing and heat control are critical: dissolve agar completely in simmering liquid, then pour while warm so it envelops fruit. Rapid cooling can trap bubbles and create a dull finish, while too slow cooling can allow fruit to float or sink.
Fruits with low pH (high acidity) or those containing proteolytic enzymes can prevent agar from setting properly. If you plan to use very acidic fruits, consider pre-treatments or recipe adjustments described in the next sections to ensure a reliable set.
Pro Tip for Agar Agar Fruit Jelly: Counteract Acidic Fruits for Reliable Setting
Use these practical, bulleted methods when working with acidic fruits that can weaken gel formation.
- Cook acidic fruits briefly to inactivate enzymes (I simmer berries or pineapple chunks to make them set-friendly).
- Mix acidic fruit with a less acidic fruit to dilute total acidity in the mold.
- Add a small pinch of a neutralizing agent (like baking soda) sparingly to the liquid base to raise pH slightly — test in a small batch first.
- Use juice from low-acid fruits (apple or white grape) in the agar base and reserve acidic fruit for the pieces inside the set.
Presentation Ideas: Moulds, Layers & Garnishes for Parties
Presentation is where this dessert shines. Choose small individual molds for a finger-food setup, a loaf pan for sliceable jelly cakes, or clear glass jars for rustic charm. Alternate colors and fruit shapes for eye-catching layers — think red berries, pale green kiwi, and bright orange mango in sequence.
Garnishes are simple but effective: a thin twist of citrus peel, a single mint leaf, or a scattering of pomegranate seeds on top gives a polished look. For a buffet, arrange different-shaped molds on a tray to create visual interest.
Variations (bulleted for scannability):
- Layered mocktail jelly: use diluted fruit juices with a hint of herb (mint or basil) between layers.
- Tropical tray: use mango, papaya, and seedless grapes with a coconut water base.
- Minimalist single-color jars: one fruit and a matching juice for a monochrome, elegant presentation.
How to Store, Make-Ahead & Serve Agar Agar Fruit Jelly
You can make this jelly a day ahead; it keeps well covered in the refrigerator and holds its texture. For large unmolded jellies, run a thin knife around the edge before inverting to unmold cleanly. Keep individual portions in covered containers to prevent the jelly from absorbing fridge odors or developing a skin.
If you want step-by-step storage tips, here’s a short guide on how to store, make-ahead & serve agar agar jelly for best results.
- Cover molds with cling film to prevent condensation or fridge smells from dulling the flavor. I find the jelly keeps its best texture for 2–3 days refrigerated; after that the fruit can start to break down and release juices.
Nutritional Benefits of Using Agar Agar
Agar agar is low in calories and contributes dietary fiber, which can help make desserts feel lighter and more filling. Because it’s plant-based, it’s a good option for guests following vegan diets. Using fresh fruit as the primary source of sweetness adds vitamins and natural sugars instead of relying entirely on refined sweeteners.
For a deeper dive into the health aspects and practical uses of agar agar, see this overview on the nutritional benefits of using agar agar.
Ideas for Incorporating Sweets into Health-Conscious Diets
Small swaps can make this dessert friendlier to health-conscious guests without sacrificing enjoyment.
- Use fruit-forward sweetness: rely on naturally sweet fruits and reduce added sugar.
- Choose alternative sweeteners like a little maple syrup or a liquid monk-fruit sweetener for lower glycemic impact.
- Mix whole fruit purée into one layer to add fiber and reduce the need for extra sugar.
- Serve small portions alongside protein-rich bites (cheese or nut-based snacks) to balance the overall plate.
Frequently Asked Questions
What fruits work best for Agar Agar Fruit Jelly?
You can use a variety of fruits, but for the best results, choose firm and colorful options such as strawberries, blueberries, kiwi, and grapes. Avoid high-acid fruits like pineapple and kiwi that may hinder jelly setting.
How long does it take for the jelly to set?
The jelly should be allowed to set in the fridge for at least 2 hours for optimal firmness.
Can I make this jelly in advance?
Absolutely! You can prepare the jelly a day ahead of your event and store it covered in the refrigerator until you're ready to serve.
Is agar agar safe for everyone to eat?
Agar agar is generally safe for most people, but it's advisable for pregnant or breastfeeding individuals to avoid it. Also, those with bowel obstruction should consult a doctor before consumption.
What can I use instead of agar agar if I can't find it?
If you can't find agar agar, you can use gelatin as an alternative, though it is not vegan. Just keep in mind the ratios and cooking methods will be different.
Ingredients
- 2¾ cupswater
- ½ tbspagar agar powder
- 3-4 tbspwhite sugar
- 2 cupsmixed fruits (any of your choice)
Instructions
- 1
First of all, wash the fruit. Cut any larger fruits into bite size pieces.
- 2
Add water to a saucepan.
- 3
Allow the water to heat up a bit. Add sugar.
- 4
Stir the water till the sugar melts.
- 5
When the water is hot, but not boiling, add agar agar powder.
- 6
Keep heating the water till the agar agar dissolves completely.
Taste as you go. Recipes are a guide, not a contract.
- 7
Switch off the heat.
- 8
Take 4 small moulds or a bowl or cake tin.
- 9
Using a ladle gently pour little of the agar agar liquid. Allow it to set a bit. This will take about 3-5 minutes.
- 10
Add the fruits making sure that you place all of them separately, alternating the different colours if possible.
- 11
Using the ladle, pour more of the agar agar liquid over the fruits.
- 12
Allow the jelly to cool a bit.
- 13
If you find any fruit pieces peaking out of the jelly, gently push it down using a skewer.
- 14
Cover with cling film and allow it to set in the fridge for at least 2 hours.
- 15
You can either set in individual portions or in one bowl or tin or tray.
- 16
Unmold the larger one by running a knife around the edges. Cover the tin/tray with a dish, plate or chopping board. Turn it over and the jelly comes off easily.
- 17
You can unmold the smaller ones if you want to. I prefer serving them as it is.
Recipe Card
The Agar Agar Fruit Jelly I Serve at Summer Parties
Keep it handy for later, send it to someone cooking with you, or open the clean print view.
- Prep
- 10 min
- Total
- 135 min
- Serves
- 4
You might also like
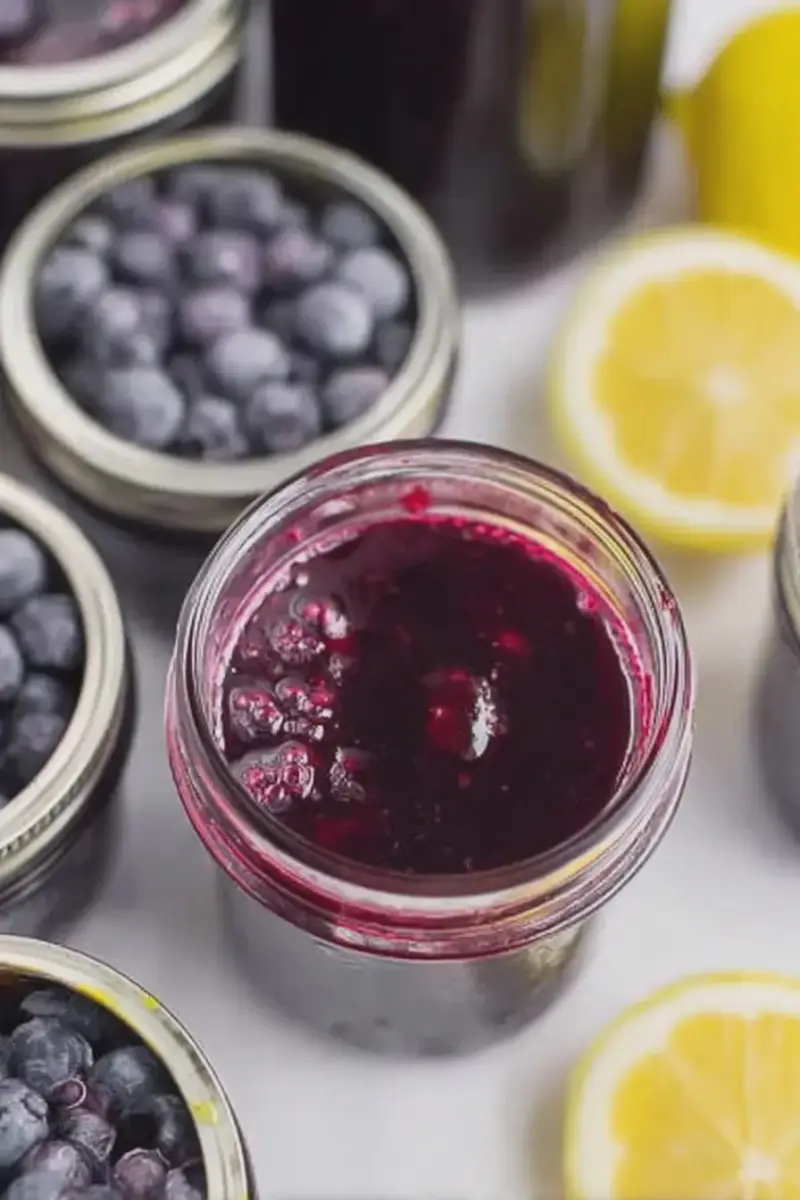
How I Make Quick Blueberry Lemon Jam — Canning in 1 Hour
May 21, 2026
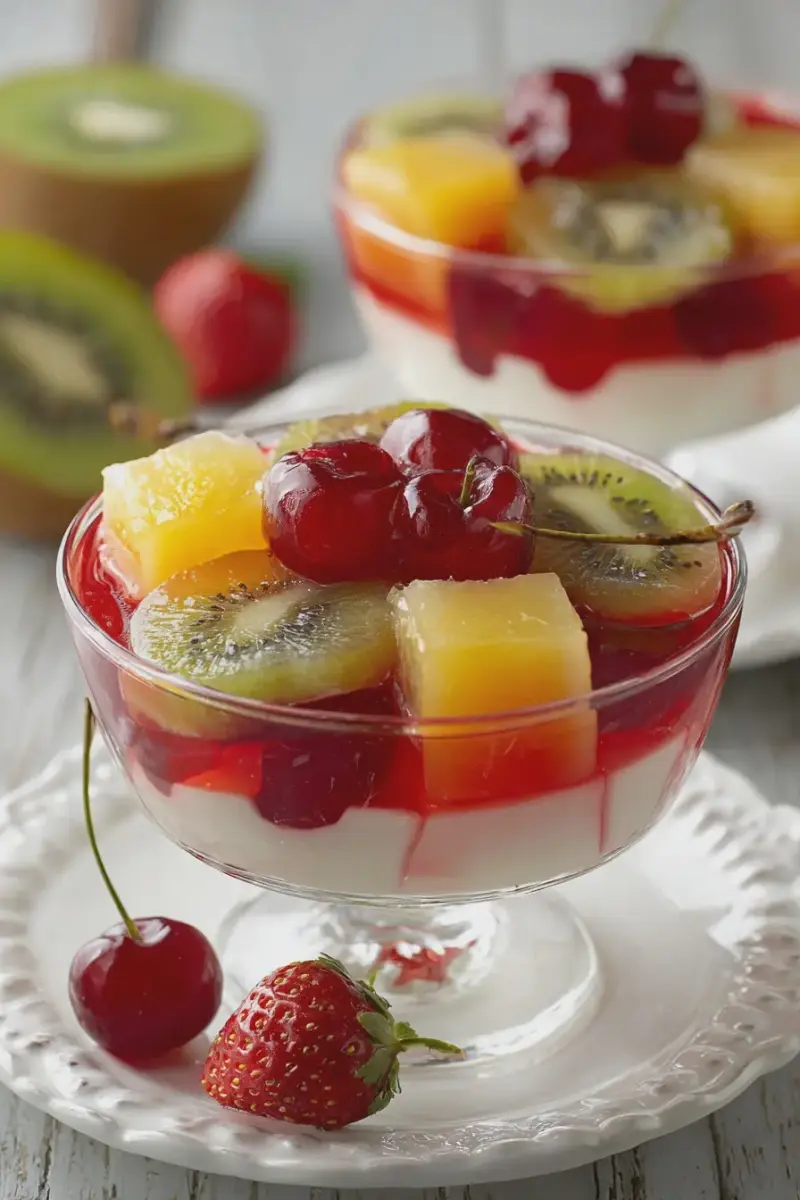
The 5-Ingredient Japanese Jelly Dessert I Make All Summer
May 21, 2026
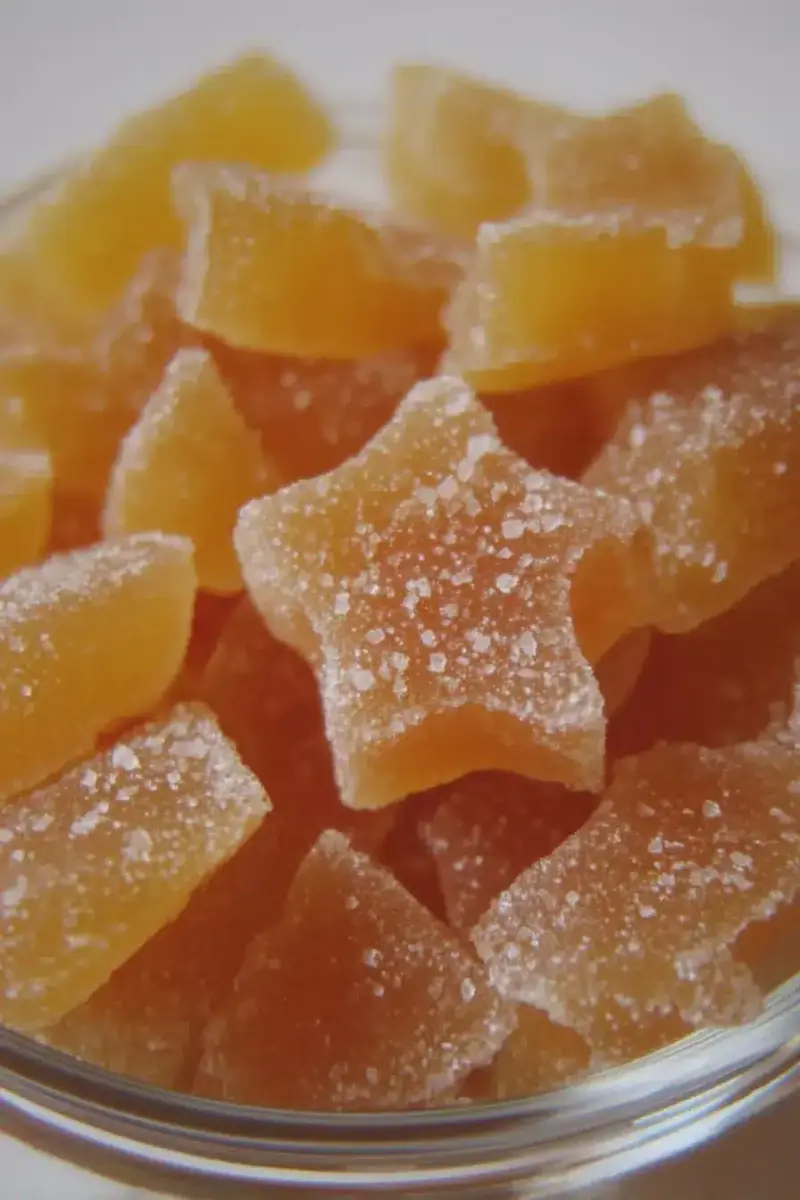
The Homemade Peachy Gummies My Kids Love — Fun, Simple Treat
May 21, 2026
How I Make Green Tea Lemon Ginger Gummies for Daily Immune Support
May 21, 2026
Reviews
Be the first to review this.