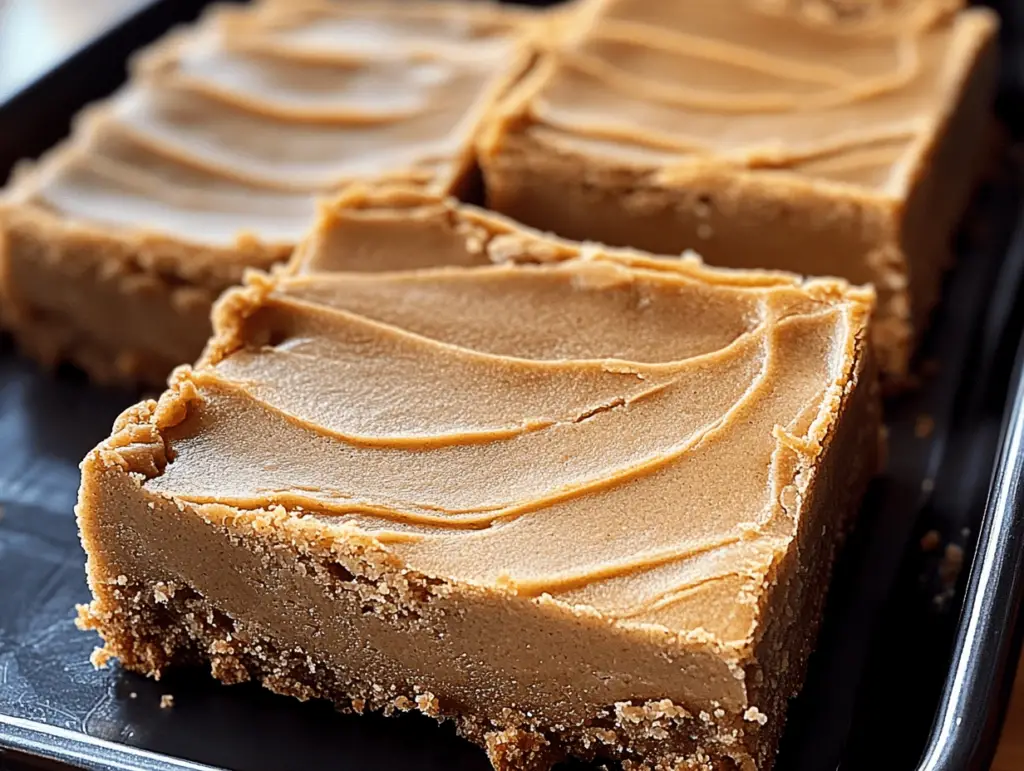
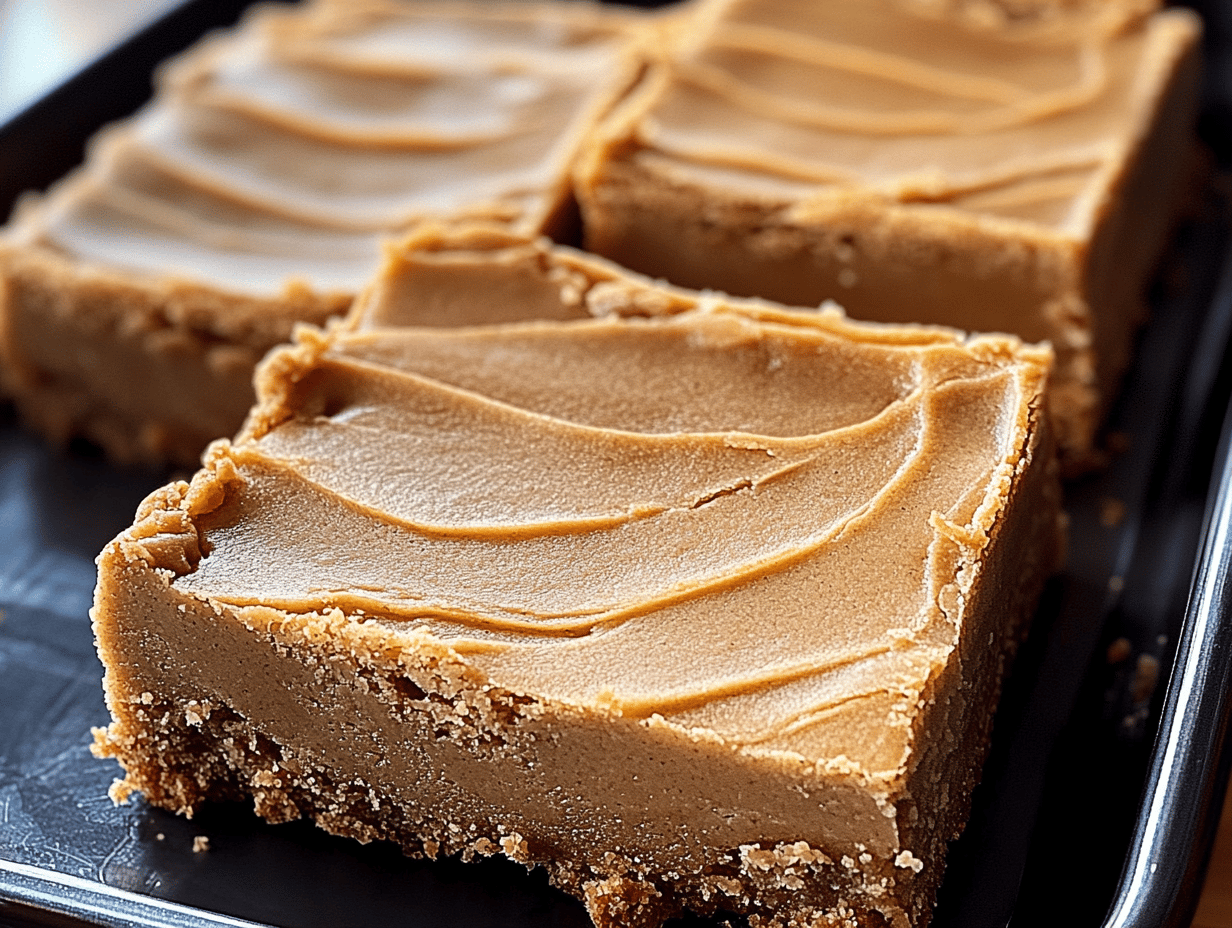
Ah, the sweet scent of nostalgia fills the air! 🍪✨ Remember those sunny afternoons after school when the smell of freshly baked cookies wafted through the playground? The lunch lady with her warm smile would hand us a piece of her famous peanut butter cookie bar, and we’d feel like royalty. Every bite was not just a treat but a cherished memory of laughter and friendship. Now, I invite you to recreate that lovely moment in your own kitchen with these Classic Peanut Butter Lunch Lady Cookie Bars! This simple yet delightful recipe transports you back to a time filled with innocence and joy. Here, we will explore the ingredients, step-by-step preparation, and tips to make the perfect batch of these scrumptious cookie bars that embody the love and warmth of those cherished school days.
Understanding the Recipe
The Classic Peanut Butter Lunch Lady Cookie Bars are a beloved staple in many childhoods. Originating from school cafeterias, these cookie bars were served as a sweet reward for kids after a long day of class. The comfort of peanut butter, combined with the chewy texture provided by oats, makes these treats perfect for both kids and adults alike. Interestingly, peanut butter has long been a cherished ingredient due to its rich nutty flavor and high protein content, making these cookie bars not only delicious but also satisfying.
Recreating this nostalgic recipe is more than just making dessert; it’s about celebrating the memories associated with it. These cookie bars bring people together, whether it’s for an after-school snack, a holiday gathering, or simply to satisfy a sweet tooth on a cozy evening. The aroma of baking peanut butter cookie bars can evoke fond memories of laughter and companionship, making this dish unique and special. Let’s delve into the ingredients and preparation, ensuring every detail is covered so you can bake with love and reminisce about those carefree playground days.
Ingredient Breakdown
To make these delectable peanut butter cookie bars, you’ll need the following ingredients:
- 1 cup unsalted butter, softened: This is the base of the cookie bars, providing a rich and buttery flavor that keeps the bars moist and tender.
- 1 cup granulated sugar: Adds sweetness and helps create a delightful texture.
- 1 cup packed brown sugar: Contributes a slight molasses flavor and enhances moisture for soft cookie bars.
- 1 cup creamy peanut butter: The star ingredient that provides a distinct flavor and creaminess, making these bars irresistible.
- 2 large eggs: These are vital for binding the ingredients together and giving structure to the cookie bars.
- 2 teaspoons vanilla extract: Adds an aromatic sweetness that complements the peanut butter perfectly.
- 2 cups all-purpose flour: This provides the bulk of the dough, ensuring a sturdy base for your cookie bars.
- 1 teaspoon baking soda: Acts as a leavening agent, helping the bars rise slightly for a fluffy texture.
- 1/2 teaspoon salt: Balances the sweetness and enhances the overall flavor of the cookie bars.
- 2 cups quick oats: These add texture and chewiness to the cookie bars, making them satisfying and hearty.
Using high-quality ingredients is essential to ensure the best flavor and texture. If you’re looking for dietary alternatives, feel free to substitute the all-purpose flour with gluten-free flour, or use a nut butter alternative if you have nut allergies. However, for the authentic taste of these lunch lady cookie bars, sticking to the traditional ingredients is highly recommended.
Step-by-Step Instructions
Ready to bake your way to nostalgia? Follow these step-by-step instructions to create your Classic Peanut Butter Lunch Lady Cookie Bars:
- Preheat your oven: Begin by preheating your oven to 350°F (175°C). Grease a 9×13 inch baking dish and set it aside to prepare for the cookie bars.
- Cream the butter and sugars: In a large bowl, cream together 1 cup of softened unsalted butter, 1 cup of granulated sugar, and 1 cup of packed brown sugar until the mixture is light and fluffy. This should take about 2-3 minutes with an electric mixer.
- Add peanut butter and eggs: Next, add 1 cup of creamy peanut butter, 2 large eggs, and 2 teaspoons of vanilla extract to the creamed butter and sugar mixture. Beat everything together until it is well combined and smooth.
- Mix dry ingredients: In another bowl, whisk together 2 cups of all-purpose flour, 1 teaspoon of baking soda, and 1/2 teaspoon of salt. Ensure there are no lumps in the flour for even mixing.
- Combine wet and dry ingredients: Gradually add the dry ingredients to the wet mixture, mixing gently until just combined. Avoid over-mixing to maintain the tender texture of the bars.
- Stir in oats: Fold in 2 cups of quick oats until they are evenly distributed throughout the cookie dough.
- Spread the mixture: Transfer the cookie dough into the prepared baking dish, spreading it evenly with a spatula to ensure uniform baking.
- Bake: Place the dish in the oven and bake for 20-25 minutes. The edges should turn golden brown, and a toothpick inserted into the center should come out clean. Keep an eye on them towards the end to avoid over-baking.
- Cool completely: Once baked, allow the cookie bars to cool completely in the baking dish before cutting them into squares. This helps set the texture and makes them easier to slice.
Enjoy these delightful cookie bars that come with a side of nostalgia! Every bite will take you back to those carefree days under the warm sun. 💛
Variations and Customizations
While the Classic Peanut Butter Lunch Lady Cookie Bars are delicious as is, there are plenty of ways to customize this recipe to suit your tastes:
- Add chocolate chips: For a chocolatey twist, incorporate 1-2 cups of chocolate chips into the dough for a rich contrast against the peanut butter.
- Mix in nuts: Peanuts, walnuts, or almonds can be added to the cookie dough for added crunch and flavor.
- Swap the oats: If you prefer a smoother texture, consider replacing the quick oats with additional flour for a denser bar.
- Sweeten with natural alternatives: Try substituting sugars with honey or maple syrup for a more natural sweetener.
- Make it vegan: Use vegan butter and flax eggs (1 tablespoon ground flaxseed mixed with 2.5 tablespoons water per egg) instead of regular butter and eggs.
These variations can enhance the nutrition and unique flavor twists of your cookie bars, allowing everyone to enjoy these delightful treats according to their preferences!
Serving Suggestions
Once your Classic Peanut Butter Lunch Lady Cookie Bars are ready, consider these serving suggestions:
- Garnish: Dust with powdered sugar for an extra touch of sweetness, or drizzle with melted chocolate for a delightful presentation.
- Pair with beverages: Enjoy with a glass of cold milk, a steaming cup of coffee, or even a sweetened herbal tea to balance the flavors.
- Ideal occasions: These cookie bars are perfect for family dinners, holiday gatherings, after-school snacks, or a midday treat when you want a taste of nostalgia.
Tips for Success
Here are some practical tips to help you bake the best cookie bars:
- Measure accurately: For best results, use the spoon-and-level method for flour and sugar to avoid overly dense bars.
- Don’t overmix: Once you add the flour, mix until just combined to keep the texture light.
- Storage: Store leftover cookie bars in an airtight container at room temperature for up to a week. For longer storage, freeze them between layers of wax paper in a freezer-safe container.
- Reheat gently: If you want to enjoy them warm, pop the bars in the microwave for a few seconds or in an oven preheated to 350°F (175°C) for a few minutes.
FAQs
Here are some frequently asked questions about the Classic Peanut Butter Lunch Lady Cookie Bars:
- Can I use crunchy peanut butter? Yes! Crunchy peanut butter will add a fun texture, just be sure to adjust the sweetness if needed.
- What if I’m allergic to peanuts? If you have a peanut allergy, feel free to use sun butter or almond butter as an alternative.
- Can I make these bars ahead of time? Absolutely! You can bake them a day or two in advance, just be sure to store them properly to keep them fresh.
- What is the best way to cut the cookie bars? Use a sharp knife and let them cool completely before slicing to maintain their shape.
- How can I make a smaller batch? You can easily halve the ingredients and use an 8×8 inch baking dish for fewer cookie bars.
Conclusion
The Classic Peanut Butter Lunch Lady Cookie Bars are more than just a sweet treat; they encapsulate fond memories of childhood and the joy of togetherness. This recipe not only allows you to recreate those nostalgic moments but also adds a touch of comfort to any gathering. By following the easy steps and exploring variations, you can share the warmth of these cookie bars with friends and family. So, why not give this delightful recipe a try? We would love to hear your thoughts and experiences, so please share your comments or photos on social media! Happy baking!
Classic Peanut Butter Lunch Lady Cookie Bars
Ingredients
Method
- Preheat your oven: Begin by preheating your oven to 350°F (175°C). Grease a 9x13 inch baking dish and set it aside to prepare for the cookie bars.
- Cream the butter and sugars: In a large bowl, cream together 1 cup of softened unsalted butter, 1 cup of granulated sugar, and 1 cup of packed brown sugar until the mixture is light and fluffy. This should take about 2-3 minutes with an electric mixer.
- Add peanut butter and eggs: Next, add 1 cup of creamy peanut butter, 2 large eggs, and 2 teaspoons of vanilla extract to the creamed butter and sugar mixture. Beat everything together until it is well combined and smooth.
- Mix dry ingredients: In another bowl, whisk together 2 cups of all-purpose flour, 1 teaspoon of baking soda, and 1/2 teaspoon of salt. Ensure there are no lumps in the flour for even mixing.
- Combine wet and dry ingredients: Gradually add the dry ingredients to the wet mixture, mixing gently until just combined. Avoid over-mixing to maintain the tender texture of the bars.
- Stir in oats: Fold in 2 cups of quick oats until they are evenly distributed throughout the cookie dough.
- Spread the mixture: Transfer the cookie dough into the prepared baking dish, spreading it evenly with a spatula to ensure uniform baking.
- Bake: Place the dish in the oven and bake for 20-25 minutes. The edges should turn golden brown, and a toothpick inserted into the center should come out clean. Keep an eye on them towards the end to avoid over-baking.
- Cool completely: Once baked, allow the cookie bars to cool completely in the baking dish before cutting them into squares. This helps set the texture and makes them easier to slice.