
When I was a child, the best mornings were the ones with a slice of buttered bread and a jar of jam that my grandmother had set on the windowsill to cool. I learned to watch the lids pop down with as much patience as I learned to hull strawberries without squashing them. Canning became less about preservation and more about the ritual: the smell of cooking fruit, the soft gloss of thickening jam, and the quiet satisfaction of lined-up jars on the counter.
I still make jam the same way in my kitchen now, though the tools are a little less wobbly and my hands a bit steadier. I remember the first time I boiled a batch too long and ended up with something more like fruit leather than spreadable jam. Those mistakes taught me the small, important rules—the timing of a rolling boil, the feel of a well-sealed lid—that separate a good jar from a great one.
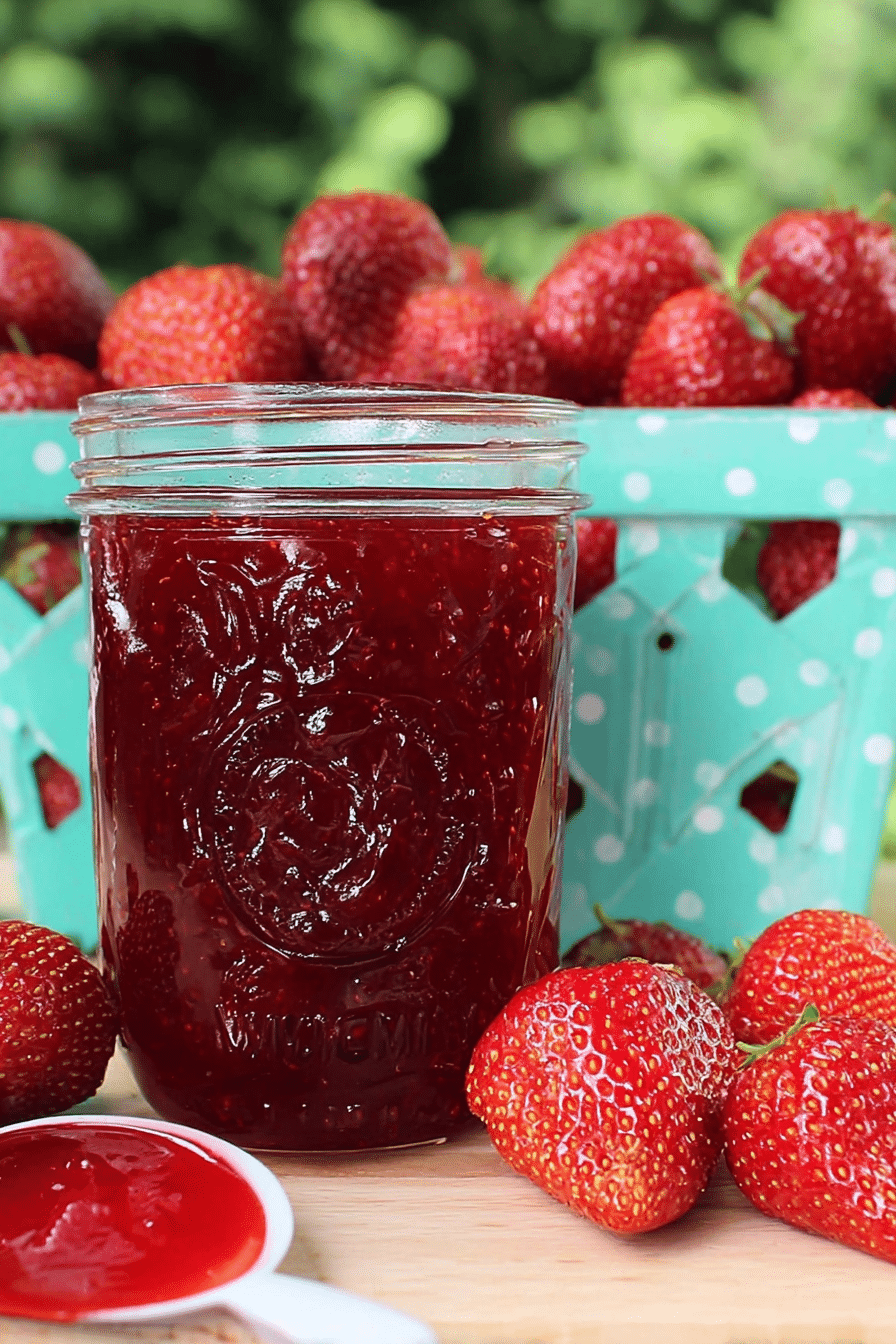
Keeping jars of strawberry jam in the pantry is practical and tender at the same time. It stretches a berry season into months, turns ordinary toast into a treat, and makes for one of the best handmade gifts. I make mine with the same straightforward ingredients my grandmother used, and those simple choices keep the bright scent and deep red color of summer alive through the colder months.
Below I walk you through why this jam deserves space on your shelf, the tools and ingredients that matter, and step-by-step guidance so you can feel confident at the stove. I also include options if you prefer to thicken without pectin, lower the sugar, or play with herbs and spices.
Why This Classic Strawberry Jam Belongs in Your Pantry
Strawberry jam is one of those kitchen essentials that does double duty: it’s a topping, an ingredient, and a gift. You can spread it on bread, swirl it into yogurt, use it as a glaze for cakes, or spoon it into thumbprint cookies. I keep a jar for weekday breakfasts and another for handing to friends when I want to share a little summer.
Making jam at home is also kinder to the planet than constantly buying small, individually packaged spreads. You control the fruit source, reduce packaging, and can plan batches around peak season. Close your eyes and you’ll smell the bright, fruity steam rising from the pot and see rows of glossy jars catching the light—small comforts that are worth the effort.
Everything You Need for Classic Strawberry Jam
Good jam starts with the right tools as much as the right fruit. Use sturdy jars with sound lids, a wide-mouth funnel to fill without mess, and a heavy-bottomed pot to keep heat even. Cleanliness is not optional—sterilize your jars and keep your work surface tidy so the jam stays pristine.
- Jars & Lids – Proper canning jars and fresh lids are essential for a safe, long-lasting seal.
- Wide-mouth funnel – Makes spooning the jam into jars quick and less messy.
- Heavy-bottomed pot – Distributes heat evenly to prevent scorching of the fruit.
- Ladle – For transferring hot jam into jars without splashing.
- Jar lifter or tongs – For safely lowering jars into and lifting them from boiling water.
- Clean cloths – To wipe rims and handle lids hygienically.
And for ingredients: freshness matters. The strawberries should smell sweet and look glossy; the sugar balances and preserves; pectin helps the jam set reliably. Choosing a reputable pectin brand will save you second-guessing the final texture.
Choosing Strawberries: Ripeness, Variety & Flavor Tips
When selecting berries for jam, look beyond size. I choose strawberries that are uniformly deep red and fragrant—the scent tells you more about flavor than firmness alone. Avoid overly soft or bruised berries, but also don’t shy away from slightly yielding fruit; it cooks down beautifully.
Different varieties offer different notes: some are intensely sweet, others have a tart edge that plays well in preserves. If you can, buy locally during peak season—farm stands and farmers’ markets usually have berries picked that morning, which makes a noticeable difference in both aroma and color. The perfect choice of strawberries can make a difference in your favorite recipes like strawberry rhubarb pie.
The Secret to the Perfect Texture: Sugar, Pectin, and Timing
Sugar and pectin do the heavy lifting in jam texture. Sugar helps with gelling and also preserves, while pectin forms a network with fruit acids when heated to create that spoonable set. Timing at the stove is the real trick: reaching the right boil and holding it for the correct time makes or breaks the set.
Keep an eye on the mixture as it transitions—first it’s glossy and syrupy, then it begins to sag on the spoon and thicken. That visual cue, along with a brief rolling boil, tells you the jam is ready. Different sugars (granulated, cane, or lower-sugar blends) will change sweetness and mouthfeel, so if you change the sugar type, expect to adjust cooking time slightly.
Why Temperature and Boiling Points Matter in Canning
Temperature control is essential for both safety and texture. A full rolling boil is a boil that keeps bubbling even when stirred—this is when pectin and sugar react properly to form a set. At higher altitudes, water boils at lower temperatures, so you must add extra processing time to ensure a safe seal; check your local altitude guidelines before processing jars.
To measure accurately, use a reliable candy or instant-read thermometer if you’re unsure of visual cues—aiming for the right temperatures prevents under- or overcooking. You’ll feel the heat from the stove and see steam rise as the mixture moves from syrup to jam; respect that heat and use appropriate tools to protect your hands.
How to Make Classic Strawberry Jam (Step-by-Step)
- Prepare and sanitize your jars and lids; keep them hot until you’re ready to fill.
- Wash, hull, and crush your strawberries so you have a mix of small pieces and juice—this gives the jam body and fresh fruit texture.
- Stir pectin into the crushed berries, add a small amount of butter if desired to reduce foaming, and bring the mixture to a full rolling boil over medium-high heat, stirring frequently.
- Once at a full rolling boil, add your sugar all at once and stir to dissolve; return immediately to a full rolling boil and maintain that boil for the specified short time while stirring constantly.
- Remove from heat and skim off any foam from the surface for a clearer finish.
- Ladle the hot jam into your hot jars using a wide funnel, wipe rims clean, place lids and screw bands fingertip-tight, and process jars in boiling water for the recommended time, ensuring the water covers the jars by an inch or two.
- Carefully remove jars and let them cool undisturbed; check seals after cooling—if a lid springs back when pressed, refrigerate that jar and use it first.
When I fill jars I always keep a pot of simmering water ready to re-warm lids and to top up the canner if needed—this small habit keeps the process moving smoothly. Consider using your jam for a topping on delectable strawberry cheesecake cupcakes for a special treat.
Pro-Tips
- Use a small knob of butter in the pot to reduce foaming and make skimming simpler.
- Keep a plate chilled in the freezer; drop a spoonful of jam on it to test setting—if it wrinkles when pushed, it’s ready.
- If foam forms, skim it off; the jam beneath will be clearer and shelf-stable.
- Label jars with the date so you can rotate your stash by age.
Troubleshooting
- If your jam doesn’t set, you may need to reboil it with a little more pectin or cook it a bit longer; test on a chilled plate between boils.
- Overcooked jam becomes too thick and dark—avoid long, slow boils once the mixture has reached a good set.
- Jars that don’t seal should be refrigerated and used quickly or reprocessed with new lids within 24 hours.
- If the jam tastes flat, a small splash of lemon juice can brighten the flavor and help pectin work.
Pro Tip for Classic Strawberry Jam: Thickening Without Pectin
If you prefer not to use commercial pectin, there are natural alternatives that still give spreadable results. Apple juice or mashed, high-pectin apples added to the fruit during cooking can help the mixture gel. Chia seeds are another modern option: they thicken quickly and add a subtle texture, though they will change the appearance and mouthfeel.
- Use mashed apples or apple juice as a natural pectin source—cook the fruit down with the apples to allow pectin to release.
- For chia, stir seeds into cooked, slightly cooled jam and let it rest until it thickens; expect a different texture and a seed-speckled look.
- Longer cooking will concentrate fruit and naturally thicken the jam, but watch for darkening and flavor changes.
Variations
- Stir in a little vanilla or a splash of citrus juice after cooking for depth of flavor.
- Add whole or halved berries late in the cook for a chunkier jam.
- Try blending a portion of the cooked berries for a smoother finish while leaving some pieces for texture.
How to Store, Preserve, and Gift Your Strawberry Jam
Store sealed jars in a cool, dark place where the temperature is steady—pantry shelves away from direct sunlight work well. Once opened, keep jars refrigerated and plan to use them within a short window for best flavor. Your homemade jam can complement delicious strawberry shortcake kabobs for an enticing gift; pair a jar with fresh baked bread and tie with a simple ribbon for a heartfelt present.
When packing jars for gifting, cushion them inside boxes and include an ingredient tag and the making date. Teach recipients how to check seals and recommend refrigeration after opening. If a jar shows any signs of fermentation—off smell, bubbling, or mold—discard it immediately.
Low-Sugar and Sugar-Free Jam Options
Reducing sugar changes both preservation and texture. If you lower sugar, consider using a pectin formulated for low- or no-sugar jams, or rely on natural pectin sources and a refrigerator-only storage plan. Sugar substitutes will alter mouthfeel and may require a longer cook to reach a set.
- Use low- or no-sugar pectin when cutting sugar to help the jam set properly.
- For refrigeration-only jams, you can reduce sugar significantly and store them chilled for a few weeks.
- Be aware that artificial sweeteners do not preserve; they’re best used in combination with other methods if long storage is desired.
Custom Flavor Variations: Adding Herbs and Spices
Adding a sprig of basil, a few torn mint leaves, or a stick of cinnamon while the jam cooks will introduce subtle aromatic notes. Add fresh herbs near the end of cooking and remove them before jarring to keep flavors bright. For a delightful twist, try pairing your strawberry jam with a strawberry lemon cake—a little jar makes a wonderful companion to baked treats.
- Start small: a teaspoon of minced herb per pot is enough to influence flavor without overpowering the fruit.
- Spices like cinnamon or ginger are best added early to steep; delicate herbs like mint are better added late.
- Keep notes on amounts and timing so successful experiments can be repeated.
Making jam is as much about feeling as measuring: the sight of the bubbling pot, the scent of cooked strawberries, the cool stick of jam on your finger when you test the set. These are the moments I return to year after year.
Frequently Asked Questions
How long does it take to make classic strawberry jam?
The actual cooking time for the classic strawberry jam is about 10 minutes, but you should also allow time for preparation and cooling.
Can I use frozen strawberries for this jam recipe?
Yes, you can use frozen strawberries! Just make sure to thaw them and drain any excess liquid before crushing.
What types of sugar can I use in this strawberry jam recipe?
Granulated sugar is recommended for classic strawberry jam, but you can experiment with alternatives like cane sugar or a low-sugar variety, just keep in mind that this can affect the texture and sweetness.
Do I have to use pectin to make strawberry jam?
Pectin is essential for achieving the right consistency in this classic recipe, but if you’re looking for alternatives, there are ways to thicken the jam without it, such as using mashed apples or chia seeds.
How should I store my homemade strawberry jam?
Store your homemade strawberry jam in a cool, dark place. Once opened, keep it in the refrigerator and consume within 1-2 weeks.
Classic Strawberry Jam
Ingredients
Method
- Pour the crushed strawberries with all the juices into a large pot. Measure the sugar into a separate bowl and set aside. Stir the package of pectin into the strawberries and add the butter.
- Stirring frequently, bring the strawberry mixture to a full rolling boil, and then add the sugar. Stir to fully incorporate.
- Return the mixture to a full, rolling boil and boil for exactly 1 minute, stirring constantly.
- Remove the pot from the heat and skim any foam from the surface.
- Ladle quickly into clean jars. Wipe the rims of the jars with a clean cloth, place the lids on, and tighten the bands to 'fingertip tight'.
- Place the jars in a canner and process for 10 minutes. Ensure the water covers the jars by an inch or two.
- Carefully remove the jars from the canner. Cool completely before storing.
- Check that all lids are sealed properly before storing. If the lid springs back when pressed, store in the refrigerator.