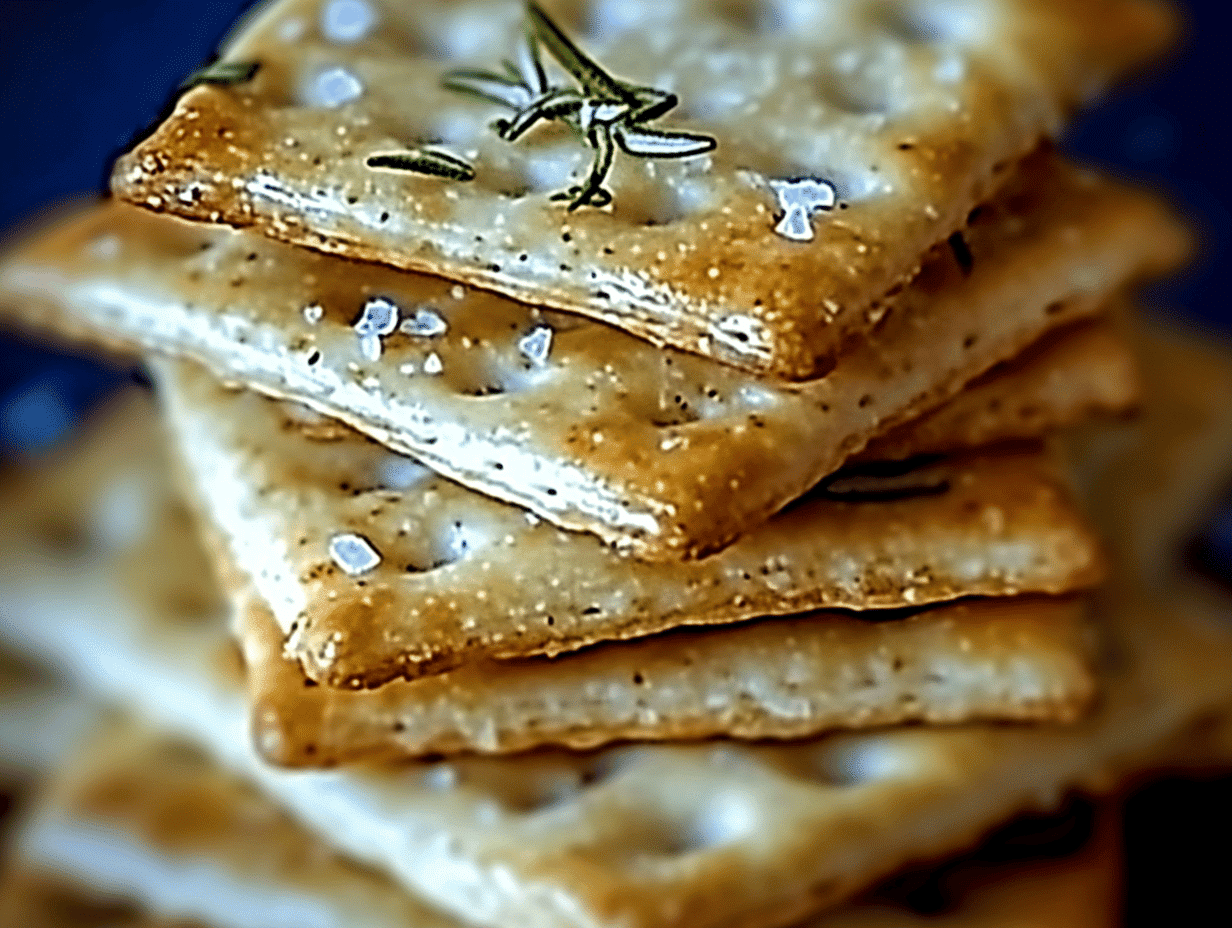
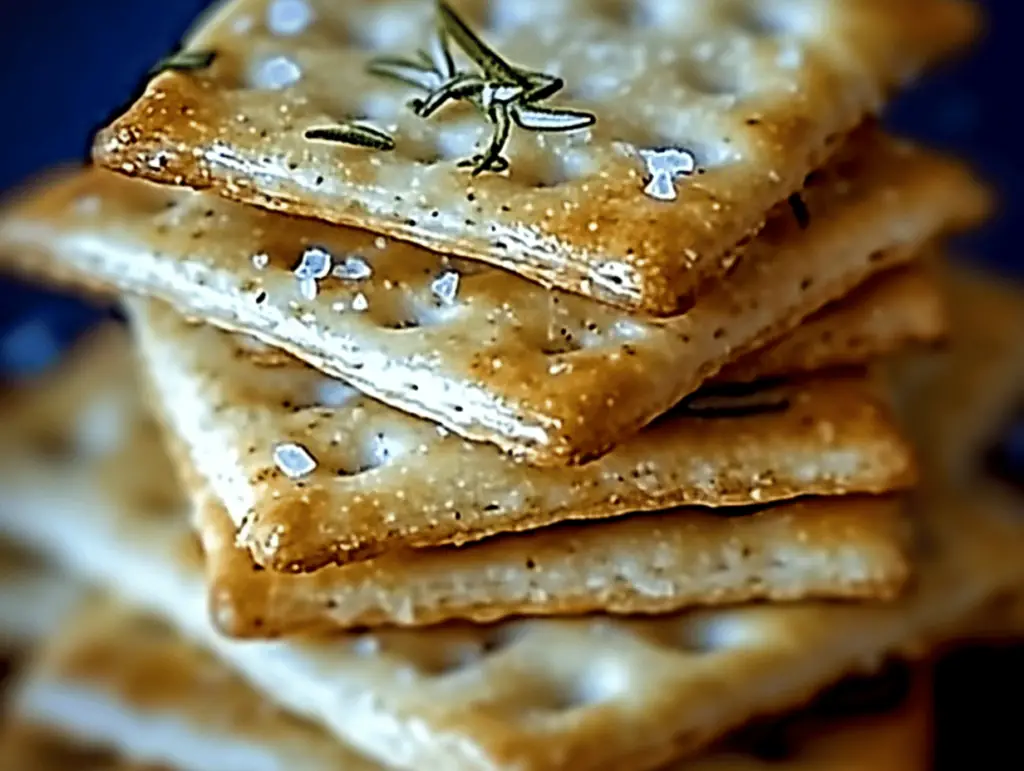
Imagine a snack that’s not only crunchy and addictive but also brimming with flavors that dance on your taste buds. Dill Pickle Saltines are the perfect addition to any gathering, adding a tangy twist to the classic saltine cracker. These delightful treats capture the essence of savory pickles in an easy-to-make form that’s sure to please both young and old. Not only are they quick to prepare, but they also offer an exciting flavor combination that makes them a standout option for game nights, parties, or an everyday snack. In this article, you will learn how to create these flavorful Dill Pickle Saltines, understand the unique ingredients that make them special, and discover tips for variations and serving suggestions.
Understanding the Recipe
Dill Pickle Saltines may seem like a simple recipe, but it has roots in the beloved tradition of pickle-flavored snacks, celebrating the tangy, briny taste that many find comforting and satisfying. Originating from casual gatherings and picnics, this snack is perfect for those who love the taste of pickles. Personal connections to pickles often include warm memories of family gatherings or summer barbecues, evoking feelings of nostalgia. The combination of saltines coated in a bold pickle juice flavor creates a snack that’s unique yet familiar, giving everyone a chance to enjoy a twist on traditional munchies. This dish stands out not only for its simplicity but also for its ability to captivate guests with its brilliant flavors and impressive presentation.
Ingredient Breakdown
Creating delicious Dill Pickle Saltines involves just a few key ingredients, each playing a critical role in bringing this snack to life:
- 1 sleeve of saltine crackers: The base of our snack, these crackers are known for their light and crispy texture, making them a great vehicle for our flavorful topping.
- 1 cup dill pickle juice: The star ingredient, dill pickle juice provides the signature tangy flavor that permeates the crackers, creating that addictive taste we love.
- 2 tbsp olive oil: This oil helps to keep the crackers crisp while adding a rich flavor that balances the tanginess of the pickle juice.
- 1 tsp garlic powder: Garlic powder adds an aromatic depth to the flavor profile, enhancing the overall taste experience.
- 1 tsp onion powder: Similar to garlic powder, onion powder contributes a subtle sweetness and savoriness that complements the tangy pickles.
- 1 tsp dried dill: Dried dill reinforces the dill flavor and gives a pleasant herbal note to the dish.
- 1 tsp black pepper: Black pepper adds a gentle kick that complements the overall flavor and enhances the savory elements.
When making these saltines, always opt for high-quality ingredients to achieve the best flavor. If you’re looking for dietary alternatives, you can experiment with gluten-free or low-sodium saltines and even consider using fresh dill instead of dried for a burst of freshness. The appeal of Dill Pickle Saltines lies in their versatility, making them a fun snack suitable for everyone!
Step-by-Step Instructions
To whip up your Dill Pickle Saltines, follow these straightforward steps:
- Preheat the oven: Begin by preheating your oven to 350°F (175°C). This will ensure that your crackers bake evenly, becoming crispy and delicious.
- Prepare the baking sheet: Line a baking sheet with parchment paper. This will prevent the saltines from sticking and make cleanup easier.
- Mix the coating: In a medium-sized bowl, combine 1 cup of dill pickle juice, 2 tbsp of olive oil, 1 tsp of garlic powder, 1 tsp of onion powder, 1 tsp of dried dill, and 1 tsp of black pepper. Stir well until the ingredients are thoroughly combined.
- Coat the saltines: Arrange 1 sleeve of saltine crackers in a single layer on the prepared baking sheet. Using a spoon or a drizzle bottle, carefully pour the pickle juice mixture over the saltines, flipping them gently to ensure they are coated on both sides.
- Bake the crackers: Place the baking sheet in the preheated oven and bake for approximately 10-12 minutes, or until the crackers are crispy and have taken on a slight golden hue. Keep an eye on them to prevent burning.
- Cool and serve: Once baked, remove the saltines from the oven and let them cool for a few minutes before enjoying. Their flavor will continue to develop as they cool down.
These simple steps guide you toward achieving the perfect Dill Pickle Saltines, resulting in a crunchy, flavorful snack that is sure to please anyone!
Variations and Customizations
While Dill Pickle Saltines are delightful as is, there are several ways to customize the recipe to suit your personal taste or dietary needs:
- Spicy kick: Add 1/2 teaspoon of cayenne pepper or hot sauce to the pickle juice mixture for a spicy twist that adds exciting flavor.
- Herb-enhanced: Consider mixing in other dried herbs like oregano or parsley for additional flavor dimensions.
- Cheesy option: For a cheesy version, sprinkle some shredded cheese on top of the saltines during the last few minutes of baking.
- Vegan alternative: Ensure that the saltines you choose are vegan-friendly and substitute olive oil with any other plant-based oil.
These variations encourage creativity and can cater to different preferences, ensuring that your Dill Pickle Saltines can be tailored for any gathering or personal snack time!
Serving Suggestions
Dill Pickle Saltines can be enjoyed on their own or paired with a variety of accompaniments for a more complete snack experience:
- Garnish: Consider garnishing with fresh dill or a sprinkle of coarse sea salt for an appealing presentation.
- Pair with dips: These saltines pair beautifully with dips such as hummus, ranch dressing, or even a creamy pickle dip for added richness.
- Side Ideas: Serve alongside a crisp salad or a hearty soup to create a more filling meal.
- Perfect for occasions: These saltines are great for casual hangouts, tailgating events, or holiday celebrations, making them a versatile addition to your snack lineup.
Think of Dill Pickle Saltines as the perfect companion to almost any gathering — they’ll not only impress your guests but also keep everyone coming back for more!
Tips for Success
To ensure your Dill Pickle Saltines turn out perfectly, consider these helpful tips:
- Don’t rush the coating: Make sure every cracker is well-coated in the pickle juice mixture to ensure consistent flavor throughout.
- Watch the baking time: Keep an eye on the saltines as they bake; the thinner the layers of coating, the quicker they can become crispy.
- Storing leftovers: If you have any leftovers, store them in an airtight container to maintain their crunch. They can last for up to a week!
- Freezing options: Although best enjoyed fresh, unused brewed pickle juice can be stored in the freezer for future use. Simply thaw it out for your next batch!
These tips will help you avoid common pitfalls and result in delicious Dill Pickle Saltines.
FAQs
Here are some frequently asked questions about making Dill Pickle Saltines:
- Can I use fresh dill instead of dried? Yes, using fresh dill will add a more vibrant flavor. Use about 1 tablespoon of fresh dill to replace the dried version.
- What can I substitute if I’m out of saltines? You can use any type of cracker with a similar texture. Examples include water crackers or Ritz-type crackers, but be wary of differences in saltiness and flavor.
- Can I make these in advance? Yes! You can prepare them ahead of time, and they can be stored in an airtight container to maintain their quality.
- Are these gluten-free? Look for gluten-free saltine options to make this snack suitable for those with gluten sensitivities.
These FAQs should help you navigate any potential questions or concerns you may have while preparing your Dill Pickle Saltines.
Conclusion
Dill Pickle Saltines offer a delightful crunch and a burst of tangy flavor that makes them the perfect snack for any occasion. With only a handful of simple ingredients and a quick preparation process, this recipe is ideal for busy individuals looking to impress with minimal effort. Whether you decide to serve them at a party, as a special treat for family movie night, or simply enjoy them on your own, these flavorful saltines are sure to be a crowd-pleaser. Don’t hesitate — give this recipe a try and treat yourself to a snack that’s as unique as it is tasty. We’d love to hear your experiences and variations on social media or in the comments!

Dill Pickle Saltines
Ingredients
Method
- Preheat the oven: Begin by preheating your oven to 350°F (175°C). This will ensure that your crackers bake evenly, becoming crispy and delicious.
- Prepare the baking sheet: Line a baking sheet with parchment paper. This will prevent the saltines from sticking and make cleanup easier.
- Mix the coating: In a medium-sized bowl, combine 1 cup of dill pickle juice, 2 tbsp of olive oil, 1 tsp of garlic powder, 1 tsp of onion powder, 1 tsp of dried dill, and 1 tsp of black pepper. Stir well until the ingredients are thoroughly combined.
- Coat the saltines: Arrange 1 sleeve of saltine crackers in a single layer on the prepared baking sheet. Using a spoon or a drizzle bottle, carefully pour the pickle juice mixture over the saltines, flipping them gently to ensure they are coated on both sides.
- Bake the crackers: Place the baking sheet in the preheated oven and bake for approximately 10-12 minutes, or until the crackers are crispy and have taken on a slight golden hue. Keep an eye on them to prevent burning.
- Cool and serve: Once baked, remove the saltines from the oven and let them cool for a few minutes before enjoying. Their flavor will continue to develop as they cool down.
