
I still remember the first time I made these with my little crew — flour on the table (thankfully not in the cereal), sticky fingers everywhere, and that huge grin when the bowl became a rainbow. These Fruity Pebbles Rice Krispie Treats are exactly the kind of project I reach for when I want something fast, playful, and utterly kid-approved. The best part? You don’t need an oven, and the whole family can take part.
When the butter and marshmallows melt, my kitchen fills with a sweet, warm scent that always pulls the kids to the counter. I love how the marshmallow strings stretch between spatula and bowl — it’s tactile, a little silly, and a perfect hands-on moment for children to learn basic kitchen skills like stirring and measuring. Those bright cereal bits feel like confetti as you fold them in, and the sight of the finished tray makes everyone chatter about who gets the biggest square.
I often let the kids choose a tiny decoration — an extra handful of cereal on top, a sprinkle border, or a drizzle of chocolate — so these treats become a quick creative session as much as a snack. Cleanup is manageable if you oil the spatula and the pan first; the marshmallow mixture is forgiving if you work quickly. Over the years I’ve learned the little tweaks that keep the texture just right and the colors popping when you serve them.
There’s a warm pride in handing a child their own square with a napkin and watching them beam. These bars are straightforward to make, insanely fun for little helpers, and they store well enough for school lunchbox surprises or party platters. Read on for everything you need, step-by-step guidance that’s simple for parents, and a bunch of kid-tested tips to make your batch shine.
Turn Snack Time into a Colorful Adventure!
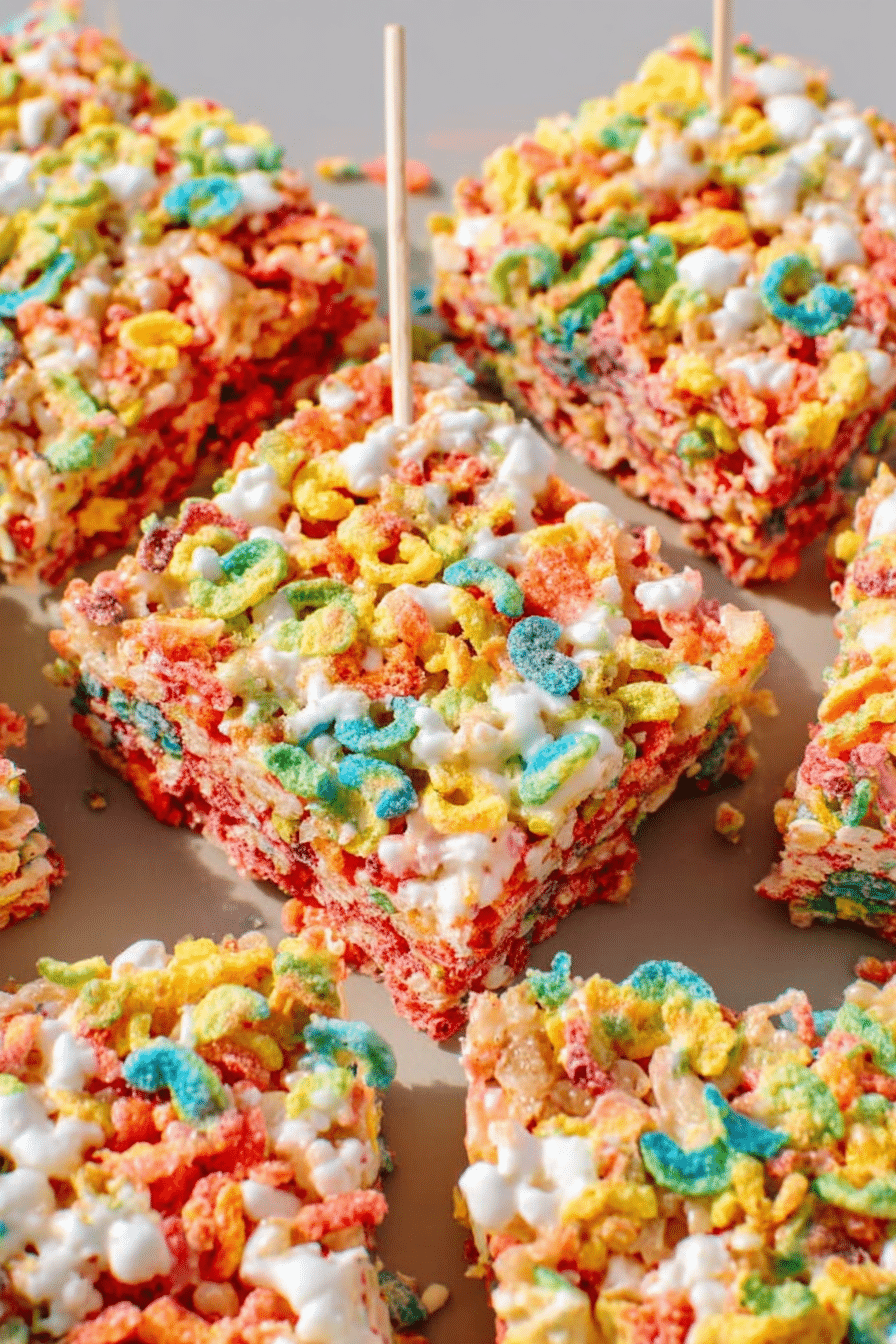
These treats are a tiny celebration of color and texture — bright cereal bits suspended in a shiny, sticky marshmallow matrix. When you make them with kids, the bowl becomes a studio: they can watch the colors swirl and choose how to personalize each pan. Point out how the cereal crunch contrasts with the chewy marshmallow and encourage creative toppings like sprinkles or tiny candies for theme parties or rainy-day fun.
Everything You Need for Fruity Pebbles Rice Krispie Treats
Gather a few pantry staples and a greased pan, and you’re ready. Below I explain what each ingredient does and offer swaps so you can tailor the recipe to what you have on hand.
- Mini marshmallows – The glue that creates the gooey texture; high-quality marshmallows melt more evenly and give a smoother finish. If you only have regular marshmallows, cut them into smaller pieces so they melt uniformly.
- Butter – Adds richness and helps the marshmallow melt into a glossy binder; more butter yields a slightly denser, richer bar.
- Fruity Pebbles cereal – The colorful star of the show; fold gently so you don’t crush the pieces and to keep the bright appearance.
- Vanilla extract – A background note that rounds out the sweetness and enhances the cereal flavors.
- Salt (pinch) – Balances the sweetness and keeps the final flavor from tasting flat.
If you want other uses for puffed rice beyond sweets, check out this fun savory idea:
If you’re interested in more uses for rice krispies, check out our recipe for cheddar rice krispie crackers!
How to Make Fruity Pebbles Rice Krispie Treats (Step-by-Step)
These steps are written so you can involve kids — assign simple tasks like measuring cereal, stirring, or pressing the mixture into the pan. Keep a greased spatula handy to make mixing and spreading easier.
- Butter the baking dish and have it ready before you melt anything so you can move quickly.
- In a large microwave-safe bowl, add marshmallows and butter. Heat in short bursts, stirring between each, until completely melted and glossy. If you’re using the stove, melt gently over low heat, stirring constantly to prevent scorching.
- Stir in vanilla and a pinch of salt once the marshmallows are smooth — this keeps the flavor balanced.
- Using a greased spatula, fold the Fruity Pebbles into the marshmallow mixture in batches so the cereal is evenly coated without getting smashed.
- Transfer to your prepared pan and press down gently with a greased spatula or piece of parchment; don’t overwork it or you’ll crush the cereal pieces.
- Let the pan sit on the counter until set (about the length of a favorite cartoon). Chill briefly if you want cleaner slices, then cut into squares and serve.
Troubleshooting
- If the marshmallows scorch or smell burnt, start over — burned sugar is bitter and won’t mellow even with more butter.
- If the mixture is too stiff to stir, briefly rewarm it in the microwave for a few seconds and stir to loosen.
- If cereal gets soggy, you mixed too soon while the marshmallows were very hot — fold more gently and press without overworking.
- If bars fall apart, press firmer into the pan next time or add a touch more melted marshmallow to improve adhesion.
The Joy of Making Treats Together
Cooking with kids teaches them basic kitchen skills and builds confidence. Assign simple tasks by age: toddlers can pour cereal, elementary-aged kids can stir and press the pan, and older children can handle microwave timing and clean-up supervision. For themed days, let children decorate a portion of the pan with candy or sprinkles — they love claiming their creative corner.
Making treats is a joy! Consider trying these easy no-bake coconut cookies for another fun kitchen activity with your kids.
Why Marshmallows Are the Key to Gooey Perfection
Marshmallows are mostly sugar, gelatin, and air; when melted they form a tacky, elastic matrix that binds the cereal pieces together. Gelatin provides the chew, and sugar—when heated—becomes syrupy and glossy. High-quality marshmallows melt more evenly and give a smoother, silkier texture.
To ensure even melting, cut large marshmallows into smaller pieces or use mini marshmallows. Melt in short intervals and stir thoroughly so hot spots don’t form and scorch the mix. The aroma of warm marshmallow is a telltale sign you’re on the right track — it should smell sweet and light, not burnt.
How to Achieve the Perfect Crispy vs. Gooey Balance
You can tweak texture to match your family’s preference with a few simple moves:
- For chewier, denser bars: add a touch more butter or use a bit extra marshmallow so the mixture is more cohesive.
- For crunchier bars: use a touch less marshmallow or press the mixture more lightly into the pan so air pockets remain.
- Pressing harder during the pan stage creates denser, more compact squares; lighter pressing preserves more crunch.
- Chilling briefly firms up bars for neat edges but will slightly reduce chewiness; leave at room temperature if you prefer softer bites.
Pro-Tip for Fruity Pebbles Rice Krispie Treats
- Grease your spatula and hands to avoid stickiness while mixing and pressing.
- Chill the pan for 10–15 minutes before cutting for cleaner edges.
- Measure cereal by eye and keep proportions consistent for even texture between batches.
- If you want uniform squares, score the top lightly while still slightly warm, then cut after chilling.
Variations to Try: Adding Chocolate and More!
Make these treats your own with simple swaps — here are ideas my kids ask for again and again:
- Stir in chocolate chips or mini candies for little pockets of sweetness; try a drizzle of melted chocolate over the top for a fancy finish.For a delightful twist, consider adding flavors like our chocolate rice krispie balls to your fruity pebbles treats!
- Swap part of the Fruity Pebbles for a plain puffed rice cereal to tame the sweetness while keeping color.
- Seasonal spins: add a pinch of pumpkin spice in autumn or a few drops of peppermint extract in winter (use sparingly to avoid overpowering the cereal).
- Healthier tweaks: use reduced-fat butter or a mix of whole-grain puffed rice with Fruity Pebbles, and add toasted nuts for protein if allergies aren’t a concern.
Storage Tips for Your Homemade Treats
Proper storage keeps the treats tasting fresh and preserves texture. Keep the container airtight and store at room temperature; humidity is the enemy of crunch, so avoid warm, steamy places. For gifting or party trays, layer squares between sheets of parchment to prevent sticking and protect edges.
- Keep bars in an airtight container at room temperature for a few days to retain chewiness.
- If you live in a humid climate, add a dry packet of food-safe desiccant to the storage container to maintain crunch.
- For a gift-ready presentation, stack squares with parchment between and place in a box tied with ribbon.
- To elevate your snack game, try pair your treats with some slow cooker apple butter for a delicious spread.
Frequently Asked Questions
Can I use regular marshmallows instead of mini marshmallows?
Absolutely! You can use regular marshmallows; just make sure to cut them into smaller pieces for even melting.
How should I store the Fruity Pebbles Rice Krispie Treats?
Store them in an airtight container at room temperature for up to 3 days to keep them fresh and delicious!
Can I add other ingredients like chocolate or nuts?
Yes! Feel free to get creative by adding chocolate chips, sprinkles, or even nuts for added flavor and texture.
Is there a way to make these treats gluten-free?
Yes, just make sure to use gluten-free Fruity Pebbles and check that your marshmallows are also gluten-free.
How can I adjust the texture if I prefer crunchier treats?
For crunchier treats, use less butter and marshmallows, or make sure to press the mixture less firmly into the pan!
Fruity Pebbles Rice Krispie Treats
Ingredients
Method
- Butter a 9 x 13 inch (23x33 cm) baking dish and set aside.
- In a large microwavable bowl add the marshmallows and butter and microwave for 1 minute at a time, stirring in between until fully melted.
- Using a greased spatula, fold in the Fruity Pebbles, vanilla, and salt until the cereal is evenly coated.
- Spread into your prepared baking dish and press down gently to create an even layer.
- Let the treats set for 30 minutes before cutting into 12 squares.
- Store in an airtight container at room temperature for up to 3 days.