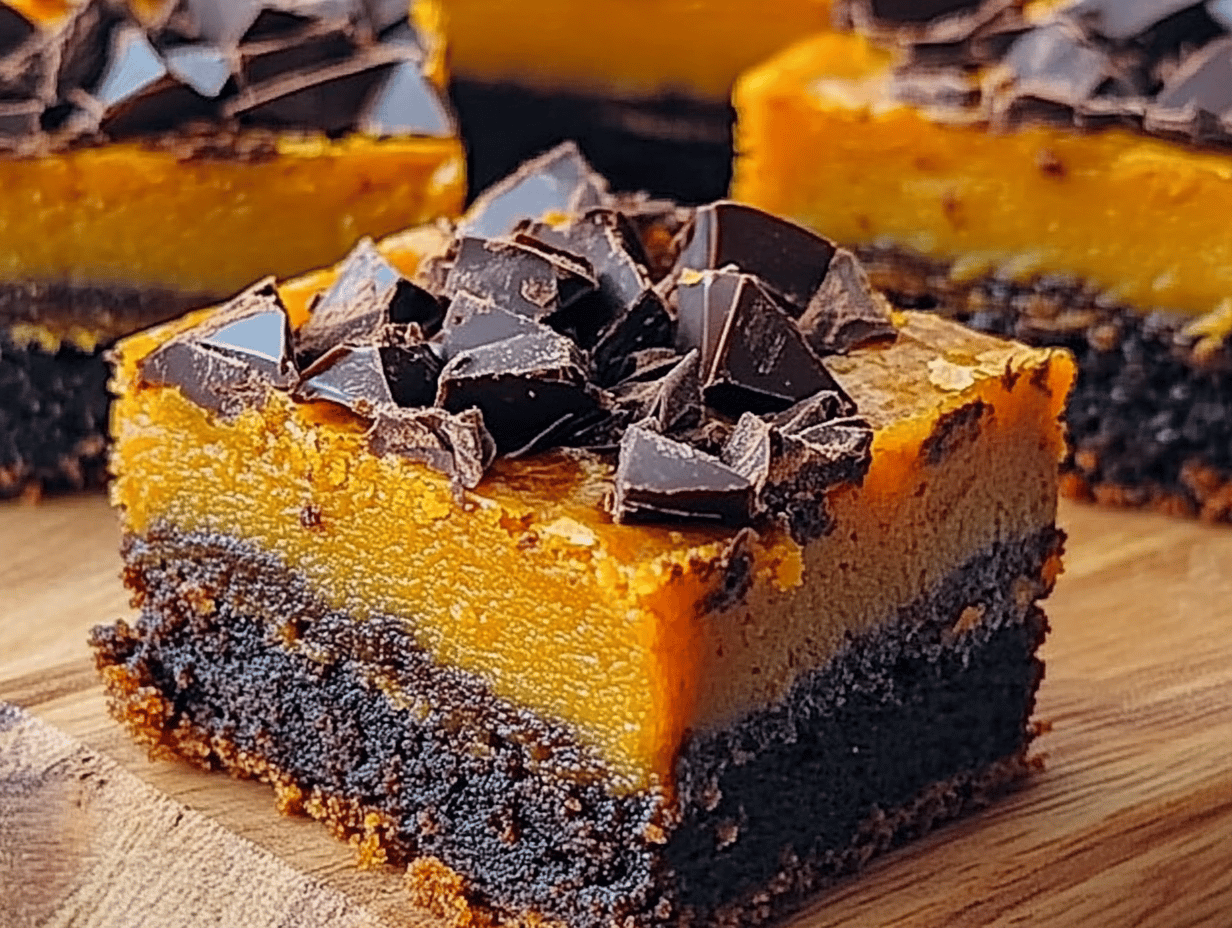
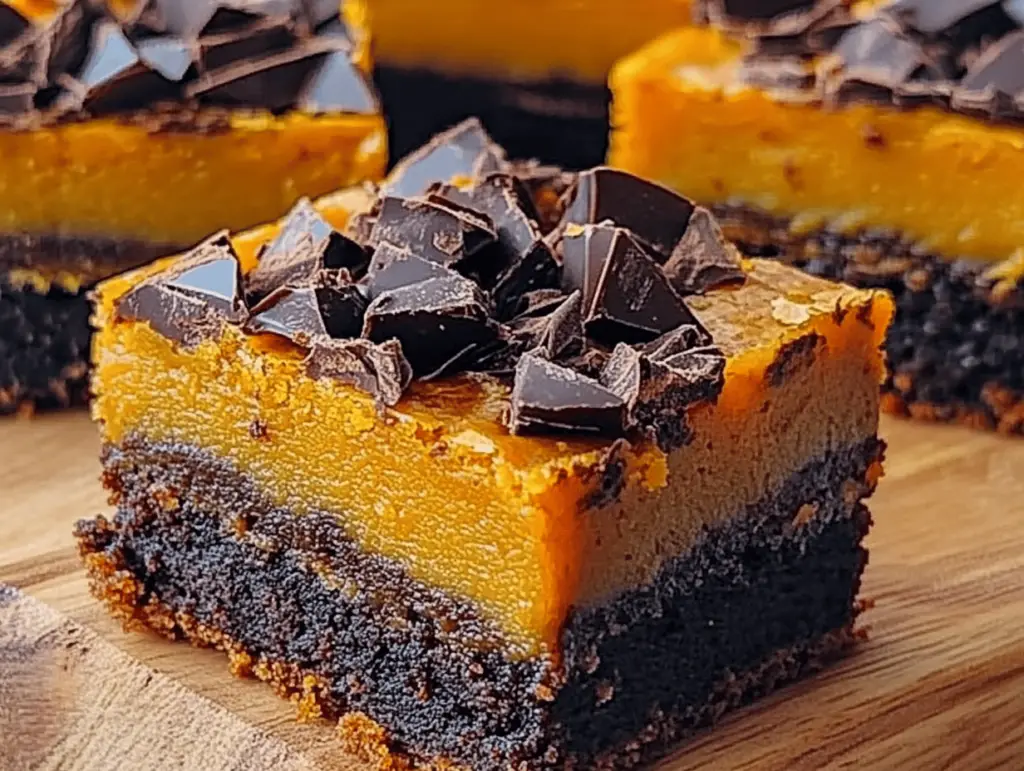
As the leaves turn golden and the air becomes crisp, there’s something inherently comforting about fall flavors. Chocolate Pumpkin Bars are an exemplary treat that perfectly blends the rich flavors of pumpkin with the sweetness of chocolate. These bars provide not only a delightful taste but also the warmth of home, making them an ideal dessert for family gatherings and cozy nights in. Whether you’re an adept baker or someone who occasionally enjoys the kitchen, this recipe promises to dazzle your taste buds without overwhelming your schedule. In this article, you will embark on a journey to create your own delicious Chocolate Pumpkin Bars, exploring ingredient details, step-by-step instructions, and presentation ideas, all guaranteeing a rewarding baking experience.
Understanding the Recipe
Chocolate Pumpkin Bars hold a special place in many households, particularly as fall arrives. The combination of pumpkin and chocolate may seem unconventional, but it offers a unique twist on traditional fall desserts. Pumpkin is often celebrated for its health benefits, including being low in calories yet high in vitamins A and C. This recipe has long been a family favorite, evoking memories of gathering around the table after a crisp autumn day, devouring warm squares glistening with melted chocolate. The moist texture of the bars coupled with the rich flavors creates a comforting dessert that’s perfect for any occasion. Enjoyed at family dinners, holiday gatherings, or simply as an afternoon treat, these bars celebrate the essence of the season.
Ingredient Breakdown
To craft these mouthwatering Chocolate Pumpkin Bars, you’ll need the following ingredients:
- 1 cup canned pumpkin puree: This forms the base of your bars, lending moisture and a rich, pumpkin flavor.
- 1/2 cup brown sugar: This adds sweetness and depth, enhancing the overall flavor profile with its caramel notes.
- 1/4 cup white sugar: Balances the richness from the brown sugar and pumpkin.
- 1/2 cup melted butter: For a rich texture and flavor, melted butter is crucial for moistness.
- 1 tsp vanilla extract: Incorporates warmth and enhances the sweetness of the sugars.
- 1 cup all-purpose flour: Acts as the structural component of the bars, giving them shape and body.
- 1/2 tsp baking powder: A leavening agent that helps the bars rise slightly during baking.
- 1/2 tsp baking soda: Works in tandem with the baking powder to provide lift and texture.
- 1/4 tsp salt: Enhances all the flavors, balancing the sweetness.
- 1/4 tsp ground cinnamon: A quintessential spice for fall, it infuses the bars with a warm, aromatic essence.
- 1/4 tsp ground nutmeg: Adds complexity and supports the pumpkin flavor, bringing out its richness.
- 1/2 cup chocolate chips: These delightful morsels melt into the bars to create pockets of chocolatey goodness.
Using high-quality ingredients enhances the overall taste of your Chocolate Pumpkin Bars. If you have dietary restrictions, consider substitutes like almond flour for a gluten-free option or coconut oil instead of butter for a dairy-free version. The key here is to focus on balance between flavors and textures, ensuring everyone can enjoy this seasonal treat.
Step-by-Step Instructions
- Preheat the oven to 350°F (175°C) and grease a 9×9 inch baking pan to ensure easy removal of the bars once baked.
- In a large mixing bowl, combine 1 cup of canned pumpkin puree, 1/2 cup brown sugar, 1/4 cup white sugar, 1/2 cup melted butter, and 1 tsp vanilla extract. Mix thoroughly until the mixture is smooth.
- In another bowl, whisk together 1 cup all-purpose flour, 1/2 tsp baking powder, 1/2 tsp baking soda, 1/4 tsp salt, 1/4 tsp ground cinnamon, and 1/4 tsp ground nutmeg. This dry mix will provide structure and flavor to your bars.
- Gently combine the dry ingredients with the pumpkin mixture. Use a spatula to fold them together until just combined, being careful not to overmix.
- Fold in 1/2 cup chocolate chips until evenly distributed throughout the batter.
- Pour the mixture into the prepared baking pan and spread it evenly using a spatula, ensuring even baking.
- Bake for 25-30 minutes, or until a toothpick inserted into the center comes out clean. Your bars should be slightly golden on top.
- Once baked, allow the bars to cool slightly in the pan before transferring them to a wire rack. Cut into squares and enjoy!
Variations and Customizations
While the traditional Chocolate Pumpkin Bars are delicious on their own, there are several ways to customize and enhance this recipe to suit diverse tastes or dietary needs.
- Nut Additions: Consider folding in 1/2 cup of chopped walnuts or pecans for added crunch and flavor.
- Vegan Option: Use a flaxseed meal substitute instead of eggs. Combine 1 tbsp of flaxseed meal with 2.5 tbsp of water for one egg.
- Flavored Chips: Experiment with white chocolate chips or peanut butter chips for different flavor profiles.
- Frosting: Top the cooled bars with a simple cream cheese frosting or a vegan alternative to elevate the treat further.
- Spice Variations: Add spices like ginger or allspice to amplify the warm, fall flavors even more.
You can always adjust these variations to match your preferences or experiment based on what you have in your pantry. Flexibility is key in the kitchen!
Serving Suggestions
When it comes to presenting your Chocolate Pumpkin Bars, consider serving them warm with a dollop of vanilla ice cream or whipped cream for an indulgent dessert. Here are additional serving ideas:
- Sprinkle with powdered sugar: A light dusting can provide an appealing contrast against the rich chocolate and pumpkin.
- Serve with a drizzle of chocolate sauce: This adds a decadent touch, making it visually stunning.
- Pair with a warm beverage: Hot cider, coffee, or even a spiced latte complements the flavors beautifully.
- Ideal Occasions: These bars are perfect for Thanksgiving celebrations, Halloween parties, or even just a cozy family weekend.
Tips for Success
Creating the perfect Chocolate Pumpkin Bars involves a few tried-and-true tips. Here are some suggestions to ensure your baking goes smoothly:
- Measuring ingredients accurately: Baking is a science, so precise measurements help achieve the best results.
- Don’t overmix: When combining the dry and wet ingredients, mix until just combined to maintain a tender texture.
- Cool completely: Allow the bars to cool before cutting them to prevent crumbling and ensure clean edges.
- Storage suggestions: Store leftovers in an airtight container at room temperature for up to 3 days or refrigerate for longer shelf life.
- Freezing options: You can freeze the bars by wrapping them tightly in plastic wrap, followed by foil. They can be enjoyed later by thawing at room temperature.
FAQs
Here are some common questions regarding the Chocolate Pumpkin Bars recipe:
- Can I substitute fresh pumpkin for canned pumpkin puree?
Yes, but be sure to cook, puree, and strain the fresh pumpkin to achieve a similar consistency. - What can I use instead of all-purpose flour?
Almond flour or a gluten-free blend can be great alternatives for those with gluten sensitivities. - Can I add more spices?
Absolutely! Feel free to adjust the spices according to your personal taste; just remember to balance the flavors to maintain harmony. - How should I reheat the bars?
To reheat, place them in the microwave for a few seconds or in a preheated oven at 350°F (175°C) for about 5-10 minutes.
Conclusion
Chocolate Pumpkin Bars are not just a treat; they are a celebration of fall flavors that can bring together family and friends. Their rich chocolatey taste combined with the comforting essence of pumpkin makes them an irresistible delight for any occasion. By following this guide, you can create bars that are not only delicious but also cater to various tastes and dietary preferences. Whether you’re baking for a gathering or simply enjoying a quiet night at home, these bars are sure to become a cherished recipe in your kitchen. So grab your ingredients, get baking, and don’t forget to share your creations!

Irresistible Chocolate Pumpkin Bars for Fall
Ingredients
Method
- Preheat the oven to 350°F (175°C) and grease a 9x9 inch baking pan to ensure easy removal of the bars once baked.
- In a large mixing bowl, combine 1 cup of canned pumpkin puree, 1/2 cup brown sugar, 1/4 cup white sugar, 1/2 cup melted butter, and 1 tsp vanilla extract. Mix thoroughly until the mixture is smooth.
- In another bowl, whisk together 1 cup all-purpose flour, 1/2 tsp baking powder, 1/2 tsp baking soda, 1/4 tsp salt, 1/4 tsp ground cinnamon, and 1/4 tsp ground nutmeg. This dry mix will provide structure and flavor to your bars.
- Gently combine the dry ingredients with the pumpkin mixture. Use a spatula to fold them together until just combined, being careful not to overmix.
- Fold in 1/2 cup chocolate chips until evenly distributed throughout the batter.
- Pour the mixture into the prepared baking pan and spread it evenly using a spatula, ensuring even baking.
- Bake for 25-30 minutes, or until a toothpick inserted into the center comes out clean. Your bars should be slightly golden on top.
- Once baked, allow the bars to cool slightly in the pan before transferring them to a wire rack. Cut into squares and enjoy!
