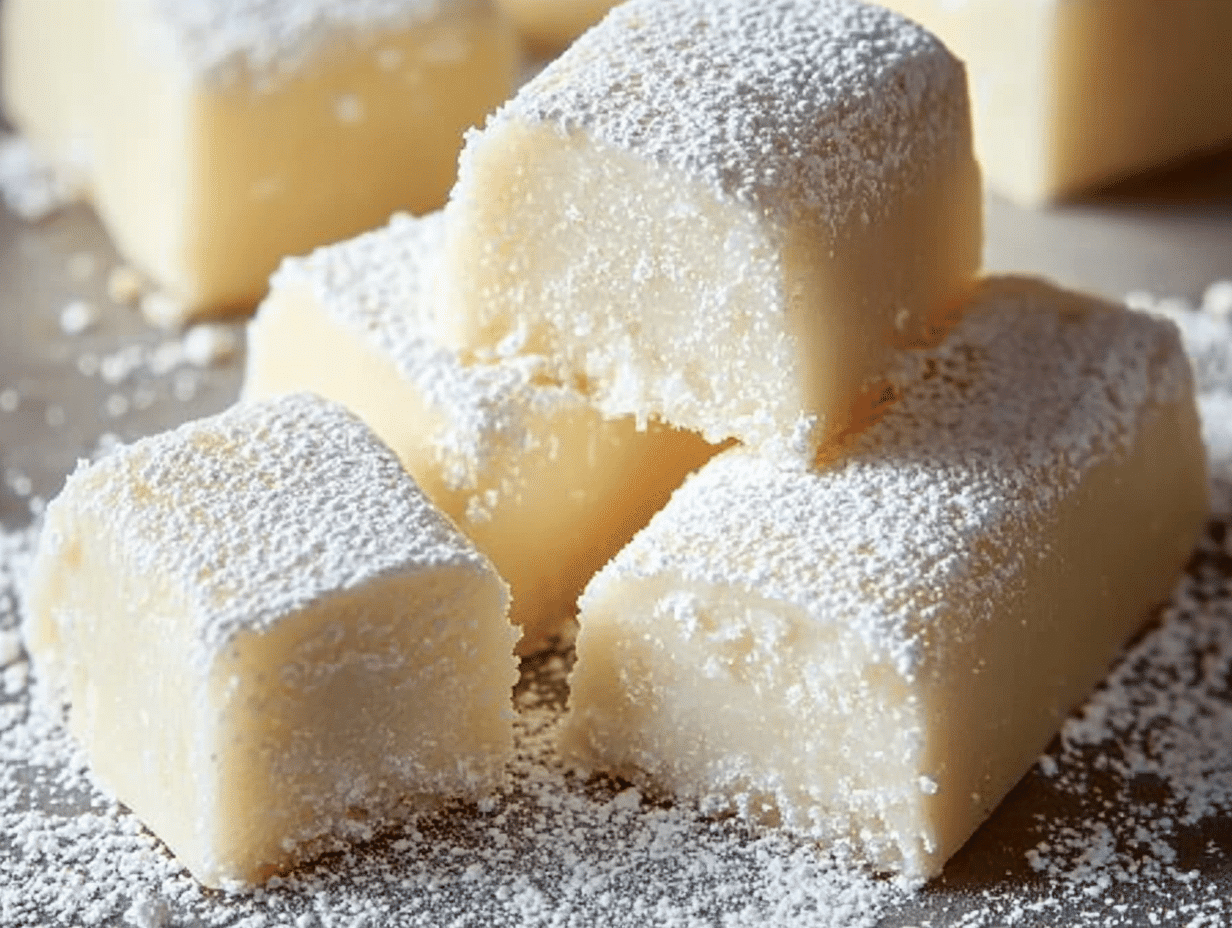
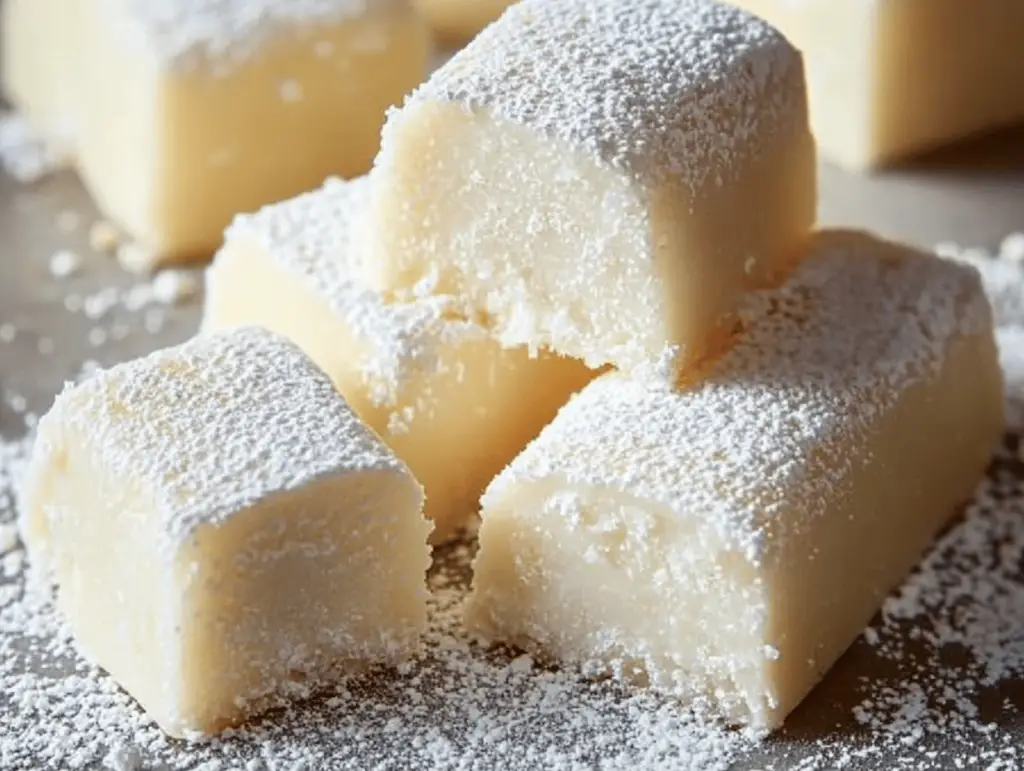
When it comes to irresistible cookies, few can compete with the soft, buttery goodness of Melting Moment Logs. These delightful treats are the epitome of comfort, perfect for sharing during the holidays or enjoyed quietly with a warm cup of tea. Their melt-in-your-mouth texture and hint of vanilla make them a timeless favorite among cookie lovers. The best part? These cookies are uncomplicated to prepare and require no special skills, making them an ideal recipe for both novice and experienced bakers alike. In this article, you will learn the rich background of these cookies, delve into a detailed ingredient breakdown, follow step-by-step instructions to whip up your batch, explore variations, and discover helpful tips for perfecting this delightful recipe.
Understanding the Recipe
Melting Moment Logs, also known simply as melting moments, have a delightful heritage. Originating from classic cookie recipes, these treats evoke feelings of nostalgia and warmth, often associated with family gatherings and festive occasions. The essence of these cookies lies in their texture and taste; they are wonderfully light, airy, and buttery, making them a perfect indulgence any time of the year. Traditionally enjoyed during the Christmas season in many cultures, these cookies bring people together, one bite at a time. My fondest memory of these treats involves baking alongside my grandmother, who taught me the fine art of cookie-making. Each melting moment is a reminder of those cherished times and serves as a sweet connection to family traditions. In our modern-day kitchens, these cookies retain their value, offering comfort and a memento of joy that anyone can create.
Ingredient Breakdown
To create your own batch of Melting Moment Logs, you’ll need the following ingredients:
- 1 cup unsalted butter, softened: The star of the show, butter adds that rich, creamy flavor and is essential for achieving the cookie’s melt-away texture.
- ½ cup powdered sugar: This ingredient sweetens the dough and contributes to the overall tenderness of the cookies.
- 1 tsp vanilla extract: A splash of vanilla brings warmth and depth to the flavor profile, making every bite extra special.
- 2 cups all-purpose flour: The base of the cookies, flour provides structure while still allowing them to be soft.
- ½ cup cornstarch: Cornstarch is crucial for that melt-in-your-mouth sensation, enhancing the cookie’s lightness.
- Pinch of salt: A small amount of salt balances sweetness and elevates the flavors of all the other ingredients.
- ½ cup powdered sugar (for dusting): The finishing touch; a light dusting of powdered sugar enhances presentation and adds an extra hint of sweetness.
When preparing these cookies, it’s essential to use high-quality ingredients, especially butter and vanilla. For those with dietary restrictions, you may substitute unsalted butter with a vegan butter alternative and use gluten-free flour blends to make the recipe gluten-free. However, remember that the texture may vary slightly. Each ingredient plays a significant role in crafting these delightfully soft cookies, so choose wisely for the best results!
Step-by-Step Instructions
- Preheat Oven: Start by preheating your oven to 350°F (175°C). While waiting, line a baking sheet with parchment paper to prevent sticking. This preparation will help ensure even cooking of your cookies.
- Make the Dough: In a large mixing bowl, cream together 1 cup of softened unsalted butter and ½ cup of powdered sugar until the mixture is light and fluffy; this should take about 3-4 minutes. Next, add 1 tsp of vanilla extract, mixing well to incorporate. Gradually add 2 cups of all-purpose flour, ½ cup of cornstarch, and a pinch of salt. Stir until a soft dough forms. Ensure not to overmix as it could lead to tougher cookies.
- Shape the Cookies: Take small portions of the dough and roll them into 2-inch logs. Place these log shapes on your prepared baking sheet, spacing them about 2 inches apart as they will spread slightly when baking.
- Bake: Place the cookie sheet in the preheated oven and bake for 12-15 minutes. Keep an eye on the edges; they should turn golden brown, while the center remains pale. Once baked, allow them to cool slightly on the sheet for about 5 minutes. Then, transfer the logs to a wire rack to cool completely.
- Finish with Sugar: When the cookies are completely cool, take the additional ½ cup of powdered sugar and gently dust it over the cookies. This creates a beautiful snowy effect and enhances the sweetness.
- Serve: Enjoy your Melting Moment Logs with a warm cup of tea or coffee. These cookies are perfect for sharing with friends and family or savoring on your own!
Variations and Customizations
The beauty of Melting Moment Logs lies in their versatility. While the classic recipe is simply delightful, there are numerous ways you can customize these cookies to suit your taste or dietary needs.
- Flavor Infusions: Explore different flavors by adding lemon zest or almond extract in place of vanilla. These variations can bring a refreshing twist to the traditional recipe.
- Nutty Additions: Fold in finely chopped nuts such as pecans or walnuts into the dough for a delightful crunch that complements the cookie’s soft texture.
- Chocolate Dipped: After baking and cooling the cookies, consider dipping one end in melted chocolate for a richer flavor experience.
- Gluten-Free Option: Substitute regular flour with a gluten-free flour blend to cater to gluten-sensitive individuals while maintaining a similar taste and texture.
These variations lend themselves well to personal preferences and dietary restrictions, ensuring everyone can enjoy a sweet treat!
Serving Suggestions
Melting Moment Logs shine when paired appropriately. Here are some delightful serving ideas:
- Garnishes: A simple dusting of powdered sugar is not only visually appealing but also adds a layer of sweetness to the cookies.
- Accompaniments: Serve these cookies alongside a lovely cup of Earl Grey or chamomile tea to enhance their delicate flavors. They also pair wonderfully with creamy hot chocolate.
- Occasions: These cookies are perfect for holiday gatherings, afternoon tea parties, or as a sweet treat for a casual family get-together.
Whether served at special occasions or enjoyed as a delightful everyday snack, Melting Moment Logs are sure to impress.
Tips for Success
To ensure your Melting Moment Logs come out perfect every time, consider these helpful tips:
- Room Temperature Butter: Make sure your butter is softened to room temperature but not melted; this helps to create a light and fluffy dough.
- Don’t Overbake: Keep an eye on your cookies while baking; removing them while they’re still slightly soft will help maintain that melt-in-your-mouth texture.
- Storing Leftovers: Store leftover cookies in an airtight container at room temperature for up to a week. They can also be frozen for up to a month. To freeze, place the cookies in a single layer on a baking sheet until solid, then transfer them to a zip-top bag.
By following these tips, you’ll create perfectly indulgent cookies every time.
FAQs
Can I substitute the butter?
Yes, you can use a vegan butter alternative for a dairy-free version. However, be aware that this might affect the cookie’s texture slightly.
What can I use instead of cornstarch?
If you don’t have cornstarch, you can replace it with an equal amount of powdered sugar, though this may alter the lightness of the cookies.
What’s the best way to store these cookies?
To keep them fresh, store your Melting Moment Logs in an airtight container at room temperature. If you want to store them longer, consider freezing them.
Can I bake these cookies in advance?
Absolutely! You can make the dough in advance and refrigerate it for up to three days. When you’re ready to bake, simply shape and bake as directed.
Can I use different types of flour?
Yes, you can experiment with different types of flour; just make sure to use a blend that works well for baking. Gluten-free flour blends are a great option for those with gluten sensitivities.
Conclusion
Melting Moment Logs are not just cookies; they are tender morsels filled with nostalgia and delightful flavors that bring people together. Their buttery richness and soft texture make them a standout treat for any occasion. Whether you enjoy baking them for a festive gathering or as a simple indulgence for yourself, these cookies are sure to bring smiles and warm hearts. We hope you are inspired to try this easy recipe and share your experience with others. Happy baking!

Melting Moment Logs
Ingredients
Method
- Preheat Oven: Start by preheating your oven to 350°F (175°C). While waiting, line a baking sheet with parchment paper to prevent sticking. This preparation will help ensure even cooking of your cookies.
- Make the Dough: In a large mixing bowl, cream together 1 cup of softened unsalted butter and ½ cup of powdered sugar until the mixture is light and fluffy; this should take about 3-4 minutes. Next, add 1 tsp of vanilla extract, mixing well to incorporate. Gradually add 2 cups of all-purpose flour, ½ cup of cornstarch, and a pinch of salt. Stir until a soft dough forms. Ensure not to overmix as it could lead to tougher cookies.
- Shape the Cookies: Take small portions of the dough and roll them into 2-inch logs. Place these log shapes on your prepared baking sheet, spacing them about 2 inches apart as they will spread slightly when baking.
- Bake: Place the cookie sheet in the preheated oven and bake for 12-15 minutes. Keep an eye on the edges; they should turn golden brown, while the center remains pale. Once baked, allow them to cool slightly on the sheet for about 5 minutes. Then, transfer the logs to a wire rack to cool completely.
- Finish with Sugar: When the cookies are completely cool, take the additional ½ cup of powdered sugar and gently dust it over the cookies. This creates a beautiful snowy effect and enhances the sweetness.
- Serve: Enjoy your Melting Moment Logs with a warm cup of tea or coffee. These cookies are perfect for sharing with friends and family or savoring on your own!
