Introduction
Cannoli are a beloved Italian dessert known for their crispy pastry shells filled with creamy, sweet ricotta cheese. These Mini Cannoli Cups offer a bite-sized twist on the traditional treat, making them perfect for parties and gatherings. Their delightful blend of textures and flavors, combined with the ease of preparation, make them a crowd-pleaser. Whether you’re hosting a summer barbecue or a festive holiday party, these mini cannoli cups are sure to impress your guests and become a favorite go-to dessert for any occasion.
Preparation Phase & Tools to Use
To make Mini Cannoli Cups, you need to gather specific ingredients and tools to ensure a smooth preparation process. Start by preparing the ricotta cheese, which should be full-fat and drained using a cheesecloth to achieve the right consistency. For the filling, mix ricotta with powdered sugar, granulated sugar, vanilla extract, and finely grated citrus zest, providing a fresh and tangy note. The crusts are made from refrigerated pie crusts, sprinkled with turbinado sugar and cinnamon, then rolled out and cut into rounds using a 2.5-inch cookie cutter. Bake these in mini muffin cups to create the perfect bite-sized pastry shells. Essential tools include a rolling pin, a floured work surface, an electric mixer, a large mixing bowl, and a zip-top resealable bag for piping the filling into the crusts.
Ingredients List
- Ricotta Cheese (15 oz): The base for the creamy filling.
- Powdered Sugar (½ cup): Adds sweetness and smooth texture.
- Granulated Sugar (2 tbsp): Enhances sweetness and texture.
- Orange or Lemon Zest (1 tsp): Provides a hint of citrus flavor.
- Vanilla Extract (½ tsp): Adds depth and aroma to the filling.
- Refrigerated Pie Crusts (2 count): Forms the crispy pastry shells.
- Turbinado Sugar (3 tbsp): Adds a crunchy, sweet layer to the crusts.
- Ground Cinnamon (1 tsp): Infuses warmth and spice into the crusts.
- Miniature Semisweet Chocolate Chips or Finely Chopped Pistachios (¼ cup): Used for garnishing.
- Additional Powdered Sugar: For dusting the finished cannoli cups.
Step-by-Step Instructions
- Preheat the Oven: Set your oven to 425°F.
- Prepare the Pie Crusts: Lightly flour a work surface and unroll the pie crusts. Sprinkle with turbinado sugar and cinnamon, then gently roll with a rolling pin to press in the toppings.
- Cut and Shape: Use a 2.5-inch cookie cutter to cut out pastry rounds. Press each round into an ungreased mini muffin cup.
- Bake the Crusts: Bake for 10 minutes until golden brown. Cool in the pans for 15 minutes, then transfer to a wire rack to cool completely.
- Prepare the Filling: Beat ricotta cheese, powdered sugar, granulated sugar, citrus zest, and vanilla extract until creamy. Place the filling in a zip-top bag and refrigerate.
- Assemble the Cannoli Cups: Just before serving, snip the corner of the bag and pipe the filling into the cooled pastry cups. Garnish with chocolate chips or pistachios and dust with powdered sugar. Serve immediately.
Side Dish Recommendations
Pairing your Mini Cannoli Cups with the right side dishes can elevate the dessert experience. Consider serving these delightful treats with a variety of complementary options:
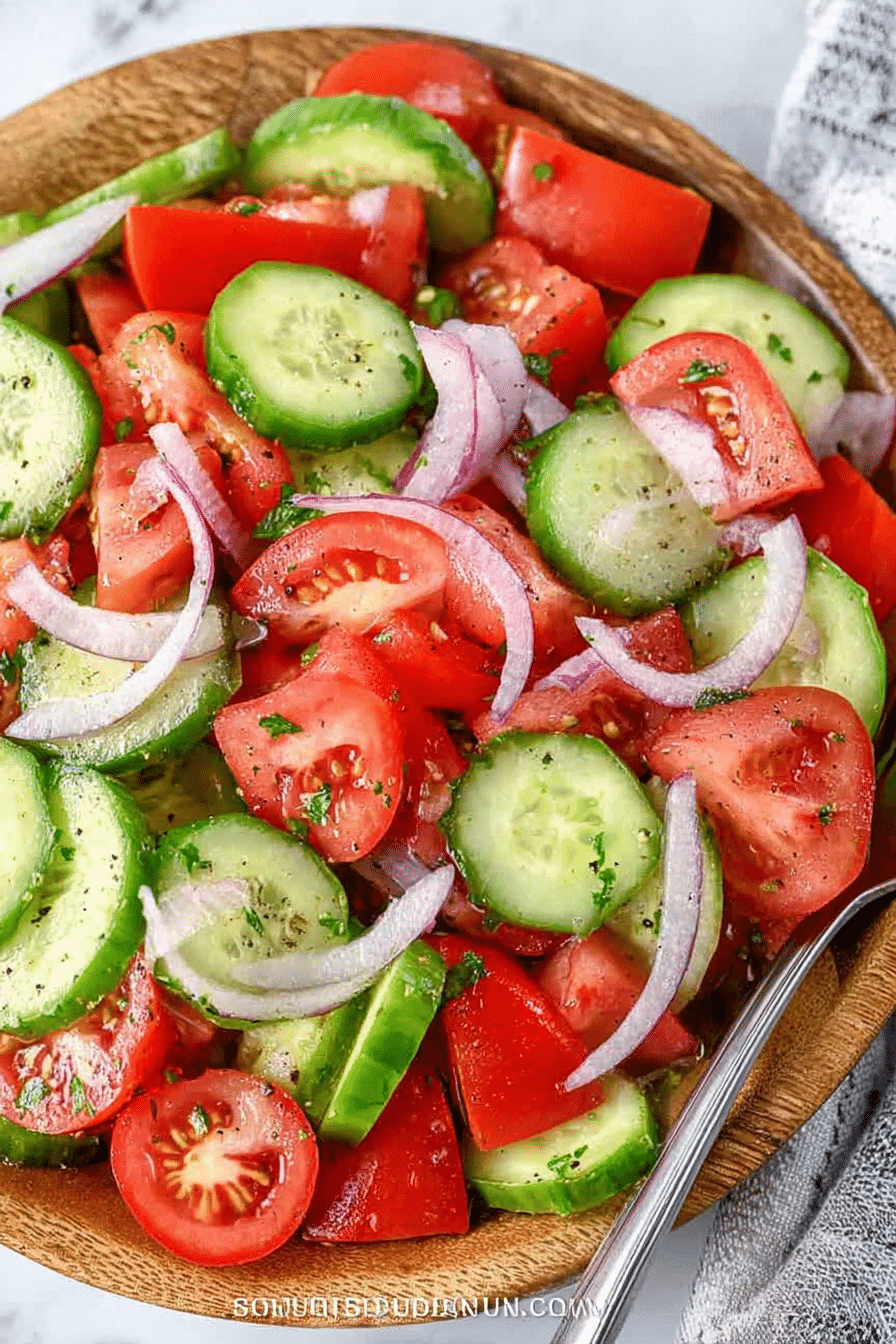
- Fresh Fruit Salad: A mix of berries, melons, and citrus fruits adds a refreshing and colorful touch to the dessert table.
- Espresso or Coffee: The rich, bold flavors of coffee enhance the sweet and creamy cannoli filling.
- Lemon Sorbet: A light and tangy sorbet cleanses the palate and balances the sweetness of the cannoli.
- Cheese Platter: Include a selection of mild and creamy cheeses, such as ricotta salata and mascarpone, along with crackers and honey.
- Prosecco or Sparkling Water: A bubbly drink adds a festive flair and helps cut through the richness of the cannoli filling. These side dishes not only complement the Mini Cannoli Cups but also create a well-rounded and enjoyable dessert experience for your guests.
Nutritional Information & Health Benefits
Mini Cannoli Cups offer a delightful dessert option that can fit into a balanced diet when consumed in moderation. Each serving of these mini treats contains essential nutrients from the ricotta cheese, such as protein and calcium, which support muscle and bone health. The citrus zest adds a dose of vitamin C, an antioxidant that boosts the immune system and improves skin health. Using a small amount of turbinado sugar and cinnamon in the crust provides a lower-glycemic option compared to traditional cannoli shells. The chocolate chips or pistachios used for garnish add a touch of healthy fats and antioxidants, which can contribute to heart health. By making these treats at home, you can control the ingredients and avoid preservatives and artificial flavors found in store-bought versions.
Common Mistakes to Avoid & How to Perfect the Recipe
Making Mini Cannoli Cups can be straightforward, but there are a few common pitfalls to avoid:
- Using Wet Ricotta: Ensure the ricotta cheese is well-drained using a cheesecloth to avoid a runny filling.
- Overfilling the Cups: Be careful not to overfill the pastry cups with the ricotta mixture to prevent spillage.
- Baking Time: Keep an eye on the baking time for the crusts to ensure they turn golden brown and not too dark.
- Assembling Too Early: Fill the cannoli cups just before serving to keep the crusts from getting soggy.
- Improper Storage: Store the components separately in the refrigerator if preparing ahead of time to maintain freshness and texture.
By paying attention to these details, you can achieve perfect Mini Cannoli Cups every time.
Tips, Notes, Storing, and Reheating
Here are some useful tips and notes for making Mini Cannoli Cups:
- Make Ahead: You can prepare the pastry shells and the ricotta filling a day in advance. Store them separately and assemble just before serving.
- Variations: Experiment with different fillings such as mascarpone or flavored ricotta with cocoa powder for a unique twist.
- Storing: Store the baked pastry shells in an airtight container at room temperature for up to 2 days. Keep the ricotta filling in the refrigerator for up to 3 days.
- Reheating: If the pastry shells lose their crispiness, reheat them in a preheated 350°F oven for 5 minutes before filling.
- Serving: Serve the cannoli cups chilled or at room temperature, but avoid leaving them out for too long to maintain their texture.
FAQs
Q: Can I use store-bought cannoli shells instead of making my own pastry cups?
A: Yes, store-bought cannoli shells can be a convenient alternative, but making your own adds a personal touch and allows for flavor customization.
Q: How can I make the filling thicker?
A: If the filling seems too runny, try draining the ricotta cheese longer or adding a bit more powdered sugar to reach the desired consistency.
Q: Can I freeze the Mini Cannoli Cups?
A: It’s best not to freeze the filled cannoli cups as the texture may be compromised. However, you can freeze the unfilled pastry shells for up to 1 month.
Q: What can I use instead of ricotta cheese?
A: Mascarpone or a mixture of cream cheese and ricotta can be used as alternatives for a different flavor profile.
Q: Are there any dairy-free options?
A: For a dairy-free version, use a dairy-free ricotta substitute and ensure all other ingredients are also dairy-free.
Conclusion
Mini Cannoli Cups are a delightful and versatile dessert perfect for any occasion. Their bite-sized form makes them easy to serve and enjoy, while their delicious filling and crisp pastry shells are sure to impress. By following this guide, you can create these treats with confidence, knowing that each step is designed to achieve the best results. Whether you’re a seasoned baker or a beginner, these Mini Cannoli Cups offer a fun and rewarding baking experience. Enjoy the process and the delicious outcome!

Mini Cannoli Cups
Ingredients
Method
- Preheat the Oven: Set your oven to 425°F.
- Prepare the Pie Crusts: Lightly flour a work surface and unroll the pie crusts. Sprinkle with turbinado sugar and cinnamon, then gently roll with a rolling pin to press in the toppings.
- Cut and Shape: Use a 2.5-inch cookie cutter to cut out pastry rounds. Press each round into an ungreased mini muffin cup.
- Bake the Crusts: Bake for 10 minutes until golden brown. Cool in the pans for 15 minutes, then transfer to a wire rack to cool completely.
- Prepare the Filling: Beat ricotta cheese, powdered sugar, granulated sugar, citrus zest, and vanilla extract until creamy. Place the filling in a zip-top bag and refrigerate.
- Assemble the Cannoli Cups: Just before serving, snip the corner of the bag and pipe the filling into the cooled pastry cups. Garnish with chocolate chips or pistachios and dust with powdered sugar. Serve immediately.
Notes
- Make Ahead: You can prepare the pastry shells and the ricotta filling a day in advance. Store them separately and assemble just before serving.
- Variations: Experiment with different fillings such as mascarpone or flavored ricotta with cocoa powder for a unique twist.