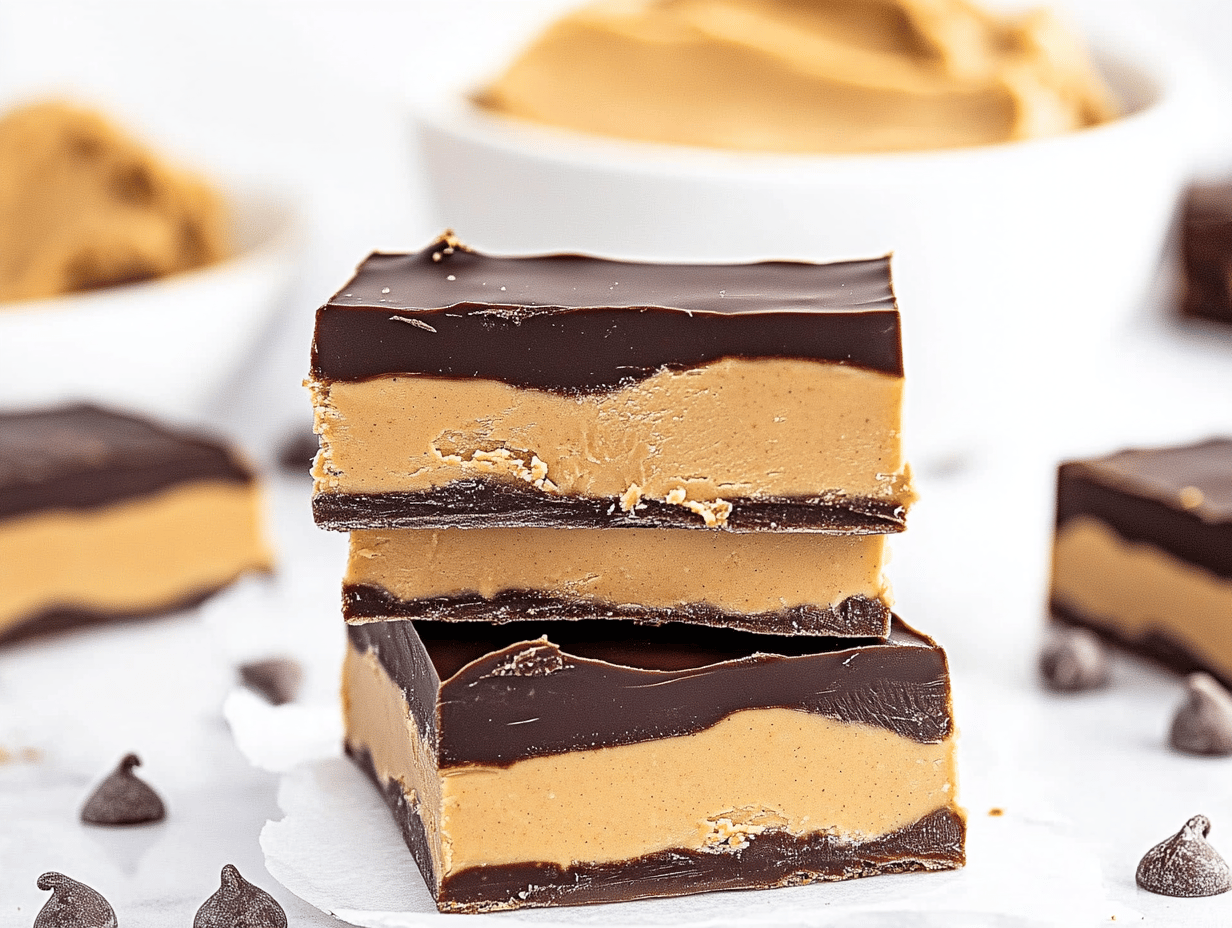
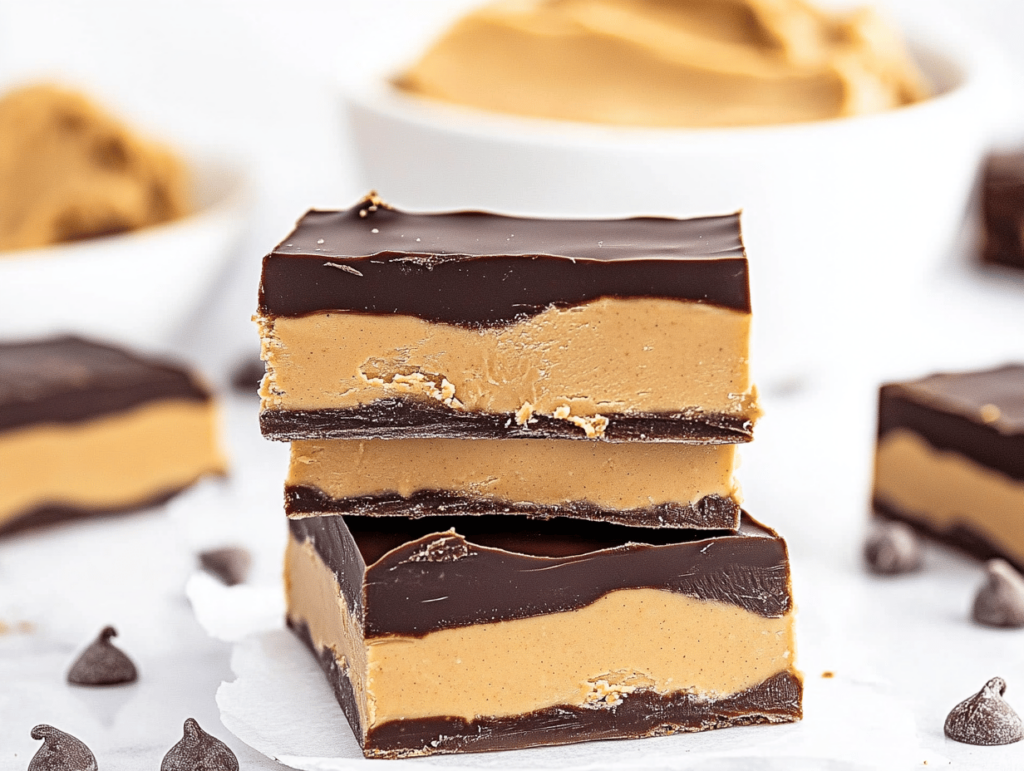
Imagine sinking your teeth into a rich, creamy dessert that combines the irresistible flavors of peanut butter and chocolate. Buckeye Bars perfectly capture the essence of the beloved Ohio candy, transforming it into shareable squares that you can enjoy any time of the year. These no-bake treats are not only easy to make but also offer a delightful indulgence that will impress family and friends alike. The combination of creamy peanut butter and decadent chocolate creates an irresistible flavor profile that draws you in with each bite. In this article, you’ll learn about the history and cultural significance of Buckeye Bars, understand the importance of high-quality ingredients, and get step-by-step instructions to recreate this delicious dessert in your own kitchen.
Understanding the Recipe
Buckeye Bars are inspired by the classic Buckeye candy, which originated in Ohio and is named after the state tree, the Buckeye tree. The origin of these confections dates back to the 1960s, and they have become a staple at holiday gatherings, potlucks, and dessert tables across the United States. They capture the spirit of comfort food, embodying memories of family traditions and gatherings. The recipe has evolved over the years, with many taking liberties to create variations. What makes Buckeye Bars truly special is their easy preparation without the need for baking, allowing you to whip up a batch quickly. People of all ages adore these treats, and they bring a sense of nostalgia, making them the perfect dessert for celebrations or simple family delights.
Ingredient Breakdown
Let’s dive into the ingredients that make these Buckeye Bars so special:
- 8 tablespoons salted sweet cream butter, softened: The butter forms the base of the peanut butter layer, adding richness and depth of flavor.
- 3 cups creamy peanut butter: Peanut butter is the star of the show, providing a smooth, nutty taste that’s hard to resist.
- 4 cups powdered sugar: This ingredient sweetens the peanut butter layer and gives it a firm texture that holds together well.
- 2 teaspoons pure vanilla extract: Adding vanilla enhances the overall flavor profile of the bars, giving a delicious aroma.
- 12 ounces semi-sweet chocolate chips: These chips make up the decadent chocolate ganache that tops the bars, offering a sweet and rich layer.
- 2 tablespoons vegetable oil: The oil helps to achieve a smooth and glossy ganache, making it easier to spread over the peanut butter layer.
Using high-quality ingredients is crucial for achieving the best flavor and texture. If you have dietary restrictions, consider using organic peanut butter and non-GMO chocolate chips. For those needing gluten-free options, rest assured that all the ingredients used in this recipe are naturally gluten-free. Just ensure to double-check labels if you’re sensitive to cross-contamination.
Step-by-Step Instructions
Ready to make these delightful Buckeye Bars? Follow these detailed instructions for the best results:
- Prepare the Peanut Butter Layer:
- Line a 9×13 baking dish with parchment paper to prevent sticking.
- In a large mixing bowl, use a mixer to beat 8 tablespoons of softened salted sweet cream butter until it’s smooth and creamy.
- Add 3 cups of creamy peanut butter and 2 teaspoons of pure vanilla extract to the bowl, mixing until fully combined.
- Gradually incorporate 4 cups of powdered sugar, mixing until the mixture is smooth. The consistency should be thick yet spreadable.
- Spread this mixture evenly across the base of the prepared baking dish, creating a flat layer.
- Create the Chocolate Ganache:
- In a microwave-safe bowl, combine 12 ounces of semi-sweet chocolate chips and 2 tablespoons of vegetable oil.
- Heat the mixture in the microwave on medium heat in 30-second intervals, stirring in between, until completely melted and smooth.
- Once melted, gently spread this ganache over the peanut butter layer in the baking dish, ensuring an even coating.
- Chill and Cut the Bars:
- Place the baking dish in the refrigerator and chill for about 15-20 minutes, allowing the chocolate to firm up.
- After chilling, remove the baking dish from the fridge and slice the bars into 15 squares, each measuring approximately 2½ in x 3 in.
- Return the sliced bars to the fridge for an additional 1 hour and 45 minutes to ensure everything sets properly.
- Once completely chilled, carefully lift the bars out of the dish using the parchment paper, slice again if necessary, and serve cold.
Enjoy this delectable treat that everyone will love!
Variations and Customizations
The beauty of Buckeye Bars lies in their versatility. Here are some delightful ways to customize the recipe:
- Nut Variations: For added crunch, consider folding in chopped nuts like peanuts or almonds into the peanut butter mixture before spreading it into the dish.
- Chocolate Types: Experiment with different types of chocolate for the ganache, such as milk chocolate or dark chocolate, based on your preference.
- Flavor Add-Ins: Enhance the flavor by adding a pinch of sea salt on top of the chocolate ganache before chilling, or mix in a teaspoon of espresso powder into the peanut butter layer for a mocha twist.
- Dairy-Free Version: Substitute the butter with a dairy-free buttery spread and use dairy-free chocolate chips for a vegan-friendly option.
Feel free to get creative and make this recipe your own, ensuring it fits your taste buds and dietary preferences!
Serving Suggestions
When it comes to serving your delicious Buckeye Bars, presentation can elevate the experience. Here are some ideas:
- Garnishes: Drizzle additional melted chocolate or caramel sauce over the bars for an elegant touch. Sprinkling crushed peanuts or sea salt on top adds a delicious crunch.
- Pairing Suggestions: Serve the bars with a side of fresh fruit like strawberries or bananas to balance the richness. A glass of cold milk or a warm cup of coffee complements the flavors beautifully.
- Occasions: These bars are perfect for casual gatherings, birthday parties, or holiday celebrations. They also make excellent gifts packaged in decorative boxes for friends and family.
Tips for Success
Here are some practical tips to ensure your Buckeye Bars turn out perfectly:
- Make sure the butter is softened but not melted; softening it at room temperature for about 30 minutes will yield the best results.
- Gradually adding powdered sugar helps achieve a smoother consistency without lumps. Take your time mixing it in.
- A sharp knife will give you cleaner cuts when slicing the chilled bars. You can dip it in hot water, drying it off before each cut, for even better results.
- If you have leftovers, store them in an airtight container in the fridge for up to a week. For longer storage, wrap them well and freeze for up to three months. Thaw in the refrigerator before serving.
FAQs
Here are some frequently asked questions about Buckeye Bars:
- Can I substitute the peanut butter with another nut butter? Yes, feel free to use almond or cashew butter, but keep in mind the flavor will change accordingly.
- How do I store leftover bars? Store them in an airtight container in the fridge for up to a week or freeze them for longer storage. Make sure to separate layers with parchment to prevent sticking.
- Can I use other toppings? Absolutely! Crushed candies, sprinkles, or even shredded coconut can make great toppings for these bars.
- Are there any alternative cooking methods? This recipe is specifically designed for no-bake, but you can always experiment with using a double boiler to melt the chocolate if you prefer.
Conclusion
In conclusion, these no-bake Buckeye Bars offer a sweet escape into the world of delicious desserts. With their rich layers of peanut butter and chocolate, they are perfect for any gathering or as an indulgent treat for yourself. Plus, the simple preparation means you can create this dessert quickly and easily. We hope you embrace this recipe and enjoy making it for friends and family. Don’t forget to share your experiences and any creative variations you come up with—happy baking!

No-Bake Buckeye Bars
Ingredients
Method
- Line a 9×13 baking dish with parchment paper to prevent sticking.
- In a large mixing bowl, use a mixer to beat 8 tablespoons of softened salted sweet cream butter until it's smooth and creamy.
- Add 3 cups of creamy peanut butter and 2 teaspoons of pure vanilla extract to the bowl, mixing until fully combined.
- Gradually incorporate 4 cups of powdered sugar, mixing until the mixture is smooth. The consistency should be thick yet spreadable.
- Spread this mixture evenly across the base of the prepared baking dish, creating a flat layer.
- In a microwave-safe bowl, combine 12 ounces of semi-sweet chocolate chips and 2 tablespoons of vegetable oil.
- Heat the mixture in the microwave on medium heat in 30-second intervals, stirring in between, until completely melted and smooth.
- Once melted, gently spread this ganache over the peanut butter layer in the baking dish, ensuring an even coating.
- Place the baking dish in the refrigerator and chill for about 15-20 minutes, allowing the chocolate to firm up.
- After chilling, remove the baking dish from the fridge and slice the bars into 15 squares, each measuring approximately 2½ in x 3 in.
- Return the sliced bars to the fridge for an additional 1 hour and 45 minutes to ensure everything sets properly.
- Once completely chilled, carefully lift the bars out of the dish using the parchment paper, slice again if necessary, and serve cold.
