
I make these Peanut Butter Rice Krispie Treats whenever my family needs a fast, crowd-pleasing snack. They take almost no active time in the kitchen, and the no-bake method keeps cleanup to a minimum — perfect for busy weeknights, school parties, or when you want something sweet without a lot of fuss.
What I love most is how forgiving the recipe is: you can scale it up for a bake sale or cut it down for an after-school snack. The whole pan comes together quickly and the finished squares stay portable and sturdy — great to pack in lunchboxes or serve at potlucks.
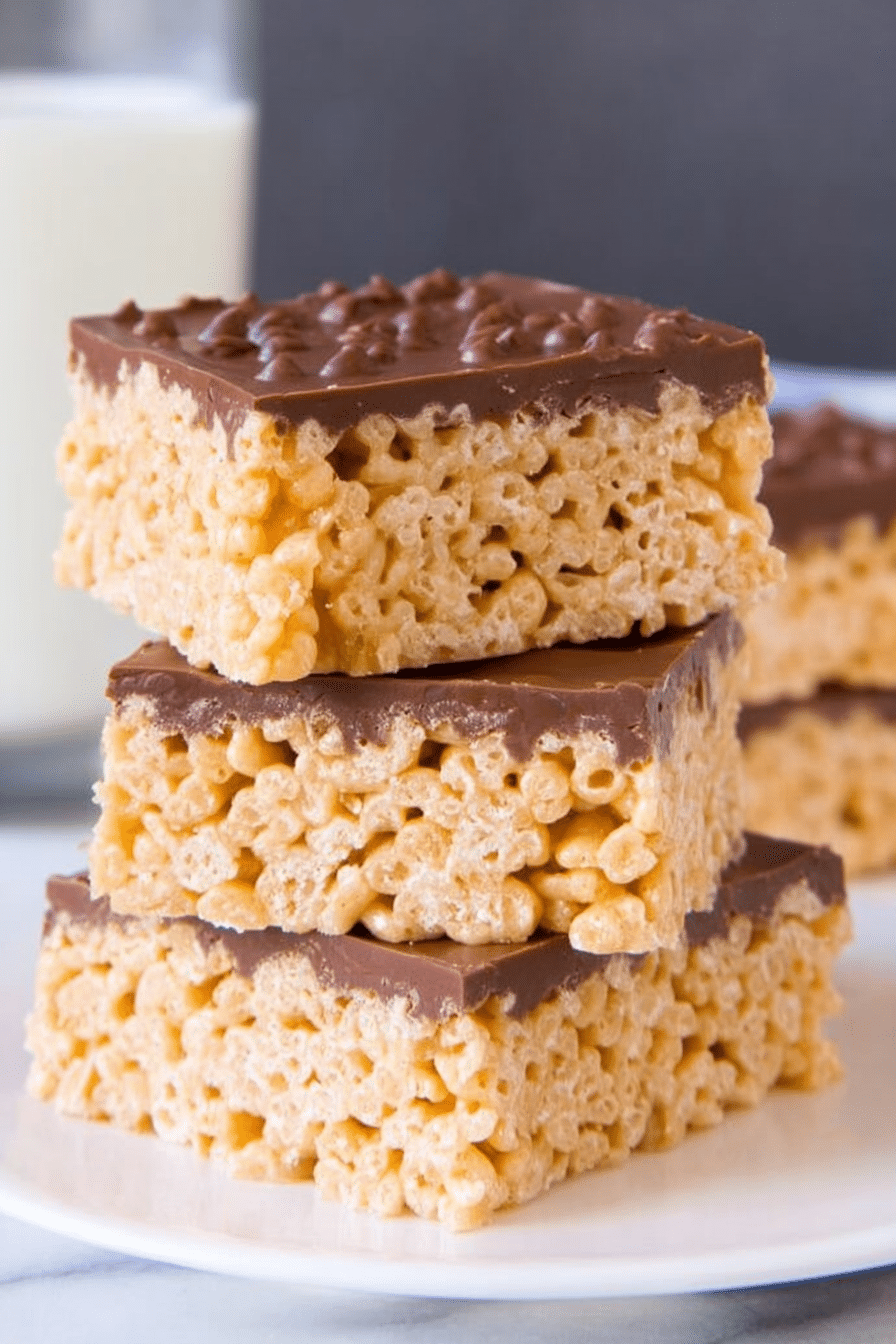
There’s a warm, nutty aroma while the marshmallows and peanut butter melt together, and the contrast between glossy chocolate on top and crunchy cereal underneath is what keeps my family reaching for seconds. I often make a double batch so there are extras to stash away for later.
Why Peanut Butter Rice Krispie Treats are Perfect for Busy Families
These treats are ideal when time is short and you still want something homemade. Prep is minimal and most of the time spent is passive (letting the chocolate set). Because they’re no-bake, you avoid turning on the oven and you cut down on dishes.
The recipe scales easily so you can make a large tray for a group or a smaller batch for a snack. If you want more quick peanut-butter ideas for busy nights, try this fun twist on cookies — it’s an easy follow-up after you finish the bars.
Practical perks: they travel well, store at room temperature, and are easy for kids to help make — a simple activity that still leaves you plenty of time for other tasks around the house.
Everything You Need for Peanut Butter Rice Krispie Treats
- Ingredients — conversational rundown
- Butter – Helps the marshmallow mixture glide and prevents sticking; use dairy-free spread if you need a vegan option.
- Mini marshmallows – Act as the glue that binds the cereal; they melt quickly and evenly (see why mini size matters below).
- Peanut butter – Adds richness, salt balance, and chew; swap for almond or sunflower seed butter for nut-free or different flavor.
- Rice cereal – Provides the crisp, airy texture; choose a certified gluten-free cereal if you need to avoid gluten.
- Chocolate – Creates a glossy, firm top that contrasts with the chewy base; melting with a little vegetable oil keeps the chocolate smooth and spreadable.
- Vegetable oil (for chocolate) – Thins melted chocolate slightly so it pours and sets shiny; use a neutral oil like canola or light olive oil.
Dietary swaps: use vegan marshmallows and a plant-based butter substitute to make the whole recipe vegan. For gluten-free, verify the rice cereal label. These swaps keep the texture and flavor close to the original while accommodating dietary needs.
How to Make Peanut Butter Rice Krispie Treats (Step-by-Step)
- Melt the butter, marshmallows, and peanut butter together over low heat while stirring constantly so nothing browns — low, gentle heat prevents scorching.
- Remove the pan from heat as soon as the mixture is smooth; fold in the cereal quickly but gently so each piece is coated without crushing it.
- Lightly grease your hands or spray them with non-stick spray, then press the mixture evenly into a prepared pan; press with even, gentle pressure to keep bars airy rather than dense.
- Melt the chocolate in short bursts at medium power, stirring between each interval; once almost melted, stir until smooth and add a touch of vegetable oil to keep it glossy and pourable.
- Pour the melted chocolate over the set cereal layer and spread it to the edges; let the pan sit at room temperature until the chocolate firms (about 2 hours).
- Once set, cut into squares and store in an airtight container at room temperature.
Sensory notes: you’ll smell warm peanut butter and sweet marshmallow while cooking; the finished bars should look glossy on top and snap cleanly when cut.
The Secret to the Perfect Crispy Texture
Texture comes down to balance. Use roughly a cereal-to-marshmallow ratio that keeps most pieces coated lightly rather than buried — that preserves crispness. Pressing too hard squeezes out air and makes bars heavy; press just enough to form an even surface.
Technical detail: the goal is even coating without saturating the cereal. If your mixture looks overly shiny and compact as you press, you’ve probably pressed too firmly. Let the marshmallow mixture cool for a minute off the heat before adding cereal so it’s pliable but not runny.
Why Using Mini Marshmallows is Key
Mini marshmallows melt faster and more evenly than large ones, which means fewer hot spots and a smoother mixture. That uniform melt helps coat each cereal flake without leaving unmelted chunks that create gaps in the texture.
They’re also convenient: the smaller pieces are easier to measure by volume and incorporate quickly into the warm butter and peanut butter. The result is a consistent, chewy bar with crisp pockets throughout.
Pro-Tip for Peanut Butter Rice Krispie Treats: Explore Flavor Variations
Pro-Tips, Troubleshooting, and Variations are listed below as bulleted items for easy scanning.
- Pro-Tips
- Add a sprinkle of flaky sea salt on the chocolate while it’s still wet to heighten the peanut‑butter flavor.
- Use a little extra peanut butter in the melt for a stronger nutty note, but don’t add so much that the mixture becomes oily and hard to press.
- Chill the pan briefly after pressing the base to speed up setting before you pour on the chocolate for a cleaner finish.
- Troubleshooting (I speak from experience)
- If marshmallows start to brown, lower the heat and stir continuously; I’ve scorched a batch by rushing this step.
- If chocolate seizes when melting, stir in a small amount of oil and warm gently; don’t overheat the chocolate or it will thicken.
- If bars are too dense, next time press more lightly and use slightly less marshmallow mixture before adding the cereal.
- Variations
- Stir in chopped peanuts or toasted coconut for extra texture.
- Swirl in peanut butter chips or white chocolate chips before the chocolate layer sets for pockets of flavor.
- Try other toppings or mix-ins in small amounts — dried fruit or seeds can work, but limit additions so the bars keep their structure.
- For another delicious way to enjoy peanut butter, try our Peanut Butter Buckeyes, a tasty treat that pairs perfectly with rice krispie treats.
- If you’re looking for a chocolate twist, check out our Chocolate Rice Krispie Balls, which make a delightful variation.
Storage Tips for Your Treats
Keep your bars fresh and easy to grab with these simple storage guidelines:
- Store in an airtight container at room temperature to preserve crispness and prevent the chocolate from sweating.
- Avoid direct sunlight or warm spots; if your kitchen is hot, store in a slightly cooler place but not in the fridge or the chocolate may bloom.
- Freeze for long-term storage: individually wrap squares and place in a freezer-safe container. Thaw at room temperature for 30–60 minutes before serving.
Frequently Asked Questions
Can I use regular marshmallows instead of mini marshmallows?
Yes, you can use regular marshmallows! Just keep in mind that you’ll need to cut them into smaller pieces for even melting.
How do I store Peanut Butter Rice Krispie Treats?
Store your treats in an airtight container at room temperature to keep them fresh for up to a week.
Can I add other ingredients to the recipe?
Absolutely! Feel free to experiment with add-ins like chocolate chips, nuts, or even a drizzle of caramel for extra flavor.
How long do I need to let the chocolate harden?
Let the chocolate harden at room temperature for about 2 hours before cutting into squares.
Are these treats gluten-free?
Yes! Rice Krispies are typically gluten-free, but be sure to check the packaging to confirm.
Peanut Butter Rice Krispie Treats
Ingredients
Method
- Lightly grease a 9x13 inch pan with butter or non-stick cooking spray.
- In a large saucepan melt the butter, mini marshmallows and peanut butter together over low heat while stirring gently.
- Once melted, remove from the heat and stir in the Rice Krispies.
- Press the mixture into the pan (lightly spray your hands with non-stick cooking spray to avoid the mixture sticking to your hands).
- Add the chocolate chips to a medium-sized heatproof bowl and microwave for 45-second intervals, stirring in between each burst until smooth.
- Stir in the vegetable oil and pour the chocolate over the top of the bars.
- Let harden at room temperature for about 2 hours, cut into squares and store in an airtight container.