I grew up with the smell of brown sugar and pineapple wafting from the oven on holiday afternoons. My grandmother kept a chipped 9×13 tin that only came out for birthdays and big Sunday dinners; the pan was stained with memories and a little caramel from decades of baking. I learned early that this cake is less about perfection and more about the warm, sticky ritual of making something that feels like home.
Over the years I’ve made this cake in busy weeknights and slow, ritualized afternoons. I learned the hard way that the difference between a glossy caramel top and a soggy mess often comes down to small choices: the pan, the temperature, and whether you let the butter melt fully before you spread the sugar. When I first started, I’d rush the step that places the fruit and wind up with pineapple that sank or cherries that faded. That taught me patience.
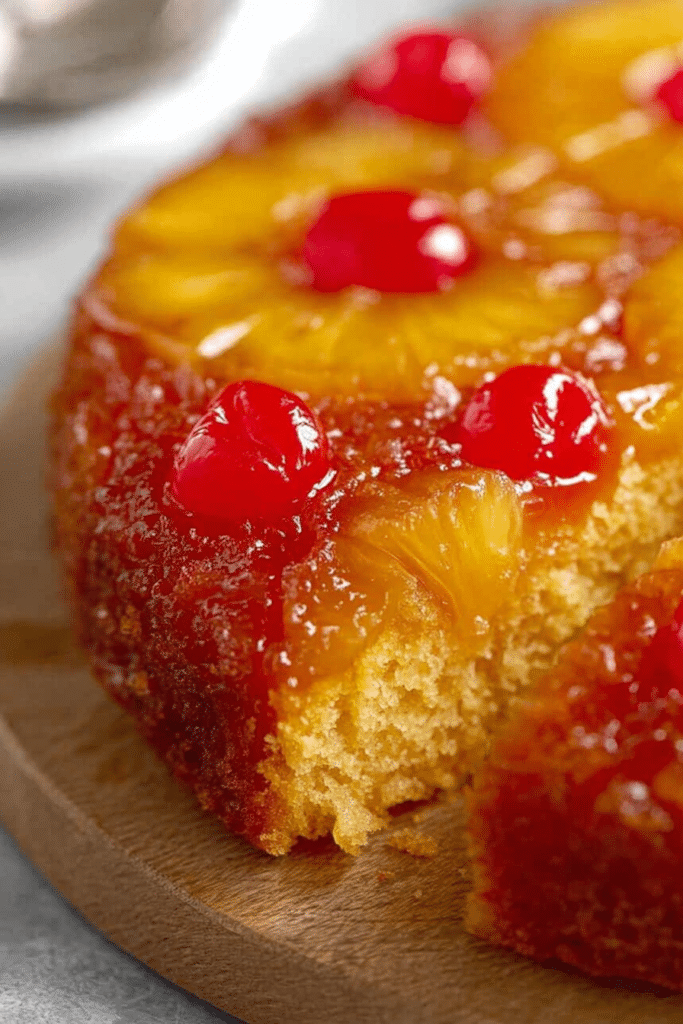
When this cake comes out of the oven, there’s a particular hush in the kitchen — a fragrant mix of roasted pineapple, warm vanilla, and caramelized sugar that makes everyone pause. I still make it when I want to bring a piece of my childhood to the table, and I’ll share the little tricks that turned my attempts into the version my family now expects.
Below I’ll walk you through what I use, how I avoid common mistakes, and a few ways to play with the classic. This is a nostalgic, inviting, classic take meant to make your gatherings feel a little more like home.
Everything You Need for Pineapple Upside Down Cake
Gathering your tools and ingredients ahead of time keeps the process relaxed. You don’t need anything fancy — just reliable pans and a few pantry staples. I always set everything out before I begin; it keeps the kitchen calm and the batter lump-free.
- Unsalted butter – Controls the salt level so you can balance sweetness; unsalted gives you more predictable flavor.
- Brown sugar – Provides the deep caramel flavor and sticky, glossy texture that defines the cake top.
- Pineapple – Canned is convenient and evenly sweet; fresh gives brighter flavor and texture. Either works when sliced uniformly.
- Maraschino cherries – Traditional and cheerful; they’re decorative and offer a pop of color and syrupy sweetness.
- Vanilla cake mix or homemade batter – A boxed mix gives consistency and speed; homemade batter allows more control over crumb and sweetness.
- Pineapple juice – Adds acidity and moisture; use reserved juice when possible to reinforce pineapple flavor.
- Eggs and oil – Provide structure and tenderness; room temperature eggs incorporate more smoothly.
- 9×13 pan – Critical for even baking and the right fruit-to-cake ratio; avoid swapping for a much larger pan.
Fresh vs Canned Pineapple: Which Yields Better Flavor
Both fresh and canned pineapple bring something valuable to the table. I reach for canned pineapple when I want reliable sweetness and consistent slices; during peak season, fresh pineapple gives the cake a brighter, more tropical note. The trick with fresh is uniform thickness so everything cooks through evenly.
Consider these points when choosing:
- Fresh pineapple has a more vivid aroma and firmer bite; it also browns slightly during baking, which is lovely to see and smell.
- Canned pineapple is sweeter and juicier out-of-the-can, which helps the brown sugar caramelize aggressively and creates a glossy crown.
- If using fresh, taste it first — sweeter fruit will caramelize better; if it’s tart, lightly brush with a bit of extra sugar before arranging.
The Secret to a Moist, Gooey Center
The cake’s tender crumb comes from balanced moisture and gentle mixing. I always bring my eggs and any refrigerated liquids to room temperature so they blend without shocking the batter. That, plus the pineapple juice, keeps the center soft rather than dry.
- Use room-temperature eggs and liquids so the batter emulsifies smoothly and traps air for a lighter texture.
- Mix until just combined; overmixing develops gluten and can make the cake dense instead of tender.
- Fold the batter gently over the fruit so you keep the air you’ve incorporated — this contrast between fluffy cake and sticky topping is the point.
How the Brown Sugar Caramelizes (and Avoids Sogginess)
Caramelization is simple chemistry: heat melts butter and dissolves sugar, then the mixture browns and concentrates. I learned to preheat the pan with the butter so the sugar starts to bloom as soon as it hits the heat — that gives a shiny, slightly crusted finish instead of a wet, runny layer.
- Pre-melt the butter in the pan in the oven so it’s hot enough to start dissolving the sugar immediately — this encourages even caramel formation.
- Sprinkle the brown sugar evenly and press lightly so it makes contact with the warm butter; some grit is fine — it will melt during baking.
- Avoid adding extra wet ingredients on top of the sugar layer. If your fruit is very juicy, pat it slightly before arranging to reduce excess moisture and prevent sogginess.
How to Make Pineapple Upside Down Cake (Step-by-Step)
Below are the steps I follow each time; they keep the workflow calm and the result consistent. While this is a higher-level guide (the exact quantities belong in the recipe card), these steps will help you read the batter and pantry like a pro.
- Preheat the oven to the recipe temperature and prepare a 9×13 pan by coating the bottom and sides with nonstick spray.
- Place butter in the pan and return it to the hot oven until the butter melts and the pan is hot to the touch.
- Meanwhile, mix the brown sugar and a pinch of salt; when the pan is hot, remove it and swirl so melted butter covers the bottom.
- Sprinkle the brown sugar mixture evenly over the butter; it may remain slightly gritty, and that’s okay — it will dissolve in the heat.
- Arrange pineapple slices atop the sugar, placing cherries in the centers and in any gaps for visual balance.
- Combine your cake mix (or prepared batter) with the pineapple juice, eggs, oil, and vanilla, stirring until a few small lumps remain.
- Gently pour the batter over the arranged fruit, smoothing lightly to an even thickness without disturbing the fruit placement.
- Bake until a toothpick inserted in the center comes out clean or with a few moist crumbs; allow the cake to rest briefly before inverting.
- Run a knife around the edges, place a serving dish over the pan, and carefully invert using hot pads. Trim any overly browned edges if you like, then serve warm or at room temperature.
If you’re looking to try a different twist, check out our Trinidad pineapple upside down cake for a unique flavor experience.
Pro Tip for pineapple upside down cake: Use Reserved Pineapple Juice
Using the juice from the pineapple intensifies the fruit flavor and keeps the cake moist. I always measure out the reserved juices first and top up with water if I need more liquid for the batter.
- Collect the pineapple syrup or juices and use them in place of plain liquid in the batter to reinforce the pineapple note.
- If the reserved juice doesn’t reach the recipe’s required amount, top up with water or a mild juice so the batter’s hydration stays correct.
- For a subtle twist, replace part of the liquid with a delicate citrus juice to brighten the flavor.
Mini Cakes and Portion Options: Make Individual Upside-Down Cakes
Individual desserts are always a hit for gatherings; they’re charming and allow you to test different toppings for guests. I’ve made these in ramekins and muffin tins with excellent results—just watch the baking time carefully.
- Use ramekins or a muffin tin for single-serve portions; reduce baking time so the centers stay moist.
- Try seasonal fruit swaps for mini versions—stone fruit or berries can offer lovely color and aroma.
- Place a single pineapple ring or half ring with a cherry in the center for a classic individual look.
For those craving a smaller treat, try our mini pineapple upside down cheesecakes as a fun variation.
How to Store, Reheat and Make-Ahead Pineapple Upside Down Cake
This cake keeps well and is forgiving if made ahead; the caramel top actually deepens in flavor after a day. I often bake it the day before a gathering and let it come to room temperature before serving.
- Store at room temperature in an airtight container for a day or two to retain the best texture; refrigeration can tighten the crumb.
- To reheat individual slices, warm briefly in a low oven or microwave until the topping is glossy and the cake is warmed through.
- For longer storage, wrap well and freeze; thaw fully before reheating gently to restore the caramel shine.
If you’d like a contrasting plate, complement your dessert with a surf and turf option like creamy garlic butter lobster tails for a luxurious dinner experience.
Variations and Dietary Swaps for Pineapple Upside Down Cake
I often experiment with swaps when guests have dietary needs. Gluten-free flours and plant-based binders can produce a satisfying version without losing the nostalgic caramel top. Keep texture in mind when making adjustments.
- Gluten-free: Use a cup-for-cup gluten-free baking mix designed to replace regular flour for a more reliable crumb.
- Vegan: Swap dairy butter for a firm plant-based butter and replace eggs with appropriate vegan substitutes that provide structure.
- Fruit variations: Swap pineapple for sliced peaches, pears, or apples in season for an autumnal twist.
If you’re looking for a lighter option, our no-bake pineapple cream dessert is a refreshing alternative to the traditional bake.
Troubleshooting Common Issues
I’ve made my fair share of mistakes, so here are the quick fixes I use when things go sideways. When I’m troubleshooting, I look first at texture, then at moisture, then at presentation.
- If the cake is overbaked: check your oven temperature with a thermometer; lower the heat slightly and shorten the bake time next time.
- If the cake doesn’t rise enough: make sure your leavening (from mix or homemade batter) is fresh and avoid overmixing which can deflate the batter.
- If the bottom is sticky or soggy: pat very juicy fruit slightly before arranging and ensure the butter is hot when you add the sugar so it caramelizes quickly.
- If the cake sticks to the pan when inverting: run a butter knife around the edges immediately after baking and invert while warm for the cleanest release.
Conclusion: This pineapple upside down cake lives in that sweet place between reliable, weeknight baking and special-occasion showmanship. With a few mindful steps — hot butter, even fruit, and gentle mixing — you’ll have a glossy, caramel-topped cake that feels like a warm memory on a plate.
Frequently Asked Questions
Can I use fresh pineapple instead of canned?
Absolutely! Fresh pineapple can add a brighter flavor to your cake, but make sure to cut it evenly for proper cooking.
How do I know when the cake is done baking?
You can check if the cake is done by inserting a toothpick in the center. If it comes out clean or with a few moist crumbs, it’s ready!
What should I do if my cake sticks to the pan?
Make sure to grease the pan thoroughly before adding the ingredients, and run a butter knife around the edges before inverting to serve.
Can I make this cake ahead of time?
Yes! You can bake the cake a day in advance. Just store it in an airtight container at room temperature and reheat before serving, if desired.
What should I do if my cake turns out too dry?
If your cake is dry, try adding a simple syrup (a mix of sugar and water), or serve it with whipped cream to add moisture.

Pineapple Upside Down Cake
Ingredients
Method
- Preheat oven to 350°F and coat a 9x13 pan with cooking spray along all the bottom and all of the sides.
- Place the butter in the bottom of the pan and then into the hot oven until butter melts, approximately 4-5 minutes.
- Meanwhile, stir together the brown sugar and salt.
- Remove the pan from the oven and swirl so butter covers the bottom. Sprinkle brown sugar mixture over butter.
- Arrange pineapple slices over the brown sugar. Place cherries in the center of each slice.
- In a large mixing bowl, stir together the cake mix, pineapple juice, eggs, oil and vanilla.
- Pour cake mix over pineapple slices.
- Return to oven and bake for 45-48 minutes, or until it passes the toothpick test.
- Remove and run a butter knife along the edges. Place a serving dish over the top and carefully invert.
- Remove the pan and serve warm or at room temperature.