
I make this small batch strawberry jam when I want the fresh strawberry flavor on my toast that same morning. I like keeping things simple, approachable, reliable — the recipe fits into a quick breakfast routine and gives me a bright jar of jam without committing to a whole canning day. The first time I tested a tiny batch I was surprised at how intense and sweet the jam tasted compared with store jars.
In my kitchen I look for the freshest berries at the farmer’s market, and I cook them down quickly so the color and aroma stay vibrant. The process is short enough that you can start it before your coffee is ready and finish while the kids are getting shoes on. I’ve learned a few small tricks that keep the texture spreadable without adding pectin, and I’ll share those below.
Short batches mean less waste and more experimentation — I keep one jar for breakfast and try flavor twists in tiny amounts. If you want a larger, more traditional method someday, I sometimes refer friends to a classic strawberry jam recipe for bigger batches and long-term canning, but I prefer this quick approach when time is tight.
My directions are practical and geared toward home cooks who want great results with minimal fuss. Read on for tools, why temperature matters, troubleshooting tips I use in my kitchen, and simple variations so your jar never gets boring.
Why this small batch strawberry jam is perfect for busy mornings
Small batch jam lets you enjoy peak-season strawberries without storing dozens of jars. It’s fast: prep and cook time are short, so you can slot it into morning routines. The payoff is a jar that smells like summer, tastes bright, and lasts long enough for a week or two of breakfasts.
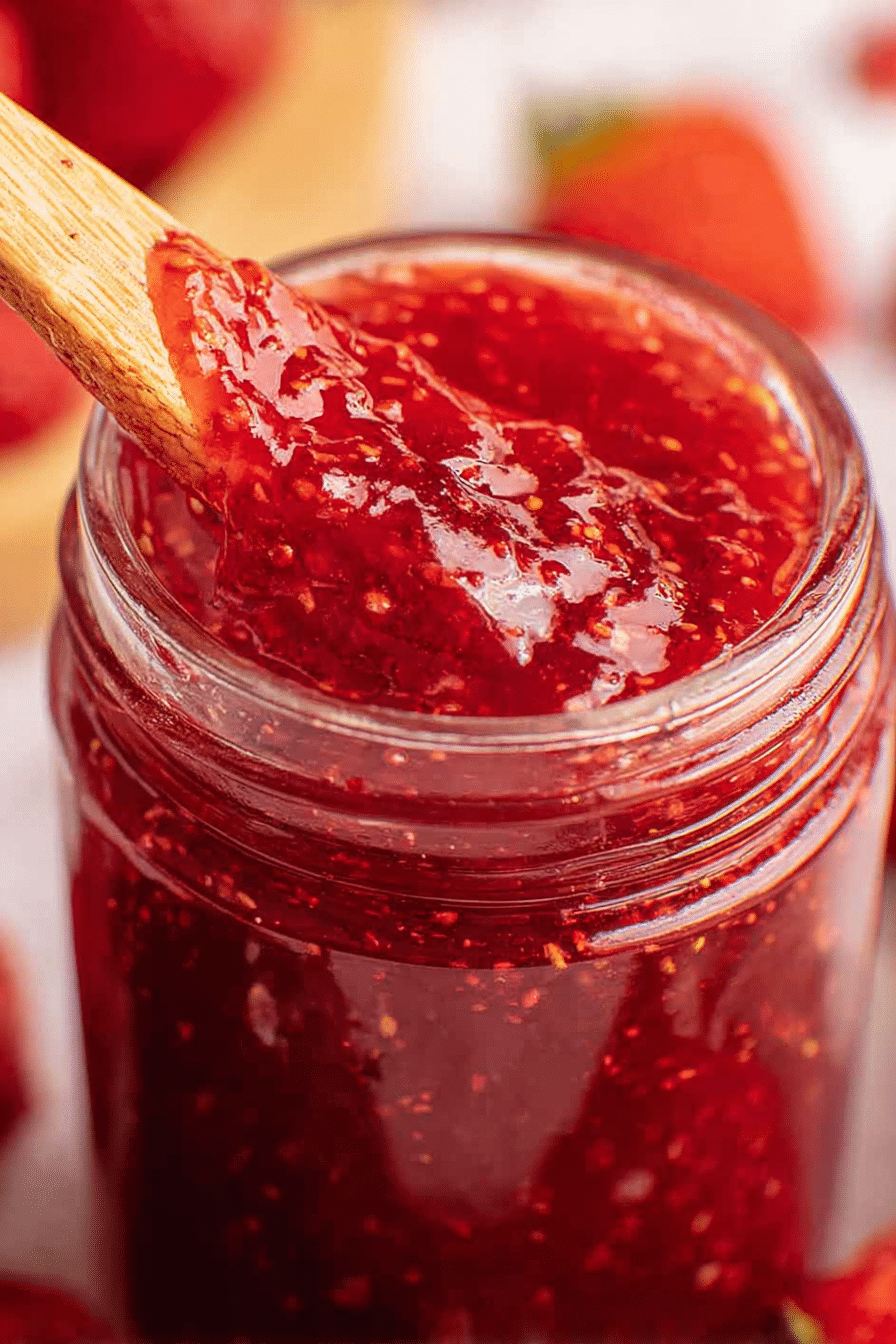
Sensory notes: picture ruby-red strawberries breaking down in the pan, the kitchen filling with sweet fruit aroma, and a glossy spoonful sliding onto warm toast. Because the batch is small you get fresher flavor — no long shelf life required. This is ideal for mornings when you want something homemade but don’t have a full afternoon to cook and can.
Everything You Need for Small Batch Strawberry Jam
Keep the tool list minimal so you can move quickly: a heavy-bottomed saucepan for even heat, a heatproof spoon or spatula for stirring, a candy or instant-read thermometer if you have one to check for 220°F, and a clean jar for storing the jam. Fresh strawberries are the star — the better the berries, the better the jam.
If you’re curious about traditional methods, check out our classic strawberry jam recipe for a larger batch option.
- Heavy-bottomed saucepan – Prevents hot spots and burning during the quick boil.
- Heatproof spoon or spatula – For frequent stirring; a wide spoon helps you test texture.
- Jar or storage container – Use a clean, airtight jar to chill and store.
- Thermometer (optional) – Useful to know when you reach the jam set point (around the temperature traditionally associated with jam consistency).
The Secret to Thick, Spreadable Texture (No Pectin Needed)
Strawberries contain some natural pectin, and that pectin becomes active when the fruit is cooked with sugar and acid. For small batches, you rely on reduction — gently evaporating water so the fruit and sugar concentrate — and the lemon juice’s acidity to help the set. Pay attention to both time and temperature: cook until the mixture visibly thickens and coats a spoon.
Sensory focus: watch the bubbles change from fast, watery popping to slower, syrupy domes; smell the tomatoes-of-summer sweetness deepen; feel the jam thicken as it cools on a plate.
Why Timing and Temperature Matter for Quick Jams
The point of paying attention to temperature and timing is consistency. Heat too low and the jam won’t reduce; too high or too long and the jam can scorch or taste caramelized instead of bright. Stir frequently so the fruit cooks evenly and nothing sticks to the pan.
Risks to avoid: overcooking dries out flavor and can darken the color; undercooking yields runny jam. I use visual cues (thickened texture, slower bubbles, syrup clinging to a spoon) more than strict timing when I don’t have a thermometer available.
How to Make Small Batch Strawberry Jam (Step-by-Step)
- Prepare the fruit: hull and slice fresh strawberries so they break down quickly during cooking. This is the one prep step that speeds everything up.
- Combine strawberries and sugar in the saucepan off the heat and let them macerate briefly; this helps the fruit release juices and shortens cook time.
- Bring the mixture to a steady boil over medium heat, stirring frequently to prevent sticking. Expect the initial boil to be lively as the water cooks off.
- Add lemon juice (and zest if you like) partway through the boil to keep the flavor bright and support the natural set of the jam.
- Continue boiling, stirring often, until the jam thickens and reaches the visual cues of a set: it coats the back of a spoon and the bubbles slow into syrupy domes. This can take around a short simmer; if you have a thermometer, aim near the traditional jam temperature.
- Pour the hot jam into a clean jar, let it cool to room temperature, then cover and refrigerate. The jam firms slightly as it cools.
- Troubleshooting notes I use in my kitchen: if the jam is too runny, simmer a bit longer in short intervals; if it’s too thick, stir in a splash of water and warm gently. If you see any burnt smell, discard and start over with a clean pan.
Pro Tip for small batch strawberry jam: Boost flavor without extra sugar
- Add a tiny pinch of coarse salt to balance and amplify sweetness without more sugar.
- Stir in a splash of a complementary acid (like a little vinegar) or a touch more lemon juice to brighten flavor if the fruit is overly sweet or flat.
- Finish with a small piece of a complementary herb (a few basil leaves or a sprig of thyme) removed before jarring to add depth without extra sugar. In my kitchen I briefly steep the herb in the hot jam and then fish it out.
Simple Variations: Lower-Sugar, Vegan & Alternative Sweeteners
- Lower-sugar option: reduce the sugar and extend the cooking time slightly so the mixture can concentrate naturally; taste as you go to avoid over-reduction.
- Alternative sweeteners: use natural sweeteners like honey or maple syrup as a partial swap, but remember they alter flavor and the way the jam sets — less sugar can mean a looser set.
- Vegan notes: this recipe is already vegan when using plant-based sweeteners; simply avoid any honey if you want a strict vegan jar.
- For a fruity twist, try combining other tart fruits (like rhubarb) with the strawberries for a tangy balance:
For a tasty twist, consider making strawberry rhubarb jam, which offers a unique flavor experience.
How to Store, Chill, and Extend Shelf Life Without Canning
Because this is a small, non-canned batch, refrigeration is the simplest and safest storage method. Store the jam in a clean, airtight jar and keep it in the fridge; it will stay fresh for about two weeks if handled with clean spoons and lids.
- Refrigeration: cool the jam to room temperature, seal, and refrigerate immediately for best freshness.
- Freezing: spoon jam into freezer-safe containers, leaving headroom; frozen jam can last several months and thaws quickly for toast or baking.
- Jar sealing tips: use clean jars and lids; wipe rims before sealing to prevent stray fruit from compromising the seal. For short-term fridge storage this is usually sufficient.
How to Use and Pair Your Small Batch Strawberry Jam
Jam is incredibly versatile: spread it on warm buttered toast, swirl it into yogurt, use it as a topping for ice cream or pancakes, or spoon it into a simple tart. For cheese boards, pair the jam with soft cheeses (like cream cheese or fresh goat cheese) and a crusty bread for contrast.
Learn more about creative ways to enjoy your jam in our guide on how to use and pair your jam
Enhance your dessert skills by trying a delicious strawberry cheesecake that pairs wonderfully with your jam.
Visual Guide: Step-by-Step Jam-Making Process
- Step 1: Prep and slice fruit so pieces break down quickly; visually you should see juices appear within minutes.
- Step 2: Macerate with sugar off the heat; the mixture will become syrupy as the sugar draws out liquid.
- Step 3: Boil and reduce; look for the transition from fast, watery bubbles to slower, syrupy domes.
- Step 4: Test the set by spoon or plate test — a drop on a chilled plate should gel slightly as it cools.
- Resources: if you prefer a visual demonstration, search for short jam-making videos that show the bubbling and spoon-test stages so you can match visual cues in your own pan.
Frequently Asked Questions
How long does small batch strawberry jam last? Your small batch strawberry jam will last about 2 weeks in the refrigerator. Just make sure to keep it covered!
Can I use frozen strawberries for this recipe? Yes, you can use frozen strawberries! Just make sure to thaw them and drain any excess liquid before using.
Do I need to use pectin to make this jam? No, this recipe doesn’t require pectin. The natural pectin from the strawberries and proper cooking will give you a thick, spreadable texture!
What are some variations I can try with this jam? You can make lower-sugar versions, use alternative sweeteners, or even try adding a splash of balsamic vinegar for a unique twist!
How can I store the jam if I want it to last longer? To extend the shelf life, store it in an airtight container in the fridge. You can also freeze it for longer storage!
Small Batch Strawberry Jam
Ingredients
Method
- Wash and slice 1 pound fresh strawberries, removing the hulls and green tops.
- Add them to a saucepan, and mix 1 1/2 cup white sugar in well.
- Stir continually over medium heat, and bring the strawberries to boil.
- Once boiling, add 2 tablespoons lemon juice and ½ teaspoons lemon zest (if using).
- Boil for about 15 minutes, or until the jam reaches 220°F.
- Stir often, to make sure the jam doesn’t burn.
- Pour into a jar and allow to cool.
- Cover and refrigerate.
- Use within about 2 weeks (if it lasts that long).