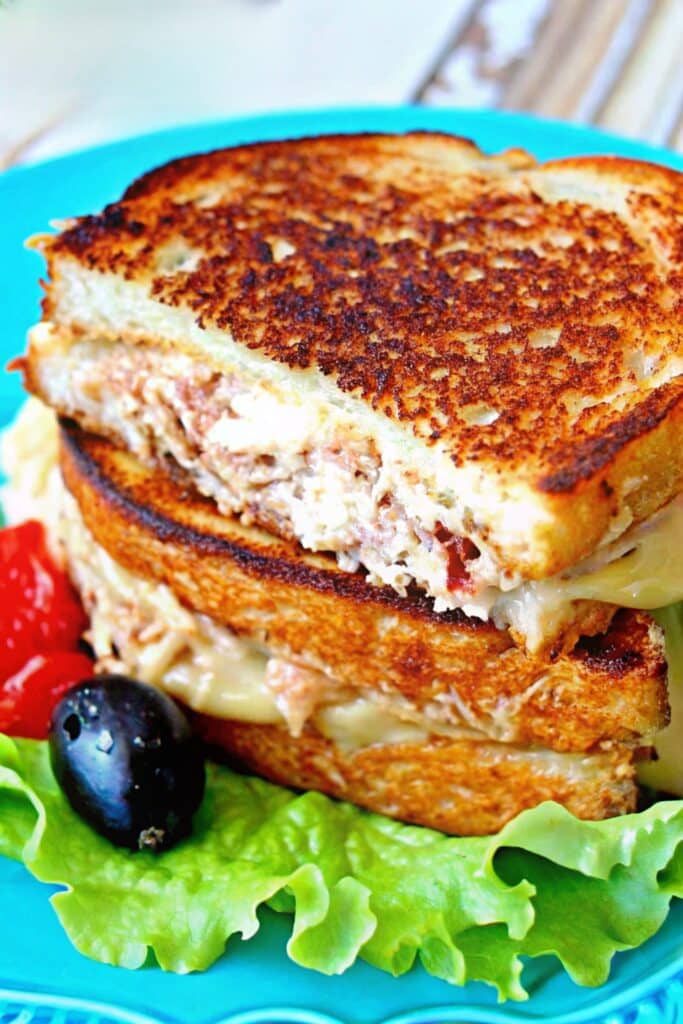
I make tuna melts when weeknights get too busy for fussing but I still want something warm, familiar, and satisfying. In my kitchen this sandwich is a comfort-food shortcut—simple pantry ingredients, a modest skillet, and a few little tricks that turn a plain tuna salad into a gooey, golden sandwich worth lingering over. I’ve tried it with different breads, cheeses, and a handful of herbs, and I keep coming back to the version I describe here because it balances creamy, tangy, and crunchy every time.
What I like most is how forgiving this recipe is. A couple of cans of tuna, a crunchy veg or two, a spoonful of mayo or a lighter swap, and your cheese of choice are all you need. If you’re aiming to soothe a tired weeknight, this sandwich comes together quickly and comforts without being heavy—especially if you choose a whole-grain or lighter spread option.
Over the years I learned three simple lessons: keep the filling creamy but not sloppy, brown the bread slowly, and finish on low heat so the cheese melts evenly without burning the crust. Those small details make the difference between a so-so sandwich and one that tastes like it was worth the five minutes you spent on it.
Why This Tuna Melt is Perfect for Busy Weeknights
This recipe is built for speed and familiarity. The whole sandwich can be ready in about twenty minutes, and it uses pantry staples so you can throw it together with minimal thought. Close your eyes and imagine the warm scent of butter hitting a hot skillet, the soft sigh of cheese as it gives way in the center, and the bright lift of fresh herbs cutting through the richness—comfort food without the fuss.
Because it relies on canned tuna and basic produce, you can adapt it to whatever you have on hand. Rye, sourdough, bagels, or a hearty whole grain loaf will all work—each gives a slightly different character to the final bite. When you taste that crisp-edged bread against a creamy, slightly tangy tuna filling, it’s exactly the kind of nostalgic meal that quiets a busy evening.
Everything You Need for The Perfect Tuna Melt
- Tuna – Use a quality canned tuna if you can; flavor and texture improve the whole sandwich. You can choose packed-in-water for a lighter shop or oil-packed for richness.
- Onion & Celery – These add crunch and a little bite; swap with scallions or finely diced bell pepper if you prefer something milder or sweeter.
- Garlic & Parsley – Fresh aromatics lift the filling; if you don’t have parsley, dill or chives work nicely.
- Mayonnaise – The classic binder; if you want a lighter option, use plain Greek yogurt or a combination of yogurt and a touch of olive oil. Enhance the flavor of your tuna melt with homemade mayonnaise for a fresher, creamier texture.
- Olive Oil – A little oil keeps the filling glossy and helps when you brown the bread.
- Cheese – Choose a melty cheese that you enjoy: mozzarella gives mild stretch, cheddar brings sharpness, and Swiss adds nuttiness. Mixing cheeses is also fine.
- Bread – Pick something sturdy enough to hold the filling: sourdough, whole grain, or an English muffin. Gluten-free loaves will work if you press gently when assembling.
- Butter – Softened butter brushed on the outside of the bread creates that signature golden crust; use a plant-based spread if you need a dairy-free option.
- Salt & Pepper – Simple seasoning is key; taste the filling before grilling and adjust as needed.
The One Ingredient That Changes Everything
Fresh parsley (and a bright briny add-in when you want it) is my go-to secret that lifts the whole sandwich. Parsley gives a peppery, green note that keeps the tuna from tasting flat; I like to add it at the end so its aroma stays bright. When I want extra-accented flavor, a small handful of capers or finely chopped pickles brings a savory, briny snap that contrasts beautifully with the creamy mayo and melted cheese.
Equally important is the quality of tuna you use: a firmer, flakier tuna will mimic the texture of a good restaurant-style melt, while cheaper, overly soft canned fish can make the filling feel mushy. Imagine the scent of fresh parsley mingling with lemony brine—that lift is what separates an average sandwich from a memorable one.
The Secret to the Perfect Texture
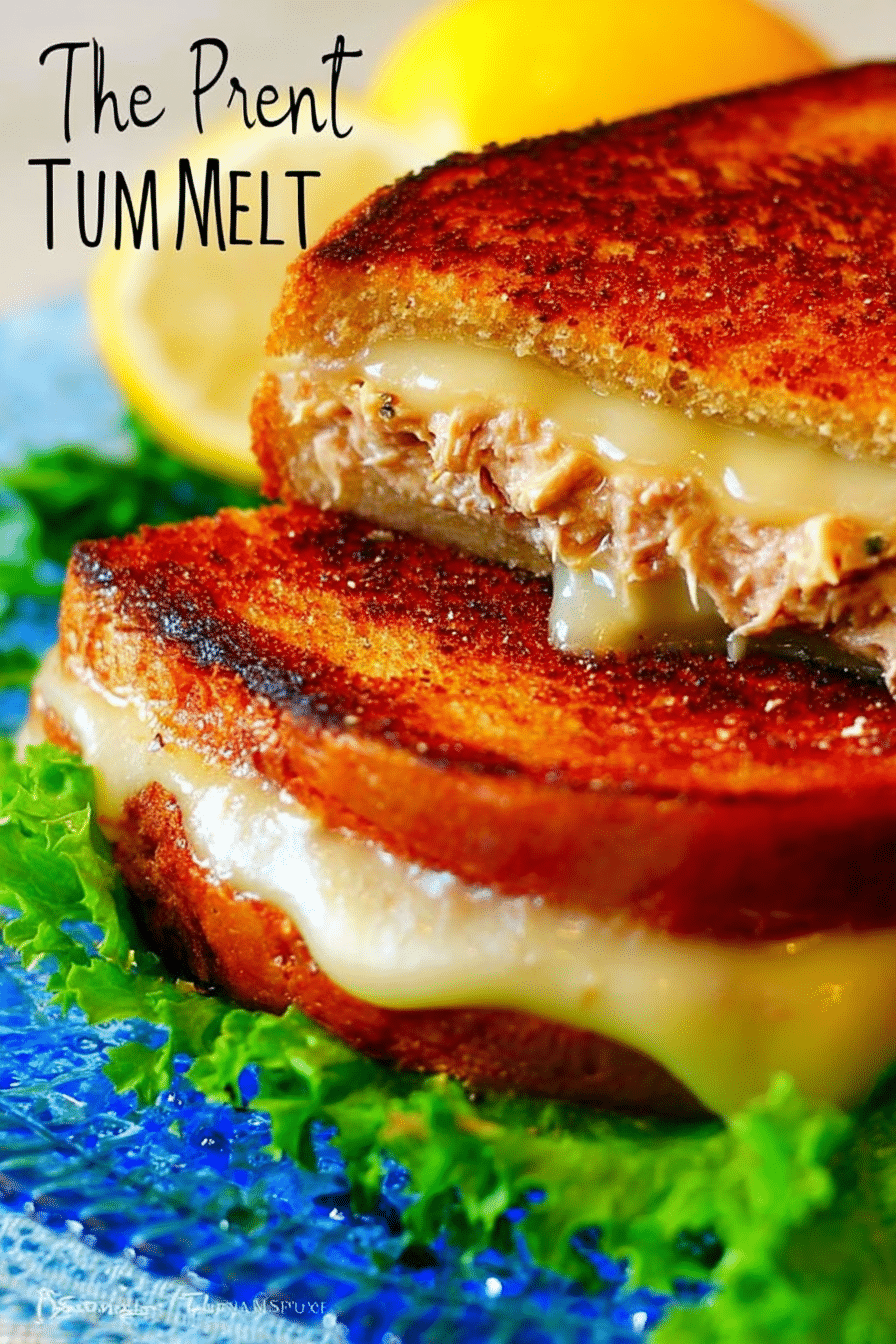
- Toast low and slow: I always cook the sandwich over moderate-low heat so the cheese melts through without the bread charring. The gradual heat release keeps the interior warm and molten while the exterior turns a deep, even gold.
- Butter the outside generously: butter creates the crisp, buttery crust you’re after. If you prefer, brush lightly with olive oil for a subtler finish.
- Mind the flip: slide a thin spatula under the sandwich and lift slightly to check color. Flip only once if possible to avoid compressing the filling and to prevent sogginess.
- Keep the filling compact: spoon the tuna mixture into the center and shape it into a modest layer. Too much filling makes the sandwich difficult to seal and increases the chance of falling apart.
How to Make The Perfect Tuna Melt (Step-by-Step)
- Prepare the filling: drain the tuna and flake it into a bowl. Add finely chopped onion, celery, parsley, a minced garlic clove, and a binder like mayo or Greek yogurt. Stir in a splash of olive oil and season with salt and pepper—taste and adjust before assembling.
- Build the sandwich: butter the outsides of both bread slices. Place one slice buttered side down, spoon a moderate amount of tuna onto it, and sprinkle your shredded cheese over the top. Cap with the second slice, buttered side up.
- Heat the pan: place a non-stick skillet over medium-low heat and add a small amount of olive oil if your pan tends to stick. Let it warm gently so the bread starts to toast the moment it hits the surface.
- Cook gently: put the sandwich in the pan and press down lightly with a spatula. Let it toast until the underside is a deep golden brown, then flip and toast the other side. Keep the heat low enough that the cheese has time to melt fully.
- Finish and rest briefly: once both sides are golden and the cheese is melted, transfer to a cutting board and let it rest for a minute so the filling sets slightly—this keeps the sandwich from spilling out when you slice it.
- Troubleshooting – common problems I fix in my kitchen:
- I often find the bread browns too fast; when that happens I lower the heat and cover the pan for a minute so the cheese melts without burning the crust.
- If the filling seems watery, I drain the tuna more thoroughly next time and pat down any watery veg. A firmer, drier mix holds together better.
- When the sandwich collapses or becomes soggy, I reduce the filling slightly and use a sturdier bread on future attempts.
Pro Tip for the Perfect Tuna Melt: Toast Low and Slow for Even Melting
- I always set a gentle heat and let time do the work—cheese melts evenly and the bread develops color without burning.
- I press lightly with a spatula to encourage contact between the bread and pan, which helps the crust become uniformly golden.
- I monitor the sandwich and flip only when the first side is deeply golden; flipping too early can leave the first side pale and the cheese unmelted.
- For a fun serving idea, try a dip on the side—one of my favorites is a roasted red pepper feta dip that pairs beautifully with a warm, buttery sandwich: spicy roasted red pepper feta dip.
How to Store, Reheat, and Meal-Prep The Perfect Tuna Melt
- Storing: cool sandwiches slightly, then wrap individually in parchment or place in an airtight container in the fridge. Eat within a couple of days for best texture.
- Reheating: I reheat in a skillet over low heat to revive the crisp exterior—cover the pan briefly to encourage the cheese to re-melt without over-browning. A toaster oven also works well for a quick, even re-crisp.
- Meal-prep: prepare the tuna filling ahead of time and keep it chilled. When you’re ready, assemble and toast the sandwich for a fresh, warm lunch in minutes—this keeps the bread from going soggy in the fridge and gives you a near-fresh result every time.
- Packable option: store the filling separately from the bread and cheese if you plan to take it to work; assemble and toast just before eating for the best texture.
Flavor Variations and Pairings
- Spicy twist: add sliced jalapeño or try a jalapeno-cheddar pairing for heat—if you love heat, consider this idea: jalapeno tuna melt.
- Creamy addition: mashed avocado folded into the tuna gives a silky mouthfeel and a fresh flavor contrast to melted cheese.
- Briny boost: stir in capers or finely chopped pickles for brightness and a savory pop.
- Cheese swaps: try smoked provolone for a smoky edge, Gruyère for nutty depth, or pepper jack for a lively finish.
- Side pairings: a crisp green salad or a classic tomato soup are perfect companions—pair with a simple Caesar if you want something a bit heartier: homemade Caesar salad.
- Drinks: a light lager, iced tea, or a citrusy lemonade complements the sandwich’s richness beautifully.
These small choices—which bread you pick, whether you add parsley or capers, and how you toast the sandwich—are what make this tuna melt reliably satisfying. Make it your own by trying one variation at a time and noting which tweak you liked best.
Frequently Asked Questions
What is the secret to a good tuna melt?
The key to a great tuna melt is using quality ingredients, proper seasoning, and cooking it low and slow for a perfectly melted cheese exterior.
Do you toast bread before making a tuna melt?
Yes, toasting the bread is important! It helps achieve a crispy exterior while keeping the inside warm and gooey. You can broil the buttered bread until it’s golden brown for the best results.
Can I use different types of bread for a tuna melt?
Absolutely! You can use any bread you like, such as sourdough, whole grain, or even bagels, as long as you respect the proportions for the best sandwich structure.
How can I store and reheat leftover tuna melts?
Store leftover tuna melts in an airtight container in the refrigerator. To reheat, you can use a skillet over low heat or a toaster oven to keep the bread crispy.
What are some great sides to serve with a tuna melt?
Tuna melts pair wonderfully with a simple salad, potato chips, or even a warm bowl of soup for a comforting meal!
The Perfect Tuna Melt
Ingredients
Equipment
Method
- Drain water from tuna and put the tuna into a medium bowl.
- Chop onion, celery, and parsley. Mince garlic and add ingredients to tuna.
- Add mayonnaise, olive oil, and mozzarella cheese. Combine all ingredients until well incorporated. Salt and pepper to taste.
- Place a non-stick skillet on the stove and add 1 tablespoon of olive oil. When the skillet is hot, take a slice of bread and generously spread butter on one side.
- Place the bread (buttered side down) in the hot skillet.
- Using a spoon, scoop about 2 tablespoons of tuna salad on bread while it is browning.
- Butter another slice of bread with butter and place non-buttered side on top of tuna.
- Using a spatula, check to see if the bread is toasted brown. If so, turn the tuna melt over and grill the other side until it's golden brown.