
I make these Rice Krispie treats on weeknights when time is short and kids need a quick sweet. They take five minutes from start to finish when you use the microwave method, and the kitchen fills with that warm marshmallow aroma as you stir — the sticky, fluffy mixture clinging to the spoon is part of the fun.
I love how minimal the cleanup is — one bowl for the cereal, one for melting. As you fold the cereal into the glossy marshmallow, you’ll hear a satisfying crunch that promises light, chewy squares when they cool.
I’ll share the little tricks I use to keep the treats extra gooey, avoid sticky hands, and switch up flavors for parties or lunchboxes. These are the small changes that save time and make a big difference in texture and taste.
Why This Recipe is Perfect for Busy Families
This version is built for speed and simplicity. You can have a pan of warm treats in minutes using the microwave, and the ingredient list is short so there’s hardly any cleanup — perfect for parents juggling homework, baths, and bedtime.
Sensory note: while you’re stirring, the marshmallow scent fills the kitchen and the mixture becomes irresistibly sticky and glossy, coating each crunchy puff of cereal.
For another quick dessert that’s great for families on the go, try these lemon poppy seed cupcakes as a different, fast option.
Everything You Need for Best Rice Krispie Treats
- Mini marshmallows – They melt more evenly and give a silkier, gooier texture than large marshmallows; if you only have large ones, chop them or add a few extra mini marshmallows at the end.
- Butter – Adds richness and keeps the mixture glossy; using salted butter gives a nice contrast to the sweet marshmallows.
- Rice cereal – Provides the signature crunch; use a certified gluten-free crispy rice if you need the recipe to be gluten-free.
- Vanilla – A splash rounds out the sweetness and makes the treats taste more finished.
- Tools – You’ll want a microwave-safe bowl, a silicone spatula for scraping and folding, a non-stick spray or parchment for the pan, and a rectangular baking pan for shaping.
- Vegan and allergy swaps – You can make this vegan by swapping in vegan marshmallows and a plant-based spread or coconut oil; for nut-free or dairy-free needs, check labels carefully on substitutes.
Visualize the bright white marshmallows and pale cereal turning into a glossy, slightly amber mass as the butter melts and the vanilla swirls in.
Quick and Easy Steps for Making Rice Krispie Treats (Step-by-Step)
- Prepare your pan with spray or a liner so the treats release easily.
- Measure the cereal into a large bowl and set it aside so you’re ready to work quickly.
- In a microwave-safe bowl, melt your butter until fully liquid, then add most of the marshmallows so they’re coated in the butter — this helps them melt smoothly.
- Microwave the butter-and-marshmallow mixture in short bursts, stirring halfway through, until the marshmallows are mostly melted and the mixture is silky.
- Stir in vanilla, then pour the melted marshmallow over the cereal and fold until everything is evenly coated. Add any reserved marshmallows now and fold gently so they stay slightly whole for extra chew.
- Wet your hands or use a lightly sprayed spatula and press the mixture into the prepared pan without compacting it too much — over-pressing makes dense, brick-like squares.
- Let cool briefly so the top firms up a bit, then slice into squares and serve.
The Secret to Extra Gooey Rice Krispie Treats
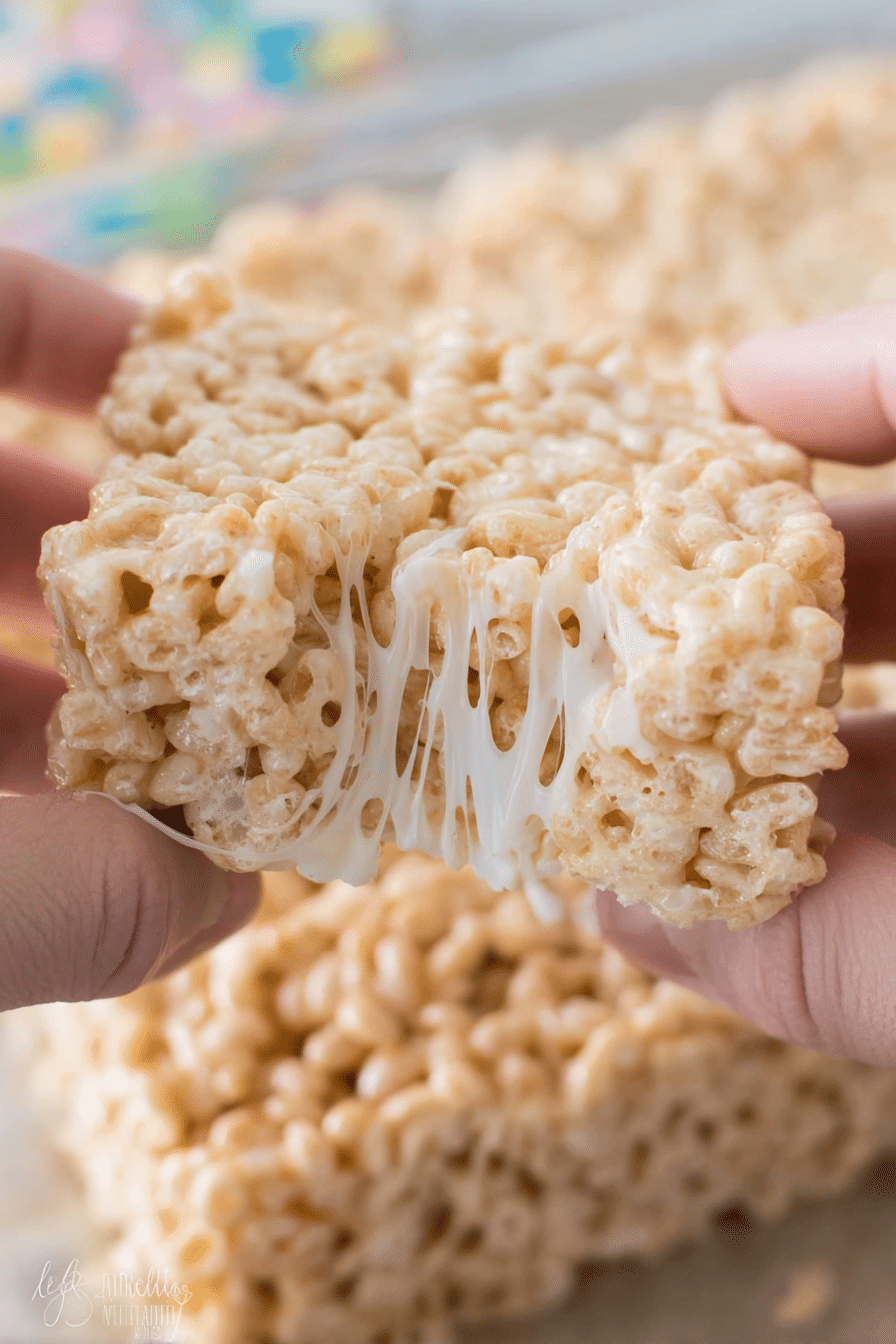
The trick I use is to hold back some marshmallows and fold them in at the end so pockets of soft, chewy marshmallow remain, making each bite gooey without being overly sticky. Also, slightly warm, not hot, melted butter keeps the marshmallow mix glossy and easier to stir.
Avoid pressing the mixture too hard into the pan; a light, even press preserves air and keeps the treats tender and melt-in-your-mouth with a shiny top.
For an extra touch of gooeyness, consider drizzling some homemade caramel over your treats before they fully set.
Tips for Customizing Your Rice Krispie Treats: Variations and Mix-Ins
- Chocolate twist – Fold in your favorite chopped chocolate or press chocolate chips on top for a melty finish. If you want a different form, try making chocolate rice krispie balls for bite-sized treats: chocolate rice krispie balls.
- S’mores style – Add crushed graham crackers and mini chocolate pieces for a campfire flavor.
- Flavor powders – Stir in matcha, cocoa powder, or a pinch of cinnamon for a trending flavor without changing texture much.
- Nuts, dried fruit, and seeds – Mix in chopped nuts or toasted seeds for crunch, or add dried fruit for chew and color (watch for moisture from sticky fruit).
- Holiday shapes and decorations – Press the mixture into cookie cutters or top with colored sprinkles and marshmallow shapes to match any celebration.
Visualize colorful sprinkles, ribbons of chocolate, or green matcha-swirled treats stacked on a plate — fun for kids and easy to adapt for parties.
Pro-Tip for Making Rice Krispie Treats Without Sticking
Pro-Tips, Troubleshooting, and Variations are presented below as bulleted lists for quick scanning.
- I always wet my hands with cool water before shaping — it prevents sticking better than flour or oil and keeps the texture clean.
- I recommend spraying your spatula and pan lightly with non-stick spray so smoothing is effortless and the treats lift cleanly.
- Use a silicone spatula to fold and press; it won’t tear the cereal and helps you scrape every bit of marshmallow from the bowl.
- Troubleshooting: If your treats are too hard, you likely overcooked the marshmallows — soften future batches by reducing microwave time and adding a few reserved mini marshmallows.
- Troubleshooting: If the mixture is unbearably sticky and won’t set, let the pan sit at room temperature a bit longer or pop it briefly in the fridge to firm up, then slice with a lightly oiled knife.
Storage Tips for Keeping Your Treats Fresh
- Store at room temperature in an airtight container to maintain chewiness; they’re best within the first several days but will keep for up to a week.
- If stacking, place parchment between layers to prevent sticking.
- For longer storage, wrap squares individually and freeze; thaw at room temperature before serving for best texture.
- Similar to other make-ahead sweets like no-bake mini desserts, these hold up well when stored properly: no-bake turtle mini cheesecakes.
These little squares are a fast win for busy evenings, last-minute guests, or school treats — simple, adaptable, and reliably delicious. Give the wet-hands trick a try and play with one mix-in at a time so you can see how it changes texture and flavor.
Frequently Asked Questions
Can I use regular marshmallows instead of mini marshmallows? Yes, you can use regular marshmallows, but mini marshmallows tend to melt more evenly and create a gooier texture. For the best results, consider adding more mini marshmallows at the end!
How can I prevent the Rice Krispie Treats from sticking to my hands? To prevent sticking, wet your hands with water before pressing the mixture into the pan. This simple trick makes handling the sticky mixture a breeze!
What can I add to customize my Rice Krispie Treats? You can add chocolates, nuts, dried fruits, or even sprinkles to your Rice Krispie Treats for a fun twist. Get creative with your favorite flavors!
How should I store my Rice Krispie Treats? Store your treats in an airtight container at room temperature. This will help them stay fresh and maintain their chewy texture for several days.
How long does it take to make Rice Krispie Treats? This recipe takes about 10 minutes of prep time and is super quick to make, so you’ll have delicious treats ready in no time!
Best Rice Krispie Treats Recipe
Ingredients
Method
- Spray a 9x13 pan with non-stick spray. Set aside.
- In an extra large bowl, measure out the 8 cups of Rice Krispie Cereal. Set aside.
- In a separate large microwave safe bowl, microwave the butter until completely melted (about 45 seconds).
- Add one entire bag of marshmallows and 1/3 of the second bag to the bowl with melted butter. Stir to coat the marshmallows in the melted butter.
- Microwave for 1 minute, stirring at the 30 seconds mark.
- Add vanilla to the bowl and stir until well combined and smooth.
- Pour the melted marshmallow mixture into the bowl with the Rice Krispie Cereal. Stir until well combined.
- Fold in the remaining 2/3 bag of marshmallows.
- Pour the Rice Krispie treat mixture into the prepared 9x13 pan.
- Wet your hands with water and then gently press the Rice Krispie Treats into the pan.
- Enjoy!!