
Brownie truffles are one of those small, perfect desserts that somehow feel both homemade and fancy. They started showing up in home-bake swaps and coffee shop counters when people realized that leftover fudgy brownies could be transformed into bite-sized, chocolate-coated morsels — tiny pockets of intense chocolate that are easier to share. I first made them years ago when I overbaked a pan of brownies; instead of tossing a slightly drier center I crumbled it up, mixed in some cream cheese, and dipped the result in melted chocolate. The rest is history.
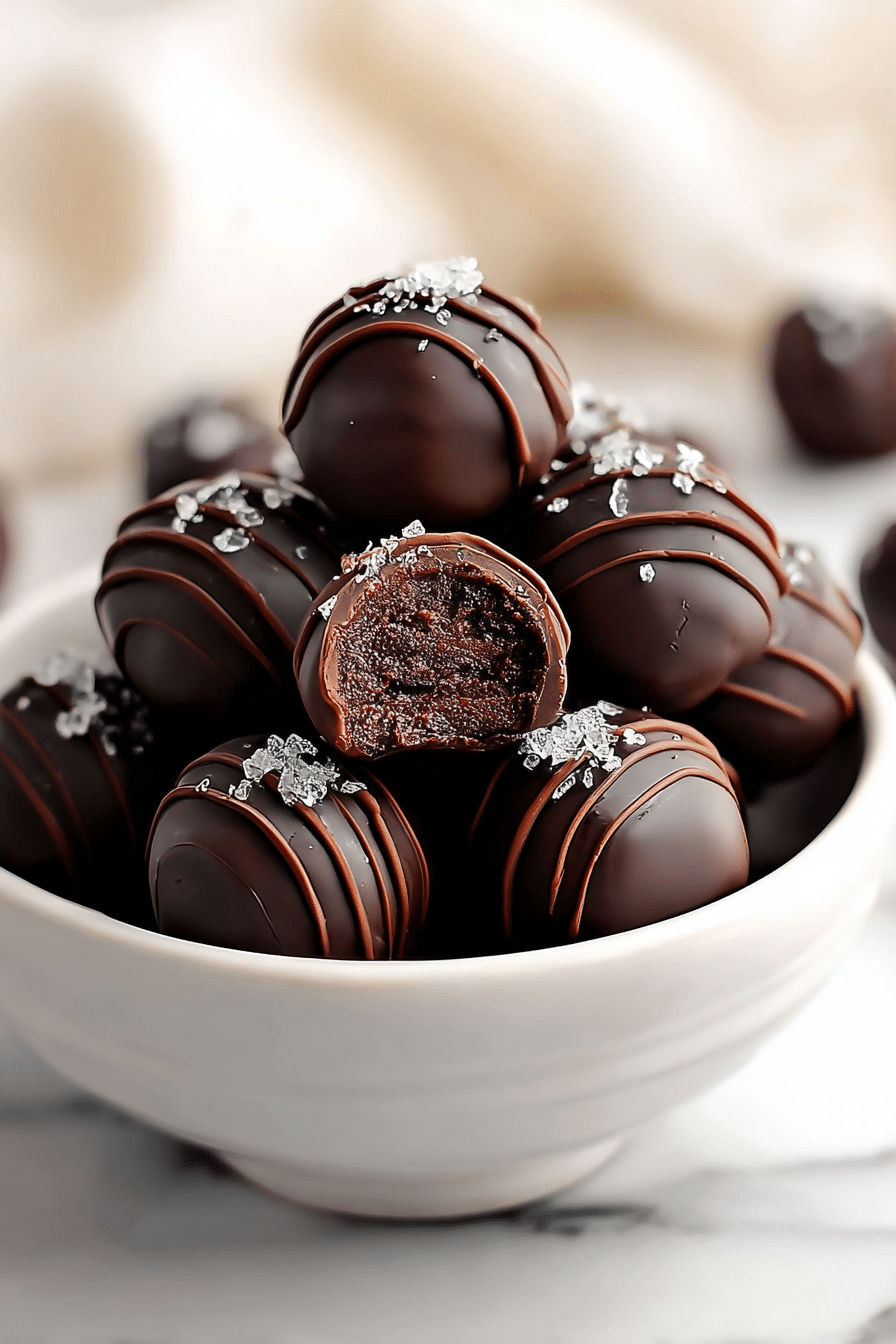
Texture-wise, these are all about that contrast: a dense, fudgy center that’s just soft enough to kiss your tongue, wrapped in a thin, glossy shell of chocolate that gives a pleasant snap. The aroma as you dip them — warm chocolate, a tiny hint of butter or cream cheese — will pull people into the kitchen. I’ve made these as late-night snacks, party platters, and last-minute gifts; they’re forgiving, fast, and rewarding.
Ingredients You’ll Need
- Box fudgy brownie mix (18–20 ounce) – the base for the truffles; choose a rich, fudgy mix for the best texture. You can use your favorite brand or a gluten-free boxed mix if needed.
- Cream cheese (about 4 ounces) – softens and binds the crumbled brownies into a smooth, rollable filling; contributes tang and creaminess. Vegan alternatives work well here.
- Semi-sweet chocolate chips (about 12 ounces) – used for coating; semi-sweet gives balance to the fudgy center. You can use dark, milk, or dairy-free chips depending on preference.
- Coconut oil (optional) – a teaspoon or two helps the melted chocolate set glossy and smooth, and makes dipping easier.
- Toppings (sprinkles, sea salt, crushed nuts) – optional finishers that add texture and visual appeal; use allergen-free options for nut-free households.
Step-by-Step Instructions
Below is the method I use every time. I’ve listed the original, tested steps and added small tricks I’ve learned by making these dozens of times so you can avoid common mistakes.
- Prepare the brownie mix according to package directions in a 9×13-inch pan. Cook until the edges are firm but the center is slightly underbaked and fudgy. Set aside to cool completely.
Why this matters: underbaking the center a touch keeps the crumb moist and cohesive when mixed with cream cheese. If you fully bake until dry, your truffle centers will be crumbly and dry — you can rescue that by folding in a bit more softened cream cheese or a splash of cream.
- Transfer the cooled brownies to a large bowl, leaving out any hard edges. Add the softened cream cheese and mix together with your hands or a spatula until well combined.
Cooking note: I usually let the brownies cool until they’re only slightly warm to the touch. If they’re too hot the cream cheese will melt and make the mixture greasy. Use clean hands or a sturdy silicone spatula and break up large chunks, aiming for a uniform, pliable dough.
- Line a baking sheet with parchment paper. Scoop the brownie mixture into 1-inch balls and place on the prepared baking sheet. Freeze for 30 minutes until firm.
Tip: I use a small cookie scoop to keep the size consistent. If they’re too loose to roll, pop them back in the fridge for 10–15 minutes. The freeze stage firms them so they don’t fall apart when dipped.
- In a microwave-safe bowl, melt the chocolate chips and oil (if using) in 30-second intervals, stirring between each spin until smooth.
Expert trick: don’t overheat. Chocolate can seize if it gets too hot. Stop microwaving when there are still a few unmelted bits and stir — residual heat will finish the job. If it thickens, add a tiny bit of neutral oil or coconut oil by the quarter teaspoon to loosen it.
- Place a truffle on a fork and dip into the melted chocolate. Tap off the excess then place back on the baking sheet and immediately top with sprinkles, sea salt, or other toppings if desired.
Practical note: tapping the fork against the bowl’s edge helps control drips. If the coating gets too thick, work in smaller batches and reheat the chocolate briefly (10 seconds) between dips.
- Repeat until all the truffles are coated, then refrigerate until the chocolate is set, about 15 minutes. Serve and enjoy!
Serving cue: the chocolate shell should be firm but not overly brittle — it’ll crack satisfyingly when you bite in. These keep well in the fridge and are even better the next day after flavors have melded.
Customization Options: Flavor Variations
If you want to push past plain chocolate, here are flavors I play with frequently and why they work:
- Mint – fold a few drops of peppermint extract into the brownie-cream cheese mix for a bright lift. Mint plays beautifully with semi-sweet chocolate.
- Peanut butter – swirl in a spoonful of creamy peanut butter for a salty, nutty contrast. Natural peanut butter can make the centers softer; chill a bit longer before rolling.
- Espresso – stir a teaspoon of instant espresso powder into the brownie crumbs for a deep, coffee-backed chocolate flavor.
- Orange – finely grated orange zest adds a citrus perfume. Use sparingly so the zest doesn’t introduce bitterness.
- Nut crunch – roll freshly coated truffles in crushed toasted nuts for texture. Be mindful of nut allergies and offer a nut-free option.
For a different flavor experience, consider making our chocolate cream cheese truffles as a delightful twist.
Consider trying our no-bake cake batter truffles for another fun and creative dessert option.
Vegan and Gluten-Free Alternatives
It’s easy to make these inclusively so everyone can enjoy them. I often prepare two batches at once — one standard and one vegan — and guests can choose.
- Vegan brownie mix – use a dairy-free boxed brownie mix or a homemade vegan fudgy brownie. Make sure the mix itself is labeled vegan.
- Vegan cream cheese – swap the dairy cream cheese for a plant-based version to bind the crumbs. Brands marketed as vegan work well and mimic the tang of cream cheese.
- Dairy-free chocolate – use vegan chocolate chips or bars for coating. Some dark chocolates are naturally dairy-free—check the label.
- Gluten-free option – pick a gluten-free boxed mix or bake a gluten-free brownie recipe. Texture can vary; if the crumbs are too dry, add a touch more vegan cream cheese or a teaspoon of non-dairy milk to achieve pliability.
If you’re looking for delicious vegan options, try our vegan chocolate brownie sundae for a sweet treat.
Storing and Serving Tips
Here’s what to expect and how to keep your truffles tasting their best.
- Short-term storage – store in an airtight container in the refrigerator for up to one week. Place parchment between layers to prevent sticking.
- Freezing – freeze in a single layer for a few hours, then transfer to a freezer-safe container and freeze for up to three months. Thaw in the fridge overnight before serving to avoid condensation forming on the chocolate.
- Serving temperature – take them out of the fridge 10–15 minutes before serving so the centers are soft and the chocolate isn’t too hard. They’re excellent slightly chilled or at room temperature.
- Presentation – arrange on a simple white plate, or tuck them into mini cupcake liners. Sprinkle edible gold dust or finely chopped pistachios for a festive look.
- Pairings – these pair beautifully with coffee, milk, dessert wine, or a simple cup of tea. For parties, offer a variety of beverages and a small sign indicating flavors and allergens.
Perfect Occasions for Brownie Truffles
Brownie truffles are delightful at almost any event because they’re handheld, elegant, and easy to portion. I bring them to potlucks, holiday cookie swaps, and birthday gatherings because they travel well and are a crowd-pleaser.
- Birthdays and anniversaries — arrange them in tiers for an instant centerpiece.
- Holidays — decorate with seasonal colors and themed sprinkles (red and green for Christmas, pastel for Easter).
- Gift boxes and goodie bags — they store well for a couple of days and feel luxe when wrapped in cellophane with a ribbon.
- After-dinner treats — serve a couple alongside coffee as a mini dessert option.
For gatherings, you might also want to serve mini cheesecakes with caramel sauce alongside your brownie truffles.
Frequently Asked Questions
Here are the common questions I get when friends try this recipe for the first time, with short, practical answers.
- Can I use a different type of brownie mix for the truffles?Absolutely! You can choose any type of brownie mix you like—just be mindful that the flavor and texture might vary slightly depending on the mix you choose.
- How can I make these brownie truffles vegan?To make vegan brownie truffles, use a dairy-free brownie mix, swap the cream cheese for a vegan cream cheese alternative, and choose dairy-free chocolate chips.
- What can I use instead of cream cheese?If you want an alternative to cream cheese, you can use mascarpone cheese, cashew cream, or even a nut-based cream cheese for similar consistency and flavor.
- How should I store leftover brownie truffles?Store leftover brownie truffles in an airtight container in the refrigerator for up to a week. You can also freeze them for up to three months—just be sure to wrap them tightly.
- Can I add mix-ins or toppings to the truffles?Yes! Feel free to get creative with mix-ins like crushed nuts, mini chocolate chips, or flavor extracts. You can also top your truffles with sprinkles, sea salt, or drizzles of melted chocolate.
Conclusion
These brownie truffles are one of my go-to desserts when I want something that feels special but doesn’t require hours in the kitchen. They’re forgiving if your brownies are slightly over- or underbaked, and they adapt easily to dietary needs and flavor experiments. Make a double batch for gifts, try a peppermint or espresso variation for a twist, and don’t be shy about letting friends and family help coat them — it’s a great social kitchen activity. If you try them, tell me which variation you loved most; there’s always room for one more flavor experiment in my kitchen.
Brownie Truffles
Ingredients
Method
- Prepare the brownie mix according to package directions in a 9x13-inch pan. Cook until the edges are firm but the center is slightly undbaked and fudgy. Set aside to cool completely.
- Transfer the cooled brownies to a large bowl, leaving out any hard edges. Add the softened cream cheese and mix together with your hands or a spatula until well combined.
- Line a baking sheet with parchment paper. Scoop the brownie mixture into 1-inch balls and place on prepared baking sheet. Freeze for 30 minutes until firm.
- In a microwave-safe bowl, melt the chocolate chips and oil (if using) in 30-second intervals, stirring between each spin until smooth.
- Place a truffle on a fork and dip into the melted chocolate. Tap off the excess then place back on the baking sheet and immediately top with sprinkles, sea salt, or other toppings if desired.
- Repeat until all the truffles are coated, then refrigerate until the chocolate is set, about 15 minutes. Serve and enjoy!