Crispy Ranch Chicken Tenders are a delightful twist on the classic fried chicken, offering a unique blend of flavors and textures that tantalize the taste buds. This recipe transforms simple ingredients into a dish that’s both comforting and exciting, perfect for any occasion. The combination of buttermilk and Ranch seasoning infuses the chicken with a depth of flavor that’s hard to resist, while the crispy coating provides a satisfying crunch. Whether you’re cooking for a family dinner, a game day snack, or a party appetizer, these chicken tenders are sure to be a hit. In this article, we’ll explore the preparation, ingredients, and steps needed to create this mouth-watering dish, along with tips and FAQs to ensure your cooking experience is as enjoyable as the meal itself.
Preparation Phase & Tools to Use
Preparing Crispy Ranch Chicken Tenders is a straightforward process that requires a few essential tools. First, you’ll need a dutch oven, cast iron skillet, or deep fryer for frying the chicken. These tools are ideal for maintaining a consistent oil temperature, which is crucial for achieving that perfect golden-brown crust. Additionally, a large bowl or an 8×8 baking dish is needed for soaking the chicken in buttermilk, ensuring each tender is evenly coated and tenderized. For the coating process, a shallow bowl is necessary to mix the flour, Ranch seasoning, pepper, and parsley. This mixture will create the flavorful crust that makes these tenders so irresistible. Lastly, a wire rack with a baking sheet underneath is essential for resting the coated chicken tenders before frying. This setup allows the coating to adhere better and results in a crisper finish. Remember to keep an eye on the oil temperature and adjust your stove accordingly to prevent the oil from getting too hot or cool.
Ingredients List
- Boneless, skinless chicken tenderloins: The main protein of the dish, providing a tender and juicy base.
- Buttermilk (2 cups): Tenderizes the chicken and adds a subtle tanginess.
- All-purpose flour (2 cups): Forms the base of the crispy coating.
- Buttermilk Ranch Dressing Seasoning Mix (1 packet): Infuses the chicken with a burst of herbs and spices.
- Coarse ground black pepper (1 tsp): Adds a slight heat and enhances the overall flavor.
- Dried parsley (1 tsp): Gives a hint of herbal freshness to the coating.
- Canola or peanut oil: Used for frying, it ensures a crispy and golden exterior.
Step-by-Step Instructions
- Soak the Chicken: Place all the chicken tenders in a large bowl or an 8×8 baking dish, covering them with buttermilk. Ensure each tender is separated and coated on both sides.
- Prepare the Coating: In a shallow bowl, mix the flour, Ranch seasoning, pepper, and parsley.
- Coat the Chicken: Take one buttermilk-soaked tender and generously cover it with the flour mixture. Press the mixture gently into the chicken, then turn it over and repeat.
- Rest the Chicken: Place the coated tender on a wire rack over a baking sheet to rest. Repeat with all tenders. The coating will become slightly wet, which is key for extra crispiness.
- Fry the Chicken: Heat oil in your chosen cooking vessel to about 375°F. Fry 3-4 tenders at a time for 5-8 minutes on each side until golden brown and crispy.
Nutritional Information & Health Benefits
Crispy Ranch Chicken Tenders, while being a fried dish, can also offer some nutritional benefits. Chicken, the primary ingredient, is an excellent source of lean protein, essential for muscle growth and repair. The buttermilk used in the recipe not only tenderizes the chicken but also contributes calcium and probiotics, which are beneficial for bone health and digestive wellness. The herbs and spices in the Ranch seasoning mix, like parsley and pepper, provide antioxidants and have anti-inflammatory properties. However, it’s important to consume fried foods in moderation due to their higher calorie and fat content. Pairing these chicken tenders with a side of vegetables or a salad can create a more balanced meal, providing additional vitamins and fiber.
Common Mistakes To Avoid & How to Perfect the Recipe
Creating the perfect Crispy Ranch Chicken Tenders involves avoiding some common pitfalls. Firstly, overcrowding the pan can lead to uneven cooking and a soggy exterior. Cook the tenders in batches to ensure each one has enough space to fry properly. Secondly, not allowing the oil to reach the right temperature can result in undercooked or overly greasy chicken. Use a thermometer to maintain the oil at around 375°F. Another mistake is skipping the resting time after coating the chicken. This rest period allows the coating to adhere better, resulting in a crisper finish. Lastly, overcooking the chicken can make it tough and dry. Keep an eye on the cooking time and remove the tenders when they’re golden brown.
To perfect this recipe, consider these tips:
- Season the buttermilk for an extra flavor boost.
- Double coat the chicken for a thicker crust.
- Let the cooked tenders rest on a wire rack instead of paper towels to keep the bottom from getting soggy.
- Experiment with spices in the flour mixture to customize the flavor profile.
Tips, Notes, Storing, and Reheating
Tips and Notes:
- For a healthier version, use an air fryer. Replace some of the flour with panko breadcrumbs for a lighter, crunchier texture.
- Add a pinch of cayenne pepper to the flour mix for a spicy kick.
- Serve with a variety of dipping sauces to enhance the flavor experience.
Storing and Reheating:
- Store leftovers in an airtight container in the refrigerator for up to 3 days.
- To reheat, place the tenders on a baking sheet in a 350°F oven or toaster oven until warm and the breading is crisp. This method helps maintain the texture better than microwaving.
FAQs
Can I make these chicken tenders gluten-free? A: Yes, substitute the all-purpose flour with a gluten-free alternative.
How long should I soak the chicken in buttermilk? A: Soak for at least 30 minutes, or overnight in the refrigerator for deeper flavor and tenderness.
Can I bake these chicken tenders instead of frying? A: Yes, bake them on a wire rack over a baking sheet at 425°F for 15-20 minutes, flipping halfway through.
What are some healthy side dishes to serve with these tenders? A: Opt for steamed vegetables, a fresh salad, or roasted sweet potatoes for a balanced meal.
How do I know when the oil is at the right temperature? A: Use a thermometer to check that the oil is around 375°F. Alternatively, drop a small amount of flour into the oil; if it sizzles without burning, it’s ready.
Conclusion
Crispy Ranch Chicken Tenders are a versatile and delicious dish that can be enjoyed on various occasions. By following the steps and tips outlined in this article, you can create a meal that’s both flavorful and satisfying. Remember to pay attention to the preparation details, avoid common mistakes, and don’t be afraid to experiment with flavors to suit your taste. Whether served as a main course or a party snack, these chicken tenders are sure to be a crowd-pleaser.
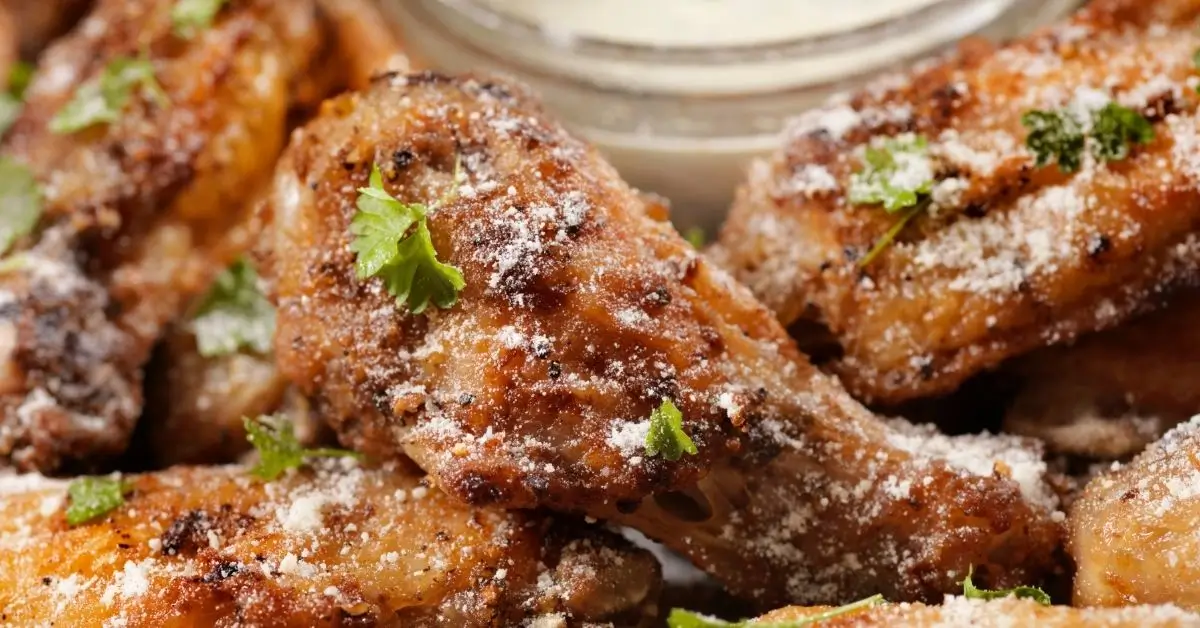
Crispy Ranch Chicken Tenders
Ingredients
Method
- Soak the Chicken: Place all the chicken tenders in a large bowl or an 8×8 baking dish, covering them with buttermilk. Ensure each tender is separated and coated on both sides.
- Prepare the Coating: In a shallow bowl, mix the flour, Ranch seasoning, pepper, and parsley.
- Coat the Chicken: Take one buttermilk-soaked tender and generously cover it with the flour mixture. Press the mixture gently into the chicken, then turn it over and repeat.
- Rest the Chicken: Place the coated tender on a wire rack over a baking sheet to rest. Repeat with all tenders. The coating will become slightly wet, which is key for extra crispiness.
- Fry the Chicken: Heat oil in your chosen cooking vessel to about 375°F. Fry 3-4 tenders at a time for 5-8 minutes on each side until golden brown and crispy.
Notes
- For a healthier version, use an air fryer. Replace some of the flour with panko breadcrumbs for a lighter, crunchier texture.
- Add a pinch of cayenne pepper to the flour mix for a spicy kick.
- Serve with a variety of dipping sauces to enhance the flavor experience.
