
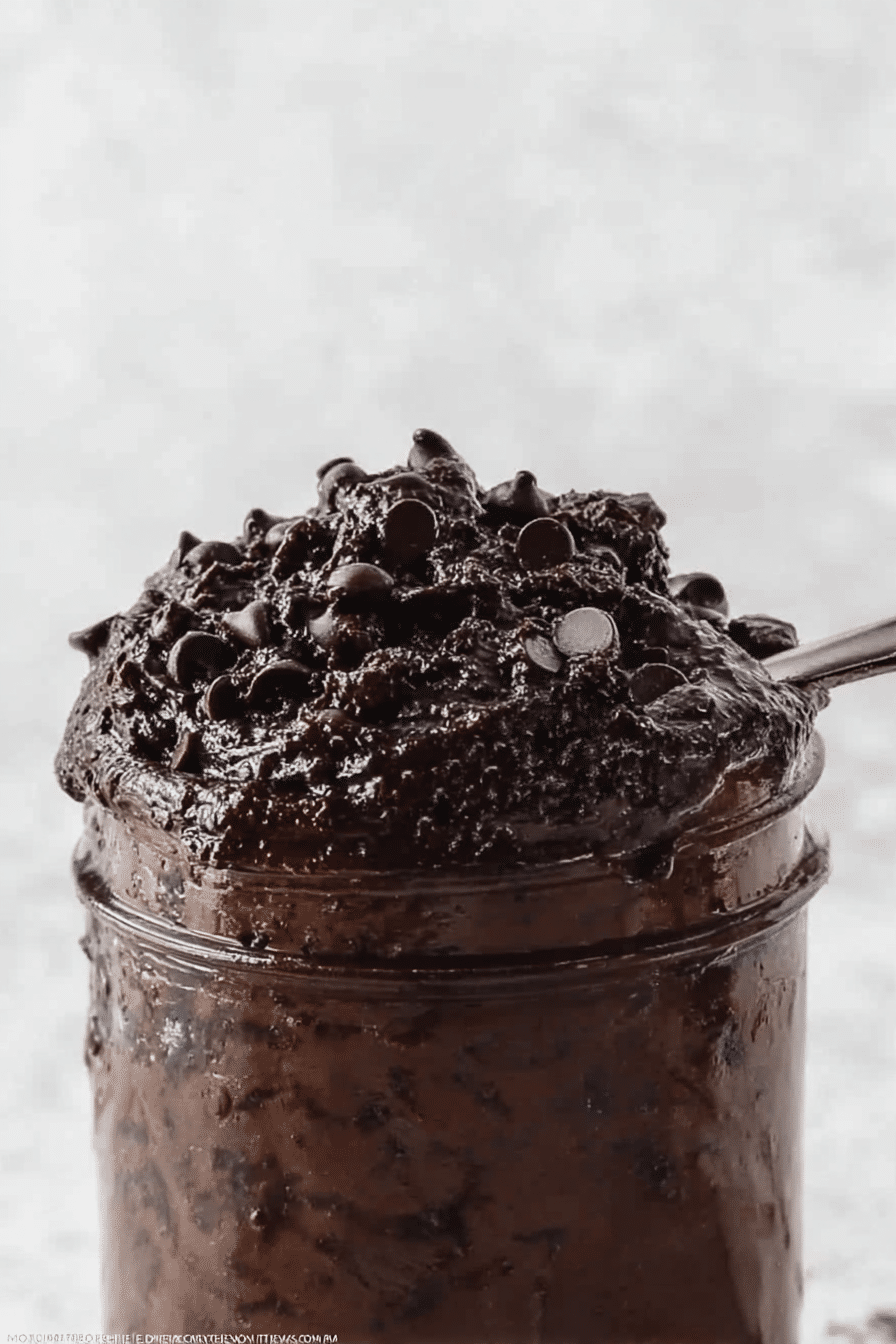
I first made this edible brownie batter on a weeknight when I wanted chocolate but didn’t want to light the oven or wait for a pan of brownies to finish. The bowl looked dangerously similar to regular brownie batter at first — dark, glossy, and dense — but the texture was softer, more spoonable. I remember bringing a wooden spoon to my lips and being pleasantly surprised by how much of the classic chocolate flavor came through: warm cocoa, a hint of brown sugar caramel, and those little pockets of melted chocolate chips that burst like tiny lava bites.
What sold me was how quickly the texture came together and how safe it felt to eat — no raw eggs, and the flour went through a little heat treatment (more on that below). I’ve been tweaking the balance of cocoa, brown sugar, and melted butter until it felt like a proper brownie in a spoon: fudgy, slightly sticky on the surface, and with a clean chocolate finish that doesn’t taste floury or raw. This post walks you through everything I learned while making it in a real kitchen: what to expect, what can go wrong, and how to fix it.
Benefits of Edible Brownie Batter
Edible brownie batter is the short-cut for chocolate lovers who want that brownie experience without baking. It’s quick, comforting, and versatile — perfect for midnight spooning, scooping into bowls over ice cream, or serving as a dip at a party. Because there are no raw eggs and the flour is heat-treated, it’s safe to eat straight from the bowl.
Beyond the instant gratification, this recipe is easy to adapt for dietary needs (vegan swaps, gluten-free flour), and it stores well in the fridge for a few days. It’s also a great base to experiment with flavors — peanut butter, orange zest, or a pinch of espresso will all push it into different dessert territories.
For even more indulgence, check out our fudgy red velvet brownies to satisfy your sweet cravings.
If you love no-bake treats, try our no-bake turtle mini cheesecakes for another easy and delicious dessert option.
Ingredients List with Substitutions
- All-purpose flour – provides structure; heat-treat it to make it safe to eat. For gluten-free, use a cup-for-cup gluten-free blend that’s been heat-treated the same way.
- Cocoa powder – gives the deep chocolate flavor. Dutch-processed will be smoother and darker; natural cocoa is brighter and tangier.
- Butter – adds richness and helps the batter firm up. Use dairy-free butter or solid coconut oil for a vegan version; expect a slight coconut aroma if you use coconut oil.
- Brown sugar – gives moisture and a caramel note; packed brown sugar creates that fudgy chew. You can use coconut sugar for a less refined option, but color and flavor will change.
- Granulated sugar – balances the bitter cocoa and adds body. Maple syrup or agave will work but will thin the batter, so reduce added milk accordingly.
- Vanilla extract – rounds out flavor and lifts the chocolate.
- Milk (dairy or plant-based) – adjusts consistency; add by the tablespoon so you don’t over-thin. Almond, oat, or soy milk all work well.
- Chocolate chips or chunks – texture and pockets of melted chocolate; use dairy-free chips to keep it vegan, or swap in chopped nuts for crunch.
- Salt – small amounts sharpen the chocolate and make the sweetness taste more complex; don’t skip it.
Step-by-Step Instructions
Below is the tested recipe I keep coming back to. I’m listing exact amounts and timings here so you can reproduce the results I got in my kitchen. Yield: about 8 spoonful servings.
Ingredients (measured for recipe):
- ¾ cup + 1 tablespoon (100 g) all-purpose flour
- ¼ teaspoon salt
- ½ cup unsweetened cocoa powder
- ⅓ cup unsalted butter (dairy or vegan)
- ⅓ cup packed brown sugar
- ½ cup granulated white sugar
- ½ teaspoon pure vanilla extract
- 3–5 tablespoons milk (dairy or plant-based), to taste
- ½ cup chocolate chips or chunks
- Heat-treat the flour: Place the measured flour in a microwave-safe bowl in an even layer. Microwave at 70% power for about 45 seconds to 1½ minutes, stopping and stirring at 30–45 second intervals. You want the flour to reach a warm temperature that will kill surface bacteria but not brown. Stir or whisk well to break up any clumps. (If you prefer the oven: spread flour on a baking sheet and bake at 350°F / 175°C for 5 minutes, stirring once.) I prefer the microwave because I can smell when the flour warms — it loses that raw smell and feels slightly warm when rubbed between fingers.
- Mix dry cocoa and salt: Whisk the salt and cocoa into the heat-treated flour until uniform. I always sift the cocoa if it’s lumpy; it helps the batter look glossy and prevents tiny cocoa pockets.
- Melt the butter: In a medium microwave-safe bowl, melt the butter on medium power for 30 seconds to 1½ minutes. Watch carefully so it doesn’t splatter or foam. When it’s melted, let it sit for 10–15 seconds so the hot butter won’t immediately seize the sugars.
- Combine sugars and vanilla: Whisk the brown sugar, granulated sugar, and vanilla extract into the melted butter. The mix will be gritty at first but becomes smoother; continue whisking until the sugar has absorbed most of the butter and you have a glossy mixture. If the mixture seems too grainy, a quick 10-second zap in the microwave helps the sugars dissolve, but don’t boil.
- Fold in dry mixture: Slowly whisk the flour-cocoa mixture into the butter-sugar mixture. Add it in stages so you can avoid lumps. Once the streaks of flour disappear, the batter will start to look like a thick, scoopable brownie batter — shiny and dense.
- Adjust texture with milk: Stir in milk, one tablespoon at a time, until the batter reaches your preferred consistency. For spoonable batter, 3 tablespoons is usually enough; if you want it more dip-like, go towards 5 tablespoons. The batter will look a touch glossy after milk is added. Remember: it will firm up slightly in the fridge.
- Fold in chips: Gently fold in the chocolate chips or chunks. I reserve a tablespoon to sprinkle on top so the presentation looks intentional, and some chips soften against the warm batter while others stay intact for texture contrast.
- Serve or chill: Serve immediately with spoons, graham crackers, fruit, or cookies. Or cover and chill — chilling 20–30 minutes gives it a firmer, truffle-like texture. Leftovers can be refrigerated for up to a week (see storage notes below).
Tips for Customizing Your Brownie Batter
- Vegan swap – Use vegan butter and plant milk; solid coconut oil works but expect a coconut note.
- Gluten-free – Use a heat-treated cup-for-cup gluten-free flour blend; xanthan gum in the blend helps mimic the chewiness.
- Richer flavor – Add a pinch of instant espresso powder to amplify the chocolate without tasting like coffee.
- Nutty add-ins – Stir in chopped toasted walnuts, pecans, or a swirl of almond or peanut butter for complexity.
- Spicy-sweet – A pinch of cinnamon or a tiny bit of cayenne lifts the chocolate in a surprising but delicious way.
- Lower sugar – Reduce granulated sugar slightly and add a tablespoon of maple syrup for moisture; adjust milk downward because liquid sweeteners thin the batter.
For an unforgettable flavor twist, consider pairing your edible brownie batter with our million dollar cake.
Nutritional Information
Below is an approximate breakdown based on the recipe yield (8 servings). These numbers are estimates to help you make informed choices.
- Calories per serving – ~149 kcal (based on original recipe nutrition snapshot); actual calories will vary by ingredient brands and substitutions.
- Fat – Around 4 g per serving, largely from butter; using plant-based butter or coconut oil will change saturated fat content.
- Carbohydrates – ~21 g per serving (from sugars, flour, and cocoa).
- Protein – Approximately 7 g per serving; cocoa and a small amount of flour contribute to this.
- Sugars – A noticeable portion of the carbs are sugars (brown + white sugar + chips); reduce if desired by substituting part of the sugar with less refined options.
- Allergens – Contains wheat and dairy by default; easily made dairy-free or gluten-free with the swaps noted above.
Compared with a baked brownie of the same volume, this batter tends to be slightly lower in calories per spoonful because baked brownies contain more butter absorbed into a crumb matrix. That said, spooning large quantities will still add up quickly — treat it like a dessert.
FAQs about Edible Brownie Batter
- Is edible brownie batter safe to eat?
Yes, our edible brownie batter is completely safe to enjoy! It uses heat-treated flour and no raw eggs, making it a delicious and worry-free treat. - How can I customize my edible brownie batter?
You can get creative with your brownie batter by adding flavorings like nut butters, spices, or extracts. You can also mix in chocolate chips, nuts, or dried fruits to suit your taste! - Can I make this recipe vegan?
Absolutely! You can substitute the unsalted butter with dairy-free butter or coconut oil, and ensure that you use plant-based milk to keep the recipe vegan. - How should I store leftover brownie batter?
Store any leftover brownie batter in an airtight container in the refrigerator for up to a week. Just remember to give it a good stir before enjoying it again! - What if I don’t have heat-treated flour?
You can heat treat regular flour by microwaving it for 45 seconds to 1.5 minutes. Just make sure to stir it well to break up any clumps before using it in the recipe!
Conclusion and Serving Suggestions
If you want quick chocolate comfort, this edible brownie batter hits the spot: deep chocolate flavor, spoonable texture, and the safety of heat-treated flour. I serve it many ways — straight from the bowl for an indulgent snack, spooned over vanilla ice cream for a decadent sundae, or as a dip with cookies and fruit at casual get-togethers. Chilling it gives a denser, almost fudge-like scoop, while serving it warm makes the chips melt into little puddles of chocolate.
Consider adding our delicious blueberry cheesecake cupcakes as a delightful dessert option to compliment your edible brownie batter.
Final honest note: this isn’t a replacement for a perfectly baked brownie with crackly top and chewy edges. It’s different — softer, creamier, and made for spooning. Once, I tried to bake a pan of this batter and learned the sugar and fat balance needs adjustment for baking; don’t assume you can drop this straight into the oven without reformulating. But as a no-bake treat, it’s reliable, fast, and endlessly adaptable. Try it, tweak it, and tell me what twist you like best — I always enjoy hearing about new combinations that work in real kitchens.
Storage & Make-Ahead: Keep in an airtight container in the fridge for up to 7 days. If it firms up too much, let it sit at room temperature for 10–15 minutes and stir, or whisk in a splash of milk to loosen it. You can also freeze small scoops on a tray and transfer to a bag for a quick frozen bite (thaw 10 minutes before eating).
Edible Brownie Batter
Ingredients
Method
- Add the flour to a microwave-safe bowl. Heat treat in the microwave on 70% heat for 45 seconds - 1 ½ minutes. Stir or whisk the flour well to break up any clumps.
- Whisk the salt and cocoa powder into the flour. Set aside.
- In a medium-size microwave-safe mixing bowl, melt the butter on medium heat for 30 seconds - 1 ½ minutes, or until melted.
- Whisk the brown sugar, white sugar, and vanilla extract into the melted butter until smooth and combined.
- Slowly whisk the flour mixture into the butter mixture until the streaks of flour disappear. Stir the milk in by the tablespoon until the batter has reached your desired consistency.
- Fold the chocolate chips or chunks into the batter. Serve the brownie batter or cover and chill until serving!