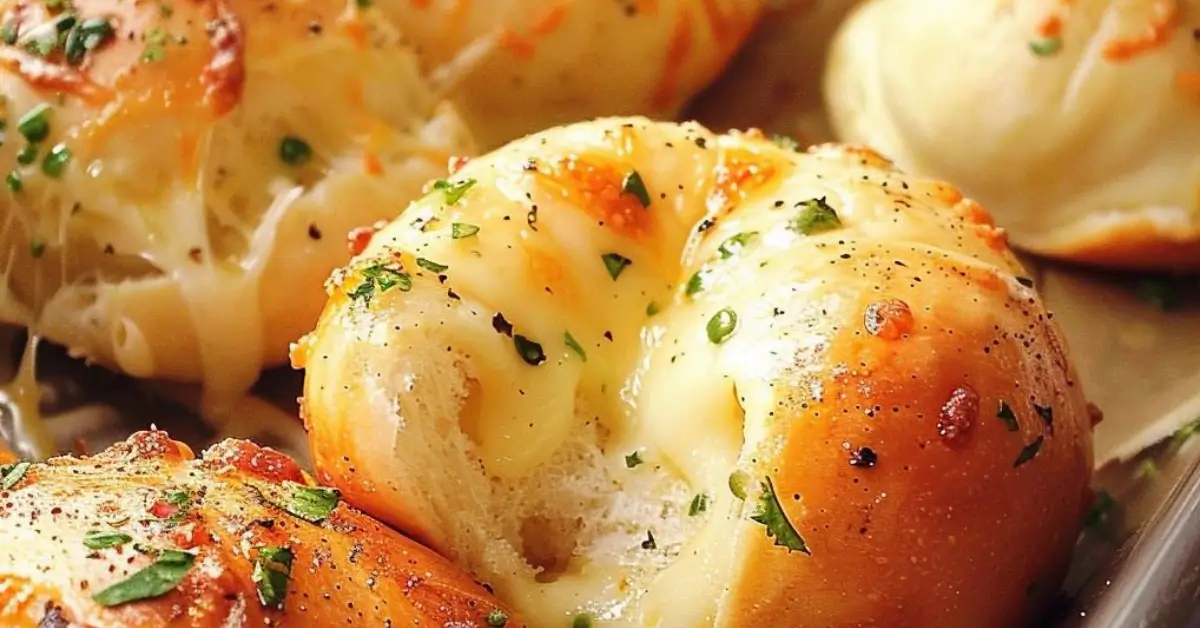
Easy Garlic Cheese Bombs are the epitome of delightful appetizers, combining the irresistible flavors of garlic, cheese, and butter in a bite-sized treat. Originating from a simple yet ingenious recipe, these cheese bombs offer a burst of gooey mozzarella encased in a soft biscuit, all enhanced with a savory garlic Ranch butter. Ideal for parties, gatherings, or even a cozy night in, these garlic cheese bombs are not just food items; they represent a moment of indulgence, a small escape into a world of flavor and texture. This introduction will guide you through the journey of creating these tantalizing treats, ensuring every bite is as perfect as envisioned.
Preparation Phase & Tools to Use
Creating Easy Garlic Cheese Bombs is a journey that begins with preparation and the right tools. First, gather all necessary ingredients, ensuring the mozzarella is fresh and the biscuits are ready to be transformed. You’ll need a cutting board to cube the cheese and a baking sheet lined with parchment paper or a silicone mat, crucial for preventing sticking and ensuring even baking.
The oven is your central tool, preheated to the right temperature to welcome your creations. Mixing bowls are essential for combining the melted butter with garlic and Ranch seasoning, a fusion that will later envelop the bombs in flavor. A pastry brush is another key player, allowing you to coat each bomb evenly with the butter mixture.
Precision in preparation sets the stage for success, ensuring each cheese bomb emerges from the oven golden brown, with a molten heart of mozzarella waiting to be discovered.
Ingredients List
- Biscuit dough: The foundation that encases the cheese, providing a soft, bread-like texture.
- Mozzarella cheese (3 oz., cubed): The star ingredient that melts into a stretchy, gooey core, offering a mild, creamy flavor.
- Butter (melted): Adds richness and carries the garlic and Ranch flavors, creating a glossy, flavorful exterior.
- Garlic (minced): Infuses the bombs with a pungent, aromatic essence, enhancing their savory profile.
- Ranch seasoning: Introduces a tangy, herby dimension, complementing the cheese and garlic.
Step-by-Step Instructions
- Preheat the Oven: Begin by setting your oven to 400 degrees F, creating the ideal environment for baking the cheese bombs.
- Prepare the Baking Sheet: Line your sheet with a non-stick mat or parchment paper, setting the stage for an easy release post-baking.
- Cube the Cheese: Transform the mozzarella into ¾” pieces, ensuring each bomb has a generous heart of cheese.
- Assemble the Bombs: Open the biscuit dough, place a piece of cheese at the center of each, and carefully pinch the edges to seal, forming a snug home for the mozzarella.
- Apply the Flavor: Mix your melted butter with garlic and Ranch seasoning, then brush this mixture over the bombs, infusing them with flavor.
- Bake to Perfection: Arrange the bombs on the baking sheet and bake until they turn a beautiful golden brown, signaling they’re ready to delight your taste buds.
- Final Touch: Once baked, give the cheese bombs a final brush with the butter mixture, then allow them to cool slightly, making them ready to serve.
Side Dish Recommendations for Garlic Cheese Bombs
Garlic Cheese Bombs are a versatile appetizer that pairs wonderfully with a variety of side dishes, enhancing your dining experience with complementary flavors and textures. Whether you’re planning a casual gathering, a family dinner, or a festive party, selecting the right side dishes can elevate the Garlic Cheese Bombs into a well-rounded meal or a standout snack spread. Here are some thoughtfully chosen side dish recommendations to accompany your cheesy delights:
Fresh Vegetable Crudité:
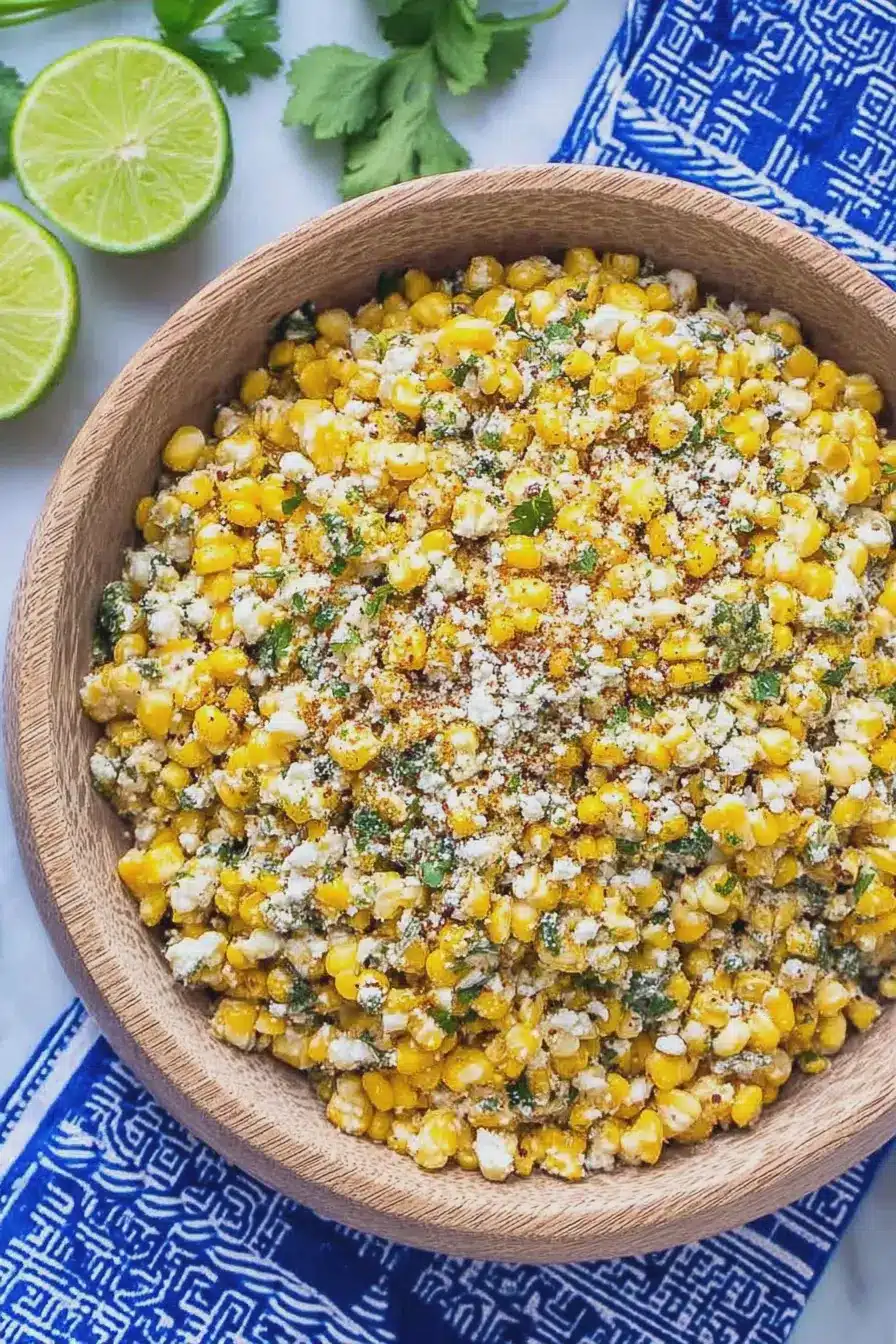
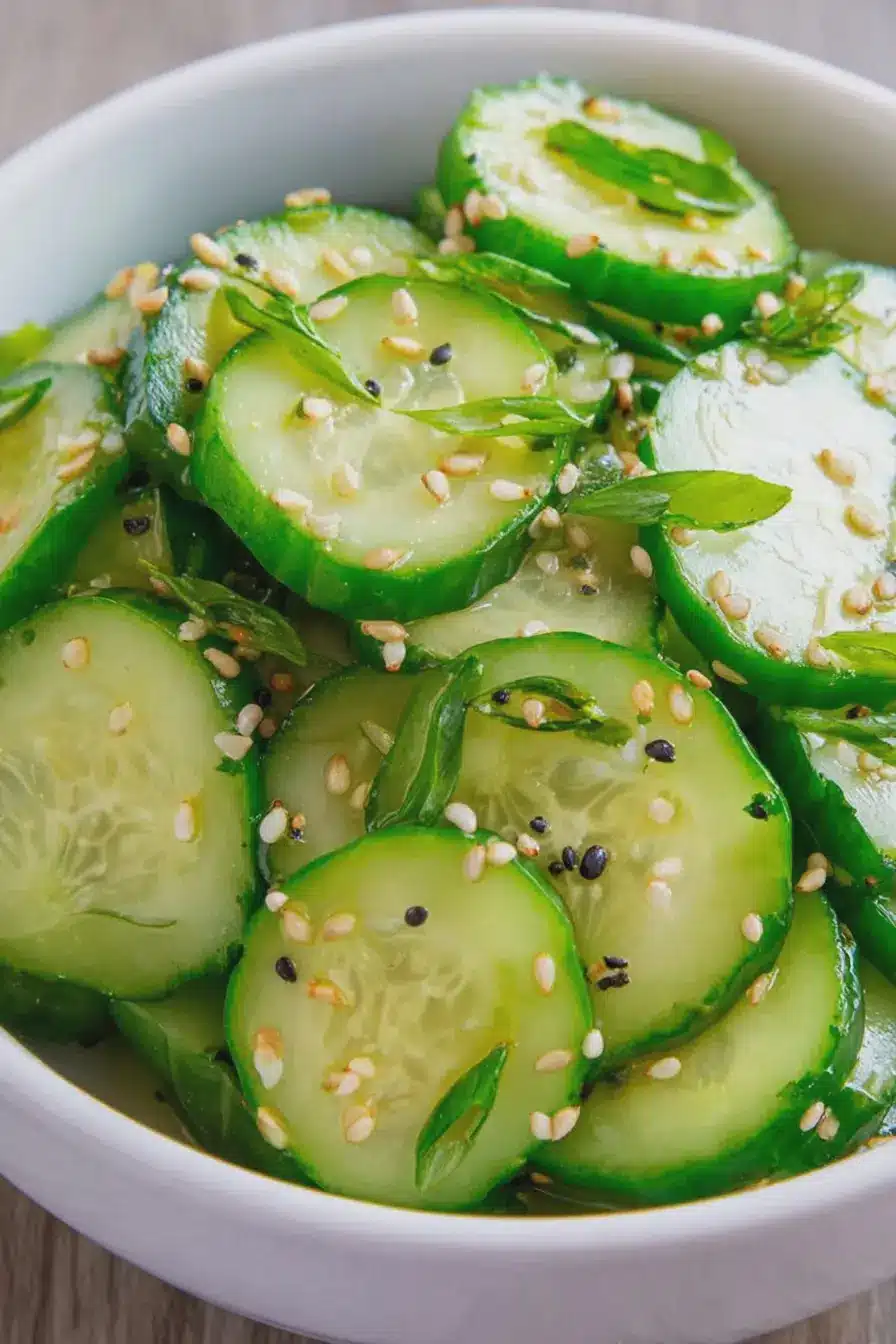
A platter of vibrant, fresh vegetables like carrots, celery, bell peppers, and cucumbers offers a crisp, refreshing contrast to the rich, gooey cheese bombs. Serve with a light dip or hummus for an added flavor dimension.
Marinated Olives and Pickles:
The briny tang of marinated olives and pickles cuts through the richness of the cheese bombs, providing a palate-cleansing effect. Choose a variety of olives and pickled vegetables for an array of tastes and textures.
Caprese Salad:
This classic Italian salad, with its simple combination of ripe tomatoes, fresh mozzarella, basil, and a drizzle of balsamic glaze, complements the cheese bombs with its fresh and tangy flavors, creating a harmonious balance.
Roasted Asparagus:
Lightly seasoned and roasted until tender-crisp, asparagus spears offer a slightly nutty flavor that pairs beautifully with the garlic and cheese. This side dish adds an elegant touch and a pop of color to your table.
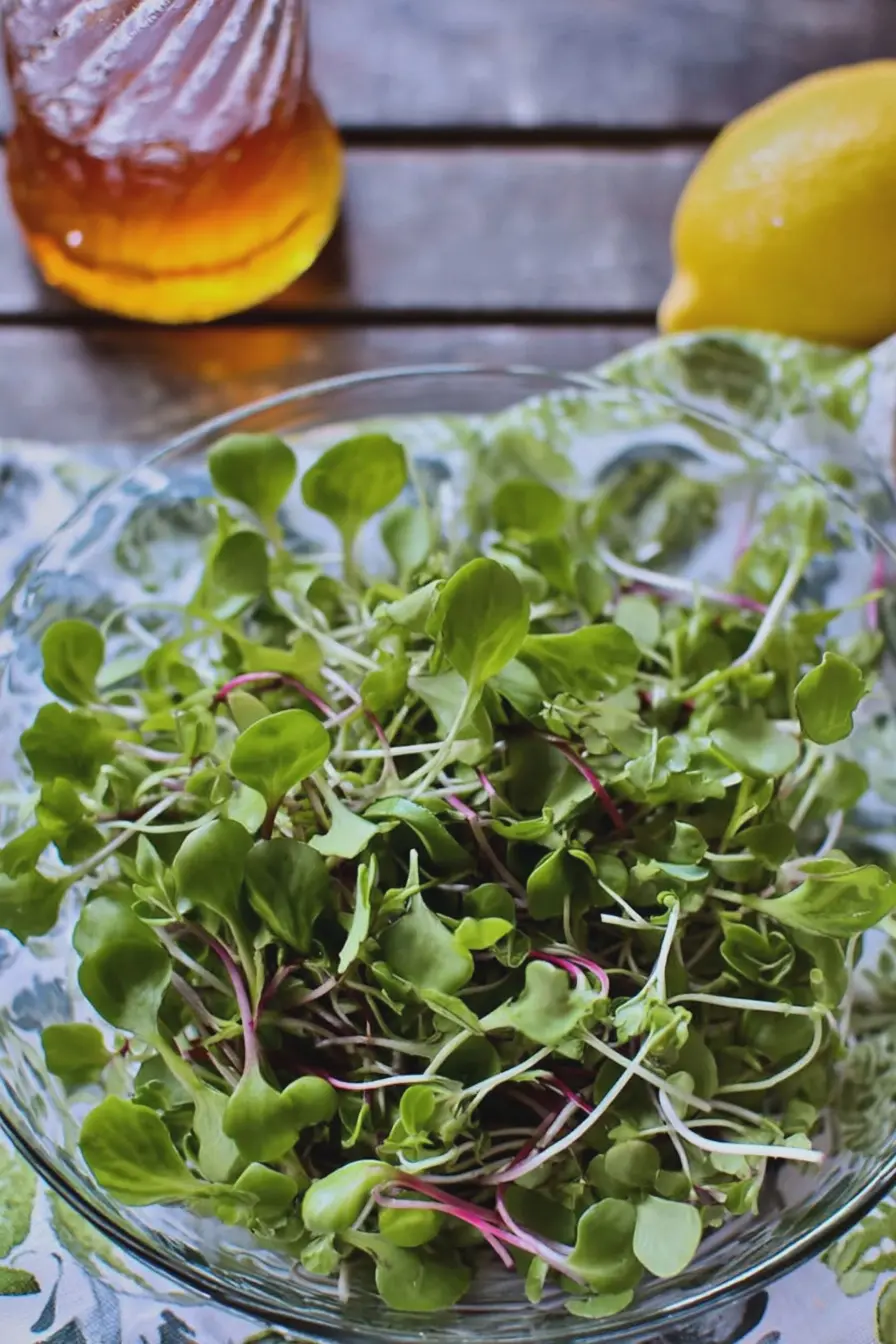
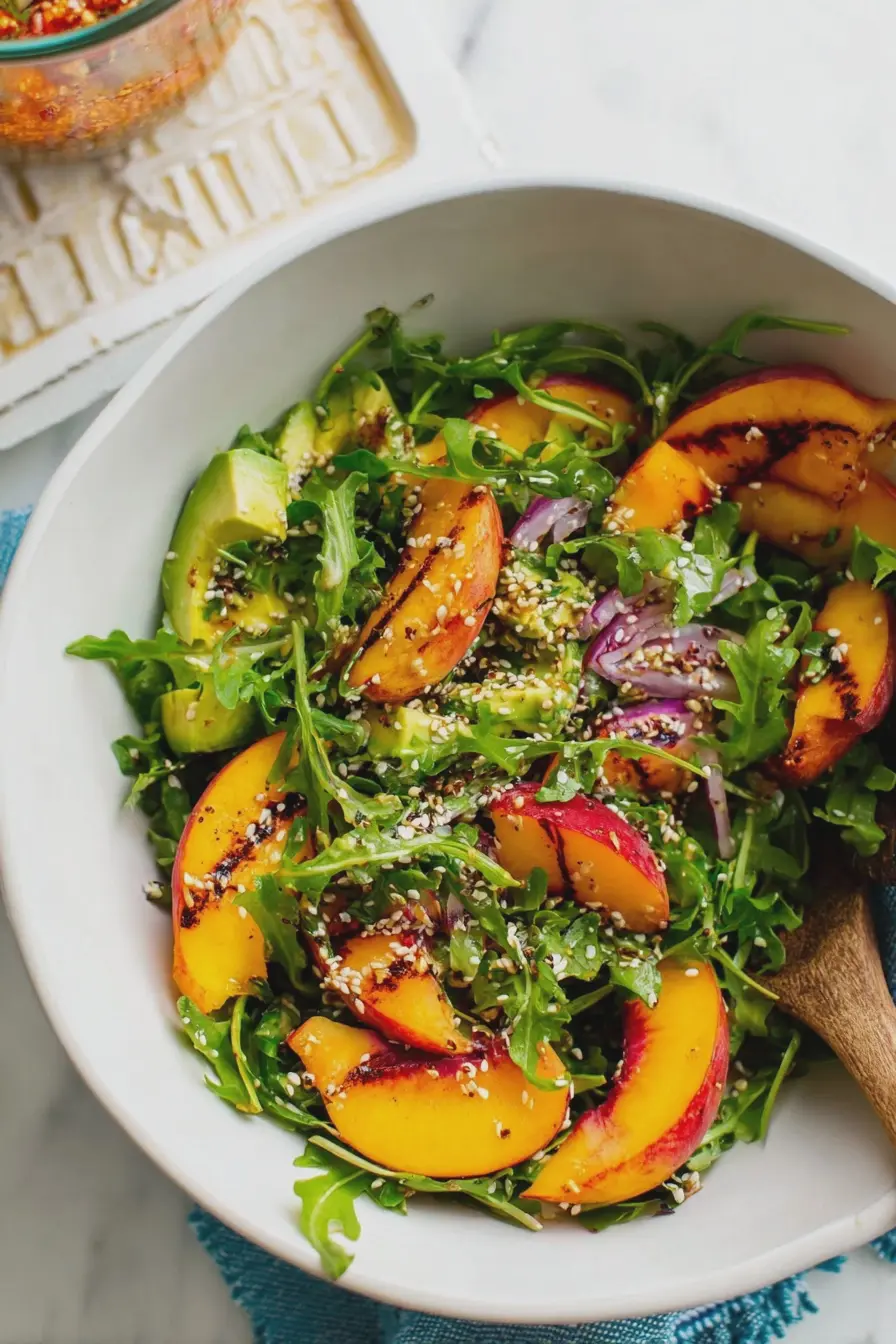
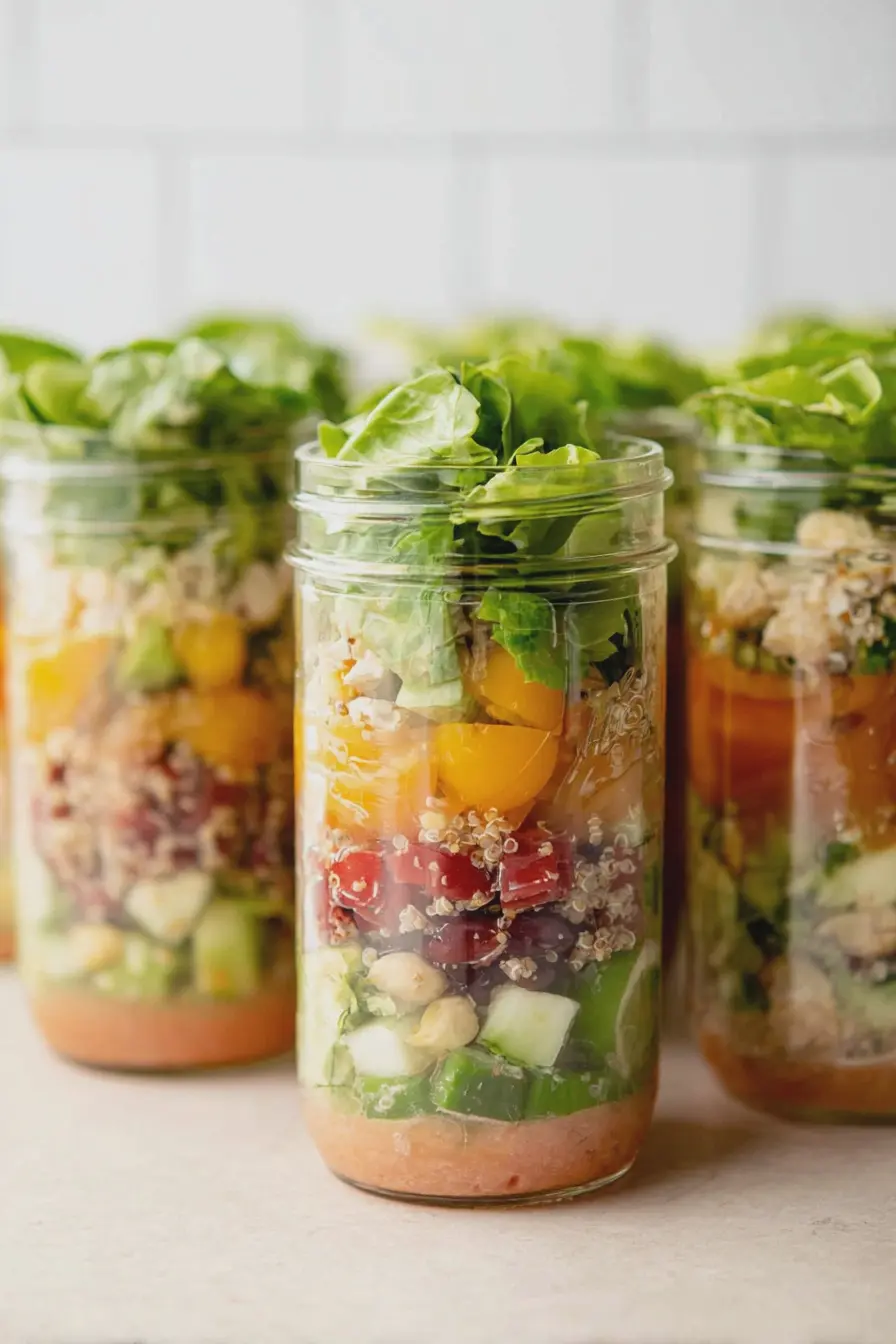
Quinoa Salad:
A hearty quinoa salad, loaded with vegetables, herbs, and a lemony dressing, provides a nutritious and flavorful counterpoint to the indulgent cheese bombs. It’s a great way to incorporate whole grains and additional protein.
Sweet Potato Fries:
Oven-baked sweet potato fries, seasoned with a hint of paprika or rosemary, offer a sweet and savory element that contrasts delightfully with the savory cheese bombs. Their crispy exterior and soft interior make them an irresistible pairing.
Coleslaw:
A tangy, crunchy coleslaw can refresh the palate between bites of the rich cheese bombs. Opt for a vinegar-based dressing to keep it light and zesty.
By choosing one or more of these side dishes, you can create a well-rounded and visually appealing spread that complements the flavors and textures of the Garlic Cheese Bombs, ensuring your meal or party is a hit with a variety of tastes catered to.
Nutritional Information & Health Benefits
While Easy Garlic Cheese Bombs are an indulgence, they also offer some nutritional value. Mozzarella cheese provides protein and calcium, essential for bone health, while garlic offers antioxidant benefits, supporting overall well-being. However, moderation is key, as these treats are also rich in calories and fats.
Understanding the nutritional content helps in making informed choices, allowing you to enjoy these cheese bombs while maintaining a balanced diet. Each serving contains vital nutrients, contributing to a satisfying and somewhat nutritious experience.
Common Mistakes To Avoid & How to Perfect the Recipe
Creating the perfect Easy Garlic Cheese Bombs requires attention to detail and an understanding of common pitfalls. Here are some mistakes to avoid and tips for perfection:
- Overstuffing with Cheese: While it’s tempting to add extra cheese, overstuffing can lead to leaks and less-than-ideal shapes. Use the recommended amount for a balanced flavor and structure.
- Inconsistent Cheese Cubes: Uniformly sized cheese cubes ensure each bomb melts consistently, providing the perfect gooey center.
- Uneven Butter Application: Ensure the garlic Ranch butter is evenly brushed over each bomb. Uneven application can result in varying flavors and browning.
- Ignoring Oven Temperature: An accurate oven temperature is crucial. Too hot, and the outside burns before the cheese melts; too cool, and they won’t achieve that golden perfection.
- Rushing the Cooling Process: Allow the cheese bombs to cool slightly before serving. This patience pays off with the perfect texture and temperature.
To perfect your garlic cheese bombs, practice precise measurements, even application of ingredients, and patience. These small details elevate your culinary creation from good to exceptional.
Tips, Notes, Storing, and Reheating
Maximize your Easy Garlic Cheese Bombs experience with these additional insights:
- Variations: Experiment with different cheeses or add herbs for a new flavor twist. Adapt the recipe to suit your taste preferences.
- Storing: Keep leftover cheese bombs in an airtight container in the refrigerator. They maintain quality for up to three days.
- Reheating: To recapture the fresh-baked taste, reheat in an oven or toaster oven until warm and melty. Microwave reheating is not recommended, as it can affect the texture.
- Freezing: For longer storage, freeze the cheese bombs on a baking sheet, then transfer to a freezer bag. Reheat from frozen, adding a few extra minutes to the oven time.
- Serving Suggestions: Pair with marinara sauce for dipping or serve alongside a salad for a balanced meal.
These tips ensure your garlic cheese bombs are enjoyable at the moment and beyond, providing flexibility in how and when you savor them.
FAQs
Can I use homemade biscuit dough?
A: Absolutely! Homemade dough can be a delightful alternative, offering a personal touch to the recipe.
Is it possible to make these with gluten-free ingredients?
A: Yes, use gluten-free biscuit dough and check all other ingredients for gluten content to adapt the recipe.
Can I add meat or vegetables to the cheese bombs?
A: Certainly! Consider adding cooked bacon bits, diced peppers, or sautéed mushrooms for extra flavor.
How do I know when the cheese bombs are perfectly baked?
A: They should be golden brown on top and fully sealed, with the cheese melted inside but not leaking.
Can these be made in advance?
A: Yes, you can prepare them ahead and refrigerate or freeze until ready to bake, making them perfect for entertaining.
Conclusion
Easy Garlic Cheese Bombs are more than just a recipe; they’re a celebration of flavor and texture, a crowd-pleaser that never fails to delight. Whether you’re hosting a party, looking for a fun snack, or simply indulging in a cheesy craving, these bombs are sure to hit the mark. With their gooey cheese center, flavorful garlic Ranch coating, and easy preparation, they offer a satisfying experience that invites repeat making. Embrace the joy of cooking and share the love with every batch of these irresistible treats.
Garlic Cheese Bombs
Ingredients
Method
- Preheat the Oven: Begin by setting your oven to 400 degrees F, creating the ideal environment for baking the cheese bombs.
- Prepare the Baking Sheet: Line your sheet with a non-stick mat or parchment paper, setting the stage for an easy release post-baking.
- Cube the Cheese: Transform the mozzarella into ¾" pieces, ensuring each bomb has a generous heart of cheese.
- Assemble the Bombs: Open the biscuit dough, place a piece of cheese at the center of each, and carefully pinch the edges to seal, forming a snug home for the mozzarella.
- Apply the Flavor: Mix your melted butter with garlic and Ranch seasoning, then brush this mixture over the bombs, infusing them with flavor.
- Bake to Perfection: Arrange the bombs on the baking sheet and bake until they turn a beautiful golden brown, signaling they're ready to delight your taste buds.
- Final Touch: Once baked, give the cheese bombs a final brush with the butter mixture, then allow them to cool slightly, making them ready to serve.
Notes
- Variations: Experiment with different cheeses or add herbs for a new flavor twist. Adapt the recipe to suit your taste preferences.
- Storing: Keep leftover cheese bombs in an airtight container in the refrigerator. They maintain quality for up to three days.