
I still remember the first time I made a full batch of caramel at home — my kitchen smelled like brown sugar and butter for two days, and every time I opened the pantry I found myself sneaking another square. Homemade caramel is that warm, nostalgic thing you can make on an ordinary evening and suddenly everything feels a little more indulgent. It’s sticky, glossy, and melts smoothly on the tongue; better yet, it elevates so many desserts and snacks from good to unforgettable. Making caramel from scratch also gives you the freedom to tune the sweetness, saltiness, and texture in ways store-bought options rarely allow.
Over the years I’ve made this recipe dozens of times — for holiday plates, last-minute gifts, and quiet nights when I wanted something buttery and sweet. Each time I tweak small things: a splash more cream for a softer chew, a pinch more salt for contrast, or an extra minute on the heat for a deeper toasted flavor. Below I’ll walk you through what I do in my kitchen, the tools I rely on, and how to recover if things go sideways. If you like hands-on candy making, this is one of the most satisfying projects: it’s tactile, sensory, and the payoff is immediate and delicious.
Ingredients You Need for Delicious Caramels
- White granulated sugar – the backbone of the caramel; it melts and browns to create that deep toffee flavor.
- Brown sugar – adds moisture and a hint of molasses for chew and depth.
- Corn syrup – helps prevent crystallization so your caramel stays smooth instead of grainy.
- Evaporated milk – gives body and a slightly caramelized milk flavor that pairs beautifully with the sugars.
- Heavy cream – makes the caramel lush and creamy; full-fat yields the best texture.
- Butter – brings richness and mouthfeel; grass-fed or high-quality butter makes a noticeable difference.
- Vanilla extract – a finishing flavor that rounds out the caramel’s sweetness; add off-heat so it stays fragrant.
- Sea salt (optional) – a sprinkle of flaky salt on top balances the sweetness and highlights the butteriness.
When sourcing ingredients, choose unsalted butter so you can control the salt level. If you buy organic or grass-fed butter, the caramel will have a slightly more pronounced buttery note. For cream, full-fat heavy whipping cream gives the most luxurious texture; lighter creams will thin the caramel. If you prefer to experiment, there are notes below on dairy-free swaps.
Step-by-Step Guide to Making Perfect Caramel
My tried-and-true method starts with attention to temperature, a heavy-bottomed pot, and patience. Read through the steps before you start so nothing surprises you — caramel makes dramatic changes very quickly once it’s hot.
You can use your homemade caramel to enhance chocolate-covered banana pops for a delightful treat.
- Gather equipment and prep your pan: line a 9×13-inch pan with parchment paper, leaving an overhang to lift the caramel out later. Use a medium, heavy-bottomed pot (stainless steel is fine) and a reliable candy thermometer clipped to the side so the tip is submerged in the mixture but not touching the bottom.
- Combine ingredients: in the pot combine the sugars, corn syrup, evaporated milk, heavy cream, and butter. The recipe I use is the classic from my notes: 2 cups white granulated sugar, 1 cup packed brown sugar, 1 cup corn syrup, 1 cup evaporated milk, 2 cups heavy whipping cream, and 1 cup butter. This yield makes about 40 small caramels — a generous batch for gifting and snacking.
- Bring to a simmer over medium heat: stir gently at first to dissolve the sugars, then continue to stir occasionally. At the beginning the mixture looks thin and pale; after 10–15 minutes it becomes thicker, more opaque, and the steam smells deeply sweet and buttery. If you see large bubbles and furious boiling early, lower the heat — you want a steady, controlled boil.
- Monitor temperature carefully: attach your candy thermometer and watch for the soft-ball stage. The classic target is 240°F for soft-ball, but I prefer to cook mine to 245°F for a slightly firmer chew that still melts in the mouth. This step can take 30–60 minutes depending on your stove and pot. Stir occasionally — not constantly — to prevent scorching but enough to ensure even cooking.
- Remove from heat and finish: once the thermometer reads 245°F, immediately remove the pot from the heat and stir in 1 1/4 teaspoons of vanilla extract (add more sparingly if you like stronger vanilla). The vanilla blooms in the hot caramel and gives a warm, rounded finish.
- Pour and cool: carefully pour the hot caramel into the prepared 9×13 pan. It will be very hot and fluid — wear an oven mitt and pour steadily. Let it sit uncovered for a couple of hours until it firms slightly, then cover loosely with plastic wrap and leave at room temperature overnight to set fully. Covering too early can trap condensation; I wait until the surface isn’t steaming.
- Cut and wrap: when the caramel is fully set, lift it from the pan using the parchment overhang and place on a cutting board. Trim the edges and cut into small squares with a sharp knife. To make handling easier, chill the block briefly (15–20 minutes) before cutting, which firms the edges for cleaner slices. Wrap each piece in wax paper twists and store as directed below.
Notes on timing: the cook time for the sugar-to-thermometer stage varies. Expect about 45–60 minutes from simmer to 245°F on a typical home stove. The total recipe time (including cooling) is roughly an hour of active steps and several hours to set; the recipe’s total time is about 65 minutes active plus cooling overnight for best texture.
Common Caramel Making Mistakes and Troubleshooting
Caramel can be a little fickle, but most problems have straightforward fixes. I’ve burned one pan more than once and learned useful corrections that saved the batch (and my kitchen). Here are the things that go wrong most often and what to do.
Even if your caramel doesn’t turn out perfectly, it can still complement a pumpkin cheesecake for added flavor!
- Problem: Crystallization (grainy caramel) – usually caused by sugar crystals forming on the pot sides or aggressive stirring. Fixes: rinse down the sides with a wet pastry brush while the mixture is cold to dissolve stray crystals before heating; add the corn syrup (an interfering agent) as in this recipe to reduce crystallization risk; if crystallization happens late, try adding a tablespoon of water and gently reheating to dissolve the crystals, then return to a gentle boil and finish to temperature.
- Problem: Burnt flavor or dark, bitter caramel – happens when the mixture gets too hot or sits on high heat. Fixes: immediately remove from heat and taste; if the burn is mild you may still be able to balance it with extra cream and butter, but very burnt batches are best discarded. To prevent burning, use medium heat and a heavy-bottomed pot for even heat distribution.
- Problem: Too soft or runny after setting – usually the mixture didn’t reach high enough temperature. Fixes: reheat gently and bring back to the target temperature (245°F), then pour into a clean prepared pan to reset. Remember that caramel firms as it cools, so don’t judge softness until it has fully set at room temperature or chilled briefly.
- Problem: Too hard or brittle – occurs if cooked beyond the soft-ball stage. Fixes: you can salvage the flavor by finely chopping and adding to ice cream or using as crunchy mix-in. For next time, remove from heat at 240–245°F and remember that the temperature climbs a few degrees after removing from the heat due to residual heat; quick removal helps avoid overshoot.
Creative Flavor Variations for Your Caramels
Once you’ve nailed the base caramel, it’s fun to play with flavors. Small additions at the right time can turn a classic caramel into something seasonal or sophisticated.
Try adding a layer of flavor by making delicious turtle candy with your homemade caramel!
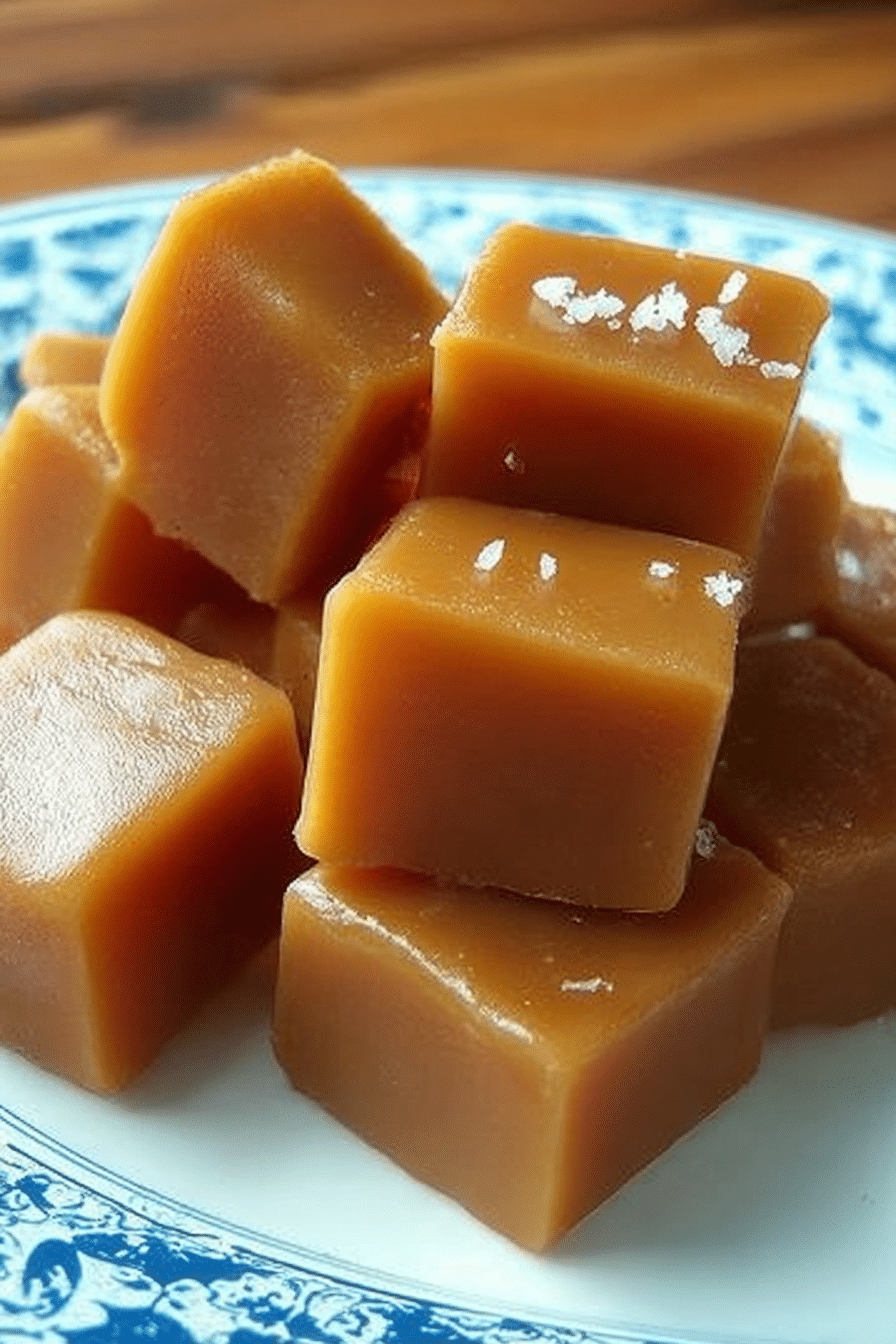
- Classic sea salt – sprinkle flaky sea salt on top right after pouring; the contrast makes the caramel taste less cloying and more balanced.
- Chocolate swirl – melt semi-sweet chocolate and drizzle or swirl into the surface after pouring; allow to set and cut into squares for a two-tone treat.
- Espresso or coffee – dissolve a teaspoon of instant espresso into the cream before adding to the pot for a subtle coffee note that pairs well with chocolate.
- Spiced variations – cinnamon, a touch of cardamom, or even a pinch of cayenne can add warmth and complexity. Add spices to the cream or stir in right after removing from heat.
- Nuts and mix-ins – fold chopped toasted pecans or almonds into the caramel just before pouring for a nutty caramel candy (think turtle candy).
How to Store and Gift Your Homemade Caramels
Proper storage keeps caramels soft and delicious; packaging them nicely makes for an excellent homemade gift. These candies travel well if wrapped correctly.
If you’re gifting caramel, consider using it in a caramelized onion pasta dish for a sophisticated touch.
- Room temperature storage – store wrapped caramels in an airtight container at room temperature for up to 2 weeks. I like to layer wax-paper-wrapped squares between sheets of parchment so they don’t stick together.
- Refrigeration – if your kitchen is warm, keep caramels in the fridge; they’ll firm up and need to sit at room temperature a few minutes before eating. Use an airtight container to prevent moisture pickup; they’ll keep for about 3 weeks refrigerated.
- Freezing – caramels freeze well for up to 3 months. Wrap individually in wax paper, then place in a freezer-safe container. Thaw at room temperature before serving to regain chewiness.
- Gifting – wrap individual squares in wax paper and place them in small boxes or tins. Add a ribbon and a handwritten label with storage instructions (room temp or refrigerate) and the date. For holiday gift jars, stack wrapped pieces in a mason jar with a pretty label.
Nutritional Information and Healthier Alternatives
Here’s an approximate nutritional snapshot based on the batch yield of about 40 caramels (one small square):
- Calories – ~174 kcal per piece
- Fat – ~9 g per piece
- Carbohydrates – ~23 g per piece
- Protein – ~1 g per piece
If you’re watching sugar or dairy, there are substitutions, but expect texture and flavor changes:
- Coconut sugar – can replace some or all of the white sugar for a lower-glycemic index option, but it darkens flavor and may make the caramel taste more molasses-like.
- Dairy-free butter – use a high-quality vegan butter or coconut oil blend; the mouthfeel will be slightly different and the caramel may set firmer or softer depending on the fat used.
- Non-dairy milk – full-fat coconut milk can replace heavy cream for a coconut-flavored caramel, though the texture is often a touch softer and the flavor more tropical.
- Reduced sugar – cutting sugar drastically will change texture; instead, make smaller pieces or pair smaller amounts with tart fruit to satisfy sweet cravings with less sugar.
When trying alternatives, test small batches first. The sugar-to-fat-to-liquid balance in caramel is delicate; swapping one component often requires compensating elsewhere (e.g., less liquid or more cooking time).
Alternative Methods for Making Caramel
If stovetop candy making feels intimidating or you need a quicker method, there are alternatives. I’ve tried microwave and slow-cooker versions when I wanted to avoid babysitting a pot, and each method has pros and cons.
- Microwave method – combine sugars, corn syrup, cream or milk, and butter in a large microwave-safe bowl and heat in 1–2 minute bursts, stirring between bursts, until the mixture reaches the soft-ball stage. Pros: faster and less active stirring. Cons: uneven heating can lead to hot spots and increased risk of burning; you still need a thermometer and caution.
- Slow cooker method – combine ingredients in a slow cooker and cook on low for 2–3 hours, stirring occasionally until you reach the desired temperature. Pros: hands-off and forgiving for beginners. Cons: longer total time and can be harder to reach a precise temperature without a thermometer; flavor may be less toasted than stovetop caramel.
- Stovetop (recommended) – steady, controlled, and allows direct sensory cues: the smell, the way bubbles change, and the thermometer reading. It’s my preferred method for best texture and depth of flavor.
FAQ
- What is the best way to prevent my caramel from burning?To prevent burning, make sure to monitor the temperature closely with a candy thermometer and stir the mixture frequently. Cooking over medium heat can also help ensure even cooking.
- Can I customize the flavor of my homemade caramels?Absolutely! You can add flavorings like vanilla extract, sea salt, or even spices like cinnamon. Just mix them in after you’ve removed the caramel from heat.
- How should I store my homemade caramels?Store your caramels in an airtight container at room temperature. You can also wrap them in wax paper for easy handling and to keep them fresh.
- What should I do if my caramel crystallizes?If your caramel crystallizes, try adding a bit of water and reheating it gently. Make sure to avoid stirring too much while it’s cooking to minimize crystallization.
- Is there a quicker method for making caramel?Yes! You can use the microwave or a slow cooker to make caramel, but traditional stovetop methods generally yield better texture and flavor.
Conclusion
Making homemade caramel is one of those kitchen skills that pays off again and again. It’s sensory, a little technical, and wildly comforting when it turns out. Expect to learn from a few imperfect batches — graininess or slight overcooking happen to all of us — but with the thermometer, a heavy pot, and the tips above, you’ll get consistent results. I make this recipe for holidays, for friends, and for treating myself; it travels well, freezes well, and lends itself to endless flavor play.
If you try the recipe, start with the stovetop method, measure carefully, and don’t rush the temperature stage. Share what you made — I love hearing about spice tweaks, gift packaging ideas, or the ways you used leftover caramel in desserts. Happy cooking, and enjoy that buttery, chewy goodness straight from your own kitchen.
Homemade Caramel
Ingredients
Method
- In a medium pot, combine all ingredients except for the vanilla.
- Use a candy thermometer to monitor the mixture's temperature while stirring occasionally.
- Once the thermometer reads 245 degrees F, take the pot off the heat.
- Mix in the vanilla.
- Pour the mixture into a 9x13 pan lined with parchment paper. Allow the caramel to cool completely.
- After cooling, cut the caramel into small squares and wrap them in wax paper for storage. Enjoy!