Introduction
Ah, the delightful taste of Jello pudding pops! These frozen treats have a special place in many hearts, evoking memories of sun-soaked summers and carefree childhood days. I still remember the joy of racing outside with my friends, eagerly anticipating the moment we would sink our teeth into these creamy, chilled delights. The combination of smooth pudding and icy coldness made them the perfect antidote to the sweltering heat. Did you know that pudding pops were all the rage in the 70s and 90s? They were a staple of summer fun, often enjoyed at family gatherings or neighborhood barbecues. The unique texture and flavors made every bite a nostalgic trip down memory lane.
These pudding pops are not just a treat for kids; adults can indulge in their creamy goodness too. With the ease of making them at home, you can customize them to your liking and recreate those cherished moments. Whether you’re reminiscing about your childhood or introducing this classic treat to a new generation, making pudding pops is a delightful way to celebrate the joy of summer. So, let’s dive into this easy recipe and relive those sweet memories!
These pudding pops remind me of summers spent enjoying refreshing treats like our Delicious French Onion Butter Rice during family gatherings.
Ingredients: What You’ll Need for Delicious Pudding Pops
To make the irresistible Jello pudding pops, you’ll need the following ingredients:
- 3.3 oz White Chocolate Instant Jell-O Pudding Mix or vanilla
- 3.3 oz Chocolate Instant Jell-O Pudding Mix
- 3.5 cups whole milk, divided
These ingredients create a fantastic base for your pudding pops. However, feel free to customize them according to your dietary needs or preferences:
- Dairy-Free: Substitute whole milk with almond milk, coconut milk, or oat milk for a delicious dairy-free option.
- Sugar-Free: Look for sugar-free instant pudding mixes to enjoy a guilt-free treat.
- Gluten-Free: Both Jell-O pudding mixes are gluten-free, but always check the packaging to ensure safety.
Step-by-Step Guide: How to Make Easy Pudding Pops
Making your own pudding pops is simpler than you might think. Follow these easy steps to create your delicious frozen treats:
- In a medium-sized bowl, combine the white chocolate pudding mix and 1 3/4 cups of milk. Stir until well blended.
- In a separate medium-sized bowl, combine the chocolate pudding mix with the remaining milk. Mix until smooth.
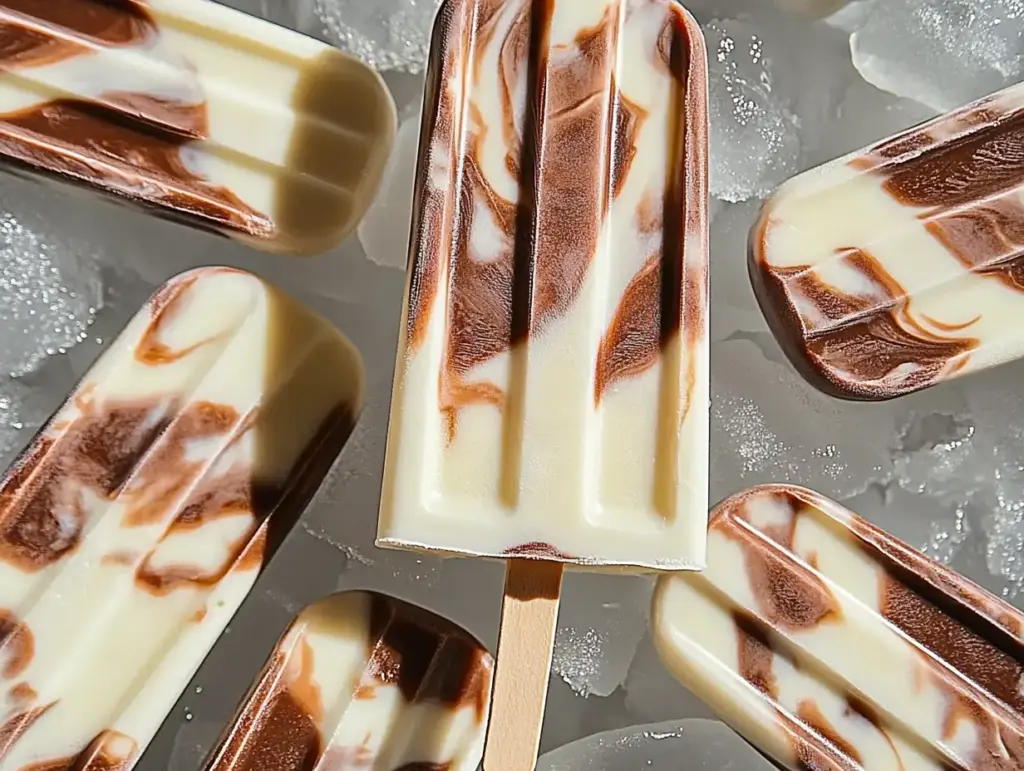
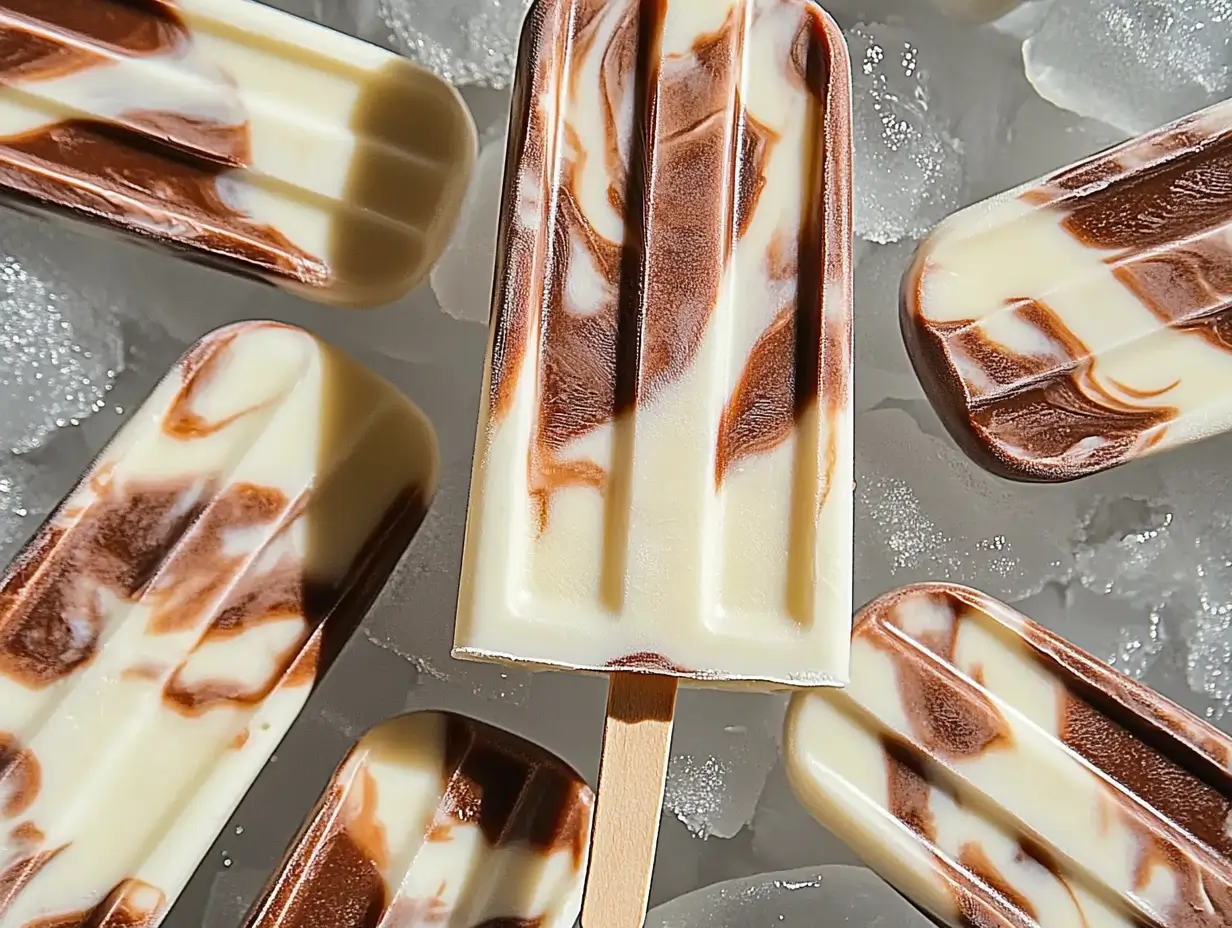
- Once both puddings have started to set, use alternating spoonfuls of the two pudding colors and fill a plastic gallon-size baggie.
- Close the baggie and snip the end of the tip to pipe the pudding into popsicle molds. The two colors will swirl together beautifully as you pipe.
- Freeze the pudding pops for at least 3 hours, or overnight for the best results.
- To remove the pudding pops, dip the bottoms of the molds in hot water for a few seconds until they slide out easily.
With these straightforward steps, you’ll have your very own homemade pudding pops ready to enjoy! Remember to avoid over-mixing the pudding, as this can affect the texture.
Flavor Variations: Customize Your Pudding Pops
One of the best things about pudding pops is the endless possibilities for flavor combinations! Here are some popular variations you can try:
- Chocolate and Peanut Butter: Swirl in some creamy peanut butter for a decadent treat.
- Strawberry Swirl: Replace the chocolate pudding with strawberry pudding for a fruity option.
- Matcha Magic: Incorporate matcha powder for a trendy green tea flavor.
- Salted Caramel: Add a pinch of sea salt to caramel pudding for a sweet and savory twist.
Additionally, consider mixing in fun ingredients like crushed cookies, fresh fruit pieces, or nuts to enhance the texture and flavor of your pudding pops. For a fruity twist, consider blending flavors with our Orange Dreamsicle Salad as a refreshing side.
Dairy-Free Options: Enjoying Pudding Pops for Everyone
If you or someone you know has dietary restrictions, don’t worry! It’s easy to make dairy-free pudding pops. Here’s how:
- Use almond milk or coconut milk in place of whole milk.
- Look for dairy-free pudding mixes available at most grocery stores.
- Combine the dairy-free pudding mix with the milk alternative as per the original instructions for a creamy, delicious result.
This way, everyone can enjoy the delightful taste of pudding pops, regardless of dietary preferences. Inclusivity in recipes is essential, allowing everyone to share in the joy of homemade treats.
Creative Serving Ideas: Presenting Your Pudding Pops at Parties
When it comes to serving pudding pops, presentation can make all the difference. Here are some creative ideas to impress your guests:
- Fruit Skewers: Thread the pudding pops onto fruit skewers for a fun and colorful display.
- Themed Molds: Use fun-shaped molds to match your party theme, such as stars for a summer celebration or hearts for a birthday bash.
- Decorative Platter: Arrange the pudding pops on a decorative platter with fresh fruit and dips for a delightful dessert table.
These ideas will not only make your pudding pops visually appealing but also create a memorable experience for your guests. Pair your pudding pops with our Irresistible Butterfinger Bliss Balls for a delightful dessert spread.
Storage Tips: How to Keep Your Pudding Pops Fresh
To ensure your pudding pops maintain their delightful flavor and texture, follow these storage tips:
- Store pudding pops in an airtight container in the freezer to prevent freezer burn.
- They can be kept for up to 2 months while retaining their taste.
- When you’re ready to enjoy them, simply dip the bottoms of the molds in hot water to remove the pops easily.
Frequently Asked Questions
How long do I need to freeze the pudding pops?
You should freeze the pudding pops for at least 3 hours, but for the best results, freezing them overnight is recommended.
Can I use non-dairy milk for this recipe?
Absolutely! You can substitute whole milk with almond milk, coconut milk, or any other non-dairy milk for a dairy-free version of pudding pops.
What are some fun flavor variations I can try?
You can get creative with flavors! Popular variations include strawberry, matcha, or salted caramel. Feel free to add mix-ins like crushed cookies or fresh fruit to customize your pudding pops.
How do I remove the pudding pops from the molds?
To easily remove the pudding pops, dip the bottoms of the molds in hot water for a few seconds until they slide out smoothly.
How can I store leftover pudding pops?
Store leftover pudding pops in an airtight container in the freezer to prevent freezer burn. They can be kept for up to 2 months while maintaining their flavor and texture.
Conclusion: Why You Should Make These Pudding Pops Today
In conclusion, Jello pudding pops are not just a nostalgic dessert; they are a fun and creative way to beat the summer heat. The joy of making these treats lies in the process of experimenting with flavors and sharing them with loved ones. So why not grab your ingredients and start whipping up a batch today? The memories you create will be just as sweet as the pudding pops themselves. Don’t forget to try making Deep Fried Marshmallows as a fun snack to accompany your pudding pops!
Relive Your Childhood with Irresistible Jello Pudding Pops
Ingredients
Method
- In a medium-sized bowl, combine the white chocolate pudding mix and 1 3/4 cups of milk. Stir until well blended.
- In a separate medium-sized bowl, combine the chocolate pudding mix with the remaining milk. Mix until smooth.
- Once both puddings have started to set, use alternating spoonfuls of the two pudding colors and fill a plastic gallon-size baggie.
- Close the baggie and snip the end of the tip to pipe the pudding into popsicle molds. The two colors will swirl together beautifully as you pipe.
- Freeze the pudding pops for at least 3 hours, or overnight for the best results.
- To remove the pudding pops, dip the bottoms of the molds in hot water for a few seconds until they slide out easily.