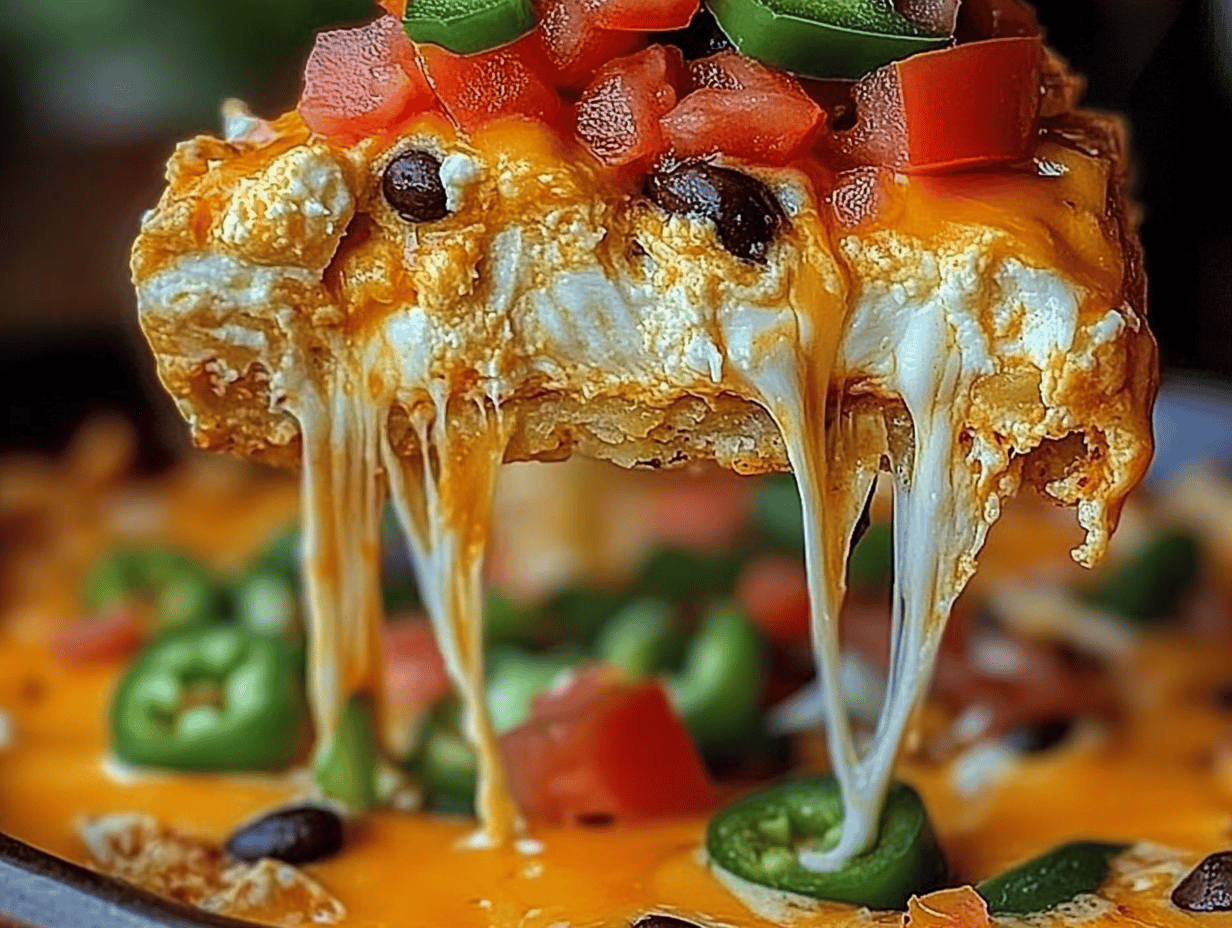
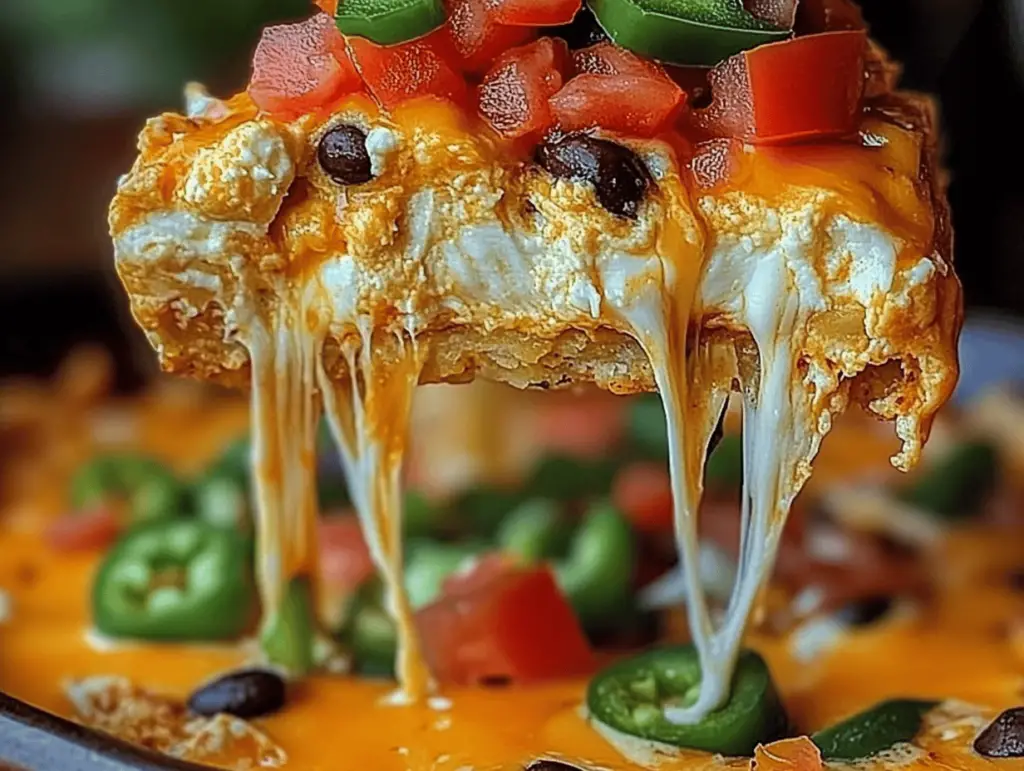
There’s nothing quite like a crowd-pleasing dip that brings everyone together, especially when it comes to gatherings and special events. The Layered Queso Blanco and Taco Dip is not just a recipe; it’s an experience filled with vibrant flavors and an invitation to indulge. This dip is creamy, packed with flavor, and loaded with textures that keep everyone coming back for more. It has all the elements of a perfect appetizer, and the best part? It requires minimal preparation while still making you look like a culinary genius! In this article, we will explore the background of this delightful dish, dive into its ingredient details, and provide you with easy-to-follow steps to create this fantastic dip. By the end, you’ll be well-equipped to wow your guests and satisfy those taste buds!
Understanding the Recipe
The Layered Queso Blanco and Taco Dip possesses a rich cultural significance. Rooted in Tex-Mex cuisine, it embodies the vibrant flavors & communal spirit typically enjoyed during gatherings, game days, or casual hangouts. This dish brings together some of the best ingredients that are staples in Mexican and American cooking, showcasing the harmony of flavors between creamy, tangy, and savory. The beauty of this recipe lies in its versatility; it serves as an appetizer, a party trick, or simply a comforting late-night snack. Growing up, this dip was a hero at family gatherings, and it continues to be a loved dish at every party. Our goal in this article will be to provide you with the steps and tips you need to recreate this beloved treat in your kitchen.
Ingredient Breakdown
To create the perfect Layered Queso Blanco and Taco Dip, you will need the following ingredients:
- 1 cup cream cheese (softened): This forms the creamy base of the dip, offering a luscious texture that pairs well with the other flavors.
- 1 cup sour cream: Adds a tangy kick and creaminess, balancing the richness of the cream cheese.
- 2 cups shredded white cheese (Monterey Jack or Queso Blanco): Essential for the cheesy layer, this component adds depth and flavor.
- 1 can black beans (15 oz, drained & rinsed): These beans contribute protein and a unique earthiness that complements the creamy elements.
- 1 cup salsa: This adds a zesty flavor, along with freshness from the tomatoes and peppers that enhance the overall taste.
- 1 cup diced tomatoes (fresh/canned): Tomatoes boost the dish’s freshness and are a crucial part of the layering.
- 1 small onion (finely chopped): Adds crunch and a sweet bite that enhances the flavor profile.
- 1 cup shredded lettuce: Provides a crisp texture as a final layer, making it visually appealing.
- 1 tbsp taco seasoning: This seasoning infuses the dish with classic taco flavors, unifying all ingredients beautifully.
- Fresh cilantro (optional): Offers a bright freshness that enhances the overall flavor if used.
- Tortilla chips for serving: The perfect vehicle to scoop up all the rich and flavorful layers.
For those with dietary restrictions, don’t hesitate to customize! You can use plant-based cream cheese and sour cream to create a dairy-free version. Experimenting with different types of shredded cheese can also enhance the dish according to personal preferences.
Step-by-Step Instructions
Follow these detailed steps to make your Layered Queso Blanco and Taco Dip.
- Combine Cream Cheese and Sour Cream: In a medium-sized mixing bowl, take 1 cup softened cream cheese and 1 cup sour cream. Use a hand mixer or a whisk to blend them together until the mix is smooth and creamy with no lumps. This will be the base layer of your dip!
- Spread the Base: Once blended, spread the cream cheese and sour cream mixture evenly in a glass baking dish or serving platter, creating the first layer.
- Add Shredded Cheese: Take 1 cup shredded white cheese and layer half of it over the cream cheese mixture. This melty cheese layer adds a rich flavor to the dip.
- Incorporate the Black Beans: Evenly distribute 1 can of black beans (drained and rinsed) over the cheese layer, allowing their earthiness to shine through.
- Top with Salsa: Pour 1 cup salsa over the black beans, spreading it gently for an even coverage.
- Add Diced Tomatoes: Top the salsa layer with 1 cup diced tomatoes, whether fresh or canned, allowing their juices to mingle with the other ingredients.
- Finishing Touches: Add the remaining 1 cup of shredded cheese on top. Then sprinkle 1 small finely chopped onion and 1 tbsp taco seasoning over the cheese layer, ensuring an even distribution.
- Chill the Dip: Cover the dish with plastic wrap and refrigerate for about 30 minutes. This will help the flavors meld together beautifully.
- Serve with Style: Before serving, add 1 cup shredded lettuce on top for a pop of color and crunch, along with freshly chopped cilantro (optional). Serve it chilled with a side of tortilla chips.
Variations and Customizations
The beauty of this Layered Queso Blanco and Taco Dip is its versatility, allowing you to tailor it to your taste preferences or dietary needs. Here are a few ideas for variations:
- For an extra kick, consider adding sliced jalapeños or diced green chiles to the salsa layer. These ingredients will elevate the heat and make the dip irresistible for spice lovers!
- If you’re looking to enhance the nutrition of your dip, incorporate some finely chopped vegetables such as bell peppers or corn. These additions contribute color, flavor, and added nutrients.
- Vegetarians can reinvent this dip by using plant-based cream cheese and sour cream. Substitute the cheese with a dairy-free alternative to accommodate those who prefer dairy-free dishes.
- You can make this dip even heartier by adding shredded cooked chicken or turkey in between the layers. This will create a robust, protein-packed version and is a great use for leftovers!
Serving Suggestions
Presentation matters when it comes to serving your Layered Queso Blanco and Taco Dip. Here are a few suggestions to elevate your serving style and create the perfect ambiance:
- Serve the dip in a clear glass dish to highlight its vibrant layers. This visual appeal will surely draw your guests’ attention!
- Garnish the dip with extra cilantro or diced avocado to enhance both flavor and appearance.
- Pair the dip with a selection of tortilla chips, pita chips, or even vegetable sticks for a healthier option.
- This dish is ideal for various occasions, such as family gatherings, game day parties, or holiday celebrations. Its easy preparation makes it a preferred choice for last-minute invitations!
Tips for Success
To ensure your Layered Queso Blanco and Taco Dip is a hit, follow these helpful tips:
- Make sure your cream cheese is fully softened before mixing. This will help achieve a smooth and creamy base layer without any lumps.
- Assemble your dip ahead of time to save time. This dip can be made several hours before serving, allowing the flavors to meld beautifully in the refrigerator.
- Store any leftover dip in an airtight container in the refrigerator for up to 3 days. If you wish to freeze it, make sure to store it in a freezer-safe container and consume it within 2 months for the best quality.
- To reheat, gently warm in a microwave-safe dish or oven until warmed through; just be cautious to not overheat as it can change the texture of the cheese.
FAQs
Here are some frequently asked questions that may assist you while preparing this dish:
- Can I substitute the black beans for another type of bean? Absolutely! Feel free to use pinto beans or any other bean of your choice if black beans aren’t your favorite.
- Is this dip suitable for vegetarians? Yes, as long as you use vegetarian cheese and verify that your taco seasoning doesn’t contain animal products.
- Can I make this dip gluten-free? Yes, all of the ingredients listed are gluten-free; just be sure to use certified gluten-free tortilla chips.
- Can I cook this dip instead of refrigerating it? While the dip is intended to be served cold, if you prefer a warm version, you can bake it at 350°F (175°C) for about 20-25 minutes or until the cheese is bubbly.
- How do I store leftover dip? It’s best to store leftover dip in an airtight container in the refrigerator. Consume within a few days for the best taste!
Conclusion
In conclusion, the Layered Queso Blanco and Taco Dip is the ultimate party pleaser that brings a delightful blend of flavors and textures to any gathering. Not only is it easy to prepare, but it also allows for plenty of customizations to suit your tastes or dietary needs. By following the steps and tips laid out in this article, you’ll be well on your way to creating a dish that your friends and family will rave about. Don’t wait for a special occasion; try making this dip today, and be prepared for it to disappear in a flash! Share your experiences or variations with us, and spread the joy of this fantastic recipe!

Layered Queso Blanco and Taco Dip
Ingredients
Method
- Combine Cream Cheese and Sour Cream: In a medium-sized mixing bowl, take 1 cup softened cream cheese and 1 cup sour cream. Use a hand mixer or a whisk to blend them together until the mix is smooth and creamy with no lumps. This will be the base layer of your dip!
- Spread the Base: Once blended, spread the cream cheese and sour cream mixture evenly in a glass baking dish or serving platter, creating the first layer.
- Add Shredded Cheese: Take 1 cup shredded white cheese and layer half of it over the cream cheese mixture. This melty cheese layer adds a rich flavor to the dip.
- Incorporate the Black Beans: Evenly distribute 1 can of black beans (drained and rinsed) over the cheese layer, allowing their earthiness to shine through.
- Top with Salsa: Pour 1 cup salsa over the black beans, spreading it gently for an even coverage.
- Add Diced Tomatoes: Top the salsa layer with 1 cup diced tomatoes, whether fresh or canned, allowing their juices to mingle with the other ingredients.
- Finishing Touches: Add the remaining 1 cup of shredded cheese on top. Then sprinkle 1 small finely chopped onion and 1 tbsp taco seasoning over the cheese layer, ensuring an even distribution.
- Chill the Dip: Cover the dish with plastic wrap and refrigerate for about 30 minutes. This will help the flavors meld together beautifully.
- Serve with Style: Before serving, add 1 cup shredded lettuce on top for a pop of color and crunch, along with freshly chopped cilantro (optional). Serve it chilled with a side of tortilla chips.
