There’s something about cracking a slab of homemade toffee that immediately pulls me back to winter kitchens and holiday platters. I make this toffee every year for neighbors, a couple of tins for the teachers, and always one pan that never makes it out of my own house. The smell of butter and sugar caramelizing is intoxicating — warm, caramel, with that faint nuttiness that tells you something special is happening. I first tested this recipe late one December evening, stirring and watching closely as the sugar slowly darkened; the instant the mixture hit the right amber color, I knew I had something worth sharing.
My goal with this post is to take you through every little thing I noticed while making this candy so you’ll feel confident recreating it. I’ll tell you what to watch for, what smells and textures mean, how to fix a grainy batch, and simple swaps for dietary needs. This is the “Best Toffee Ever” that I reach for when I want something rich, buttery, and reliably crunchy.
What Makes This the Best Toffee Ever
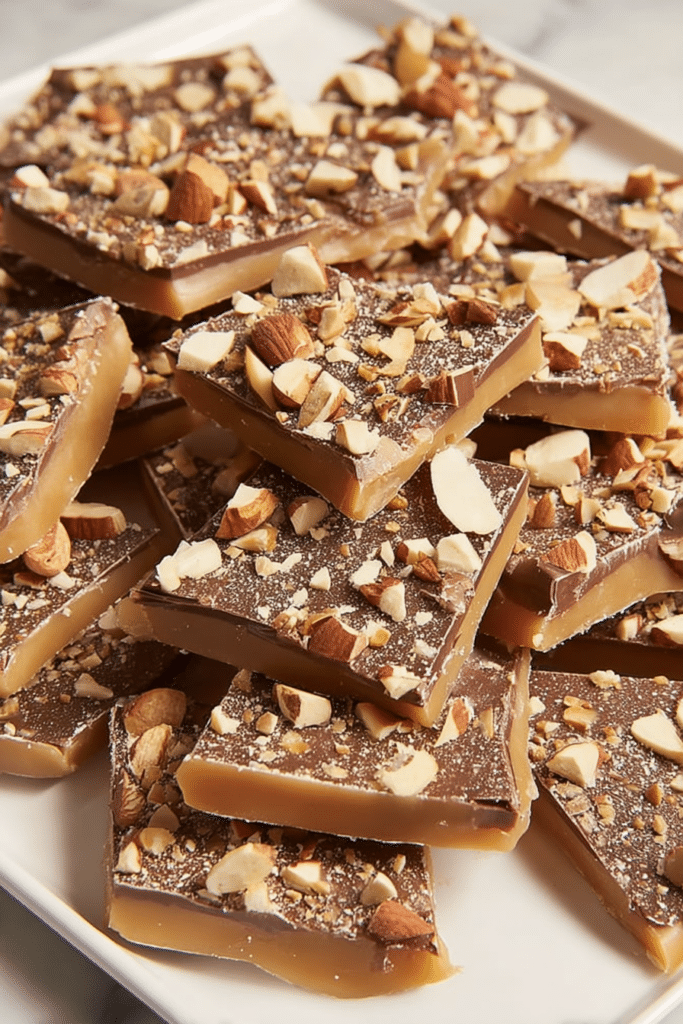
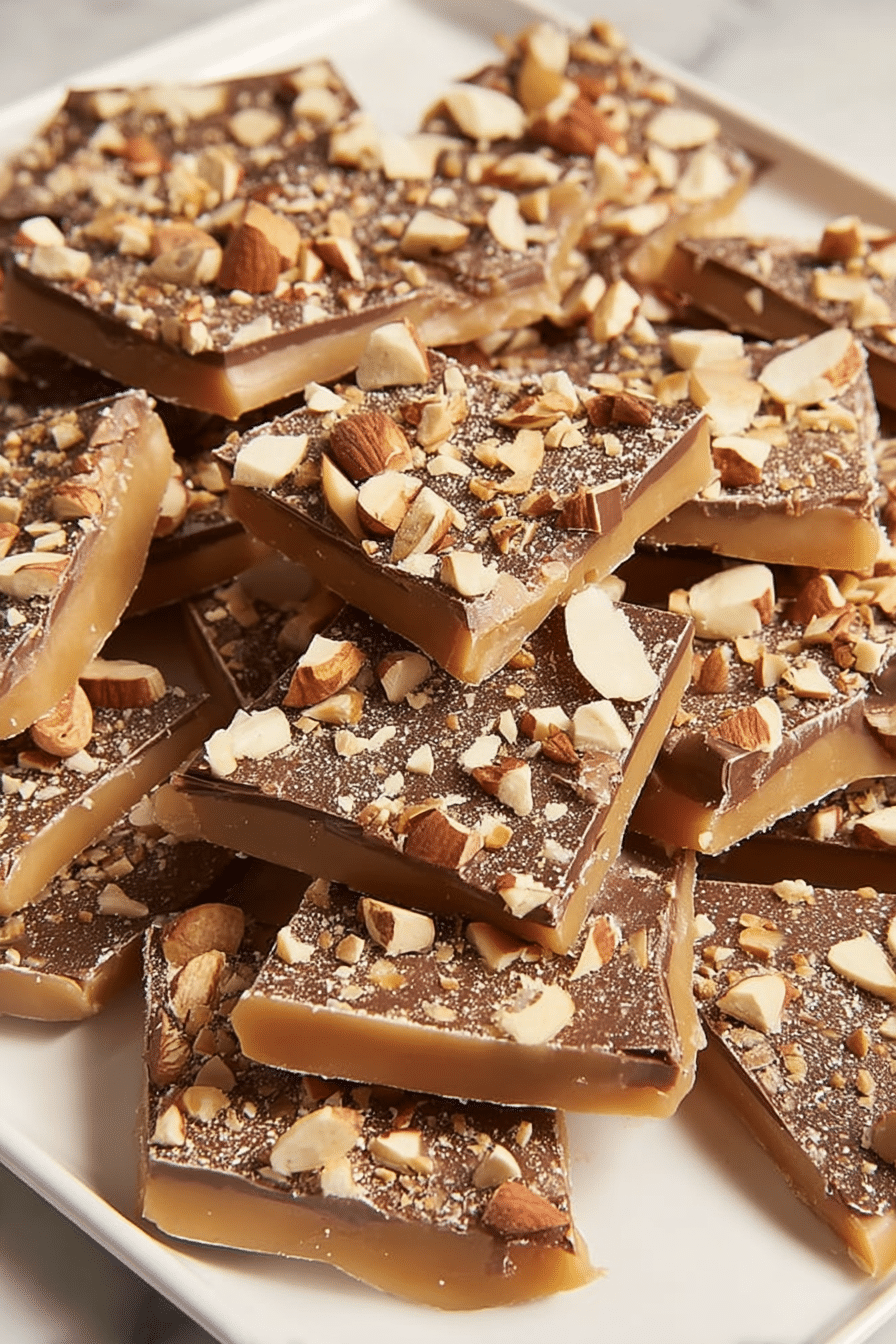
Calling it the “best” comes from a lot of testing and a few hard-earned mistakes. What sets this toffee apart is the balance: the buttery backbone that caramelizes to a deep amber, the snap that breaks cleanly without crumbling into dust, and a glossy chocolate layer that melts in the mouth. I’ve made softer toffees and harder ones; this version lands in that perfect middle ground — firm, but not tooth-shattering.
Three technical things I focus on every time: a heavy-bottomed pan for even heat distribution, patience as the sugar approaches the hard-crack stage, and finishing quickly with warm chocolate so it spreads silky and smooth. The first time I perfected the timing, I remember thinking, “If this texture holds up, people will actually stop me at parties asking for the recipe.” It happened. My neighbor Julie declared it the one thing she requests during the holidays.
Over the years, friends and family have given informal awards — the 4pm cookie-jar dive, the “don’t give me that tin, I’ll take a piece now” — and that kind of praise matters because it comes from repeat tastings. I’ll be honest: not every batch is flawless, but the approach I share here is the version I always come back to because it’s forgiving once you understand the cues.
Ingredients You’ll Need
- Unsalted butter – the star of the toffee; butter brings richness and helps the sugar caramelize evenly. Use good-quality butter for the best flavor.
- White granulated sugar – provides structure and the caramel sweetness; it’s what crisps into toffee when cooked to the hard-crack temperature.
- Salt – just a pinch to balance the sweetness and enhance the buttery notes; don’t skip it.
- Semisweet chocolate chips – melted on top for a glossy, slightly bitter contrast that cuts through the sweetness. Use semisweet for balance; dark chocolate is also a great swap.
- Chopped almonds – toasted or raw, they add crunch and a toasty flavor; pecans or walnuts work if you prefer.
Note on alternatives: For dairy-free toffee, swap the unsalted butter with a stick of dairy-free butter or a measured amount of coconut oil that behaves similarly when heated. For a gluten-free crowd, this recipe is naturally gluten-free as written; just check any chocolate chips or add-ins for hidden gluten if you’re buying store-brand mixes.
Step-by-Step Instructions
Below I give the exact steps I followed during testing, including temperatures and cues. The original recipe yields about 32 pieces and requires some attention during the cooking phase, but nothing difficult. Read through once before you start so you’re not scrambling when the mixture starts to change color.
- Gather your mise en place. This helps immensely. Line a 9×13-inch baking dish with parchment paper, letting it overhang on two sides so you can lift the toffee out later. Measure out 2 cups unsalted butter, 2 cups white sugar, a quarter teaspoon of salt, 2 cups semisweet chocolate chips, and 1 cup finely chopped almonds.
- Choose the right pan. Use a large, heavy-bottomed saucepan. The heavy bottom prevents hot spots that can burn the sugar. Place the butter, sugar, and salt in the pan and set over medium heat.
- Melt and combine. Stir constantly in one direction (I usually stir clockwise) until the butter fully melts. This can take about 5 minutes. You’ll notice the mixture looks grainy at first — that’s normal while the sugar dissolves into the butter.
- Stop stirring and watch. Once melted, stop constant stirring and allow the mixture to come to a boil. At this point you’ll see foam and the color will deepen slowly. Boil while stirring only 2–3 times to prevent sticking; prolonged stirring can cause premature crystallization.
- Monitor temperature to 300°F (150°C). Attach a candy thermometer to the side of the pan without touching the bottom. It may take 20–30 minutes to reach 300°F, the hard-crack stage. Visually, the toffee goes from light golden to a deep amber; it smells nutty and slightly caramelized. If you don’t have a thermometer, test a small drop in cold water: it should form hard, brittle threads that snap.
- Act quickly. Once it hits 300°F, remove the pan from heat and immediately pour the molten toffee into the prepared pan. Be cautious; the mixture is extremely hot. Work confidently — hesitation here can cause the toffee to set unevenly.
- Top with chocolate chips. Sprinkle 2 cups of semisweet chocolate chips evenly across the hot toffee. Let them sit for 1–2 minutes until they soften, then use an offset spatula to spread them into a smooth layer. If the chocolate won’t spread, a few seconds on a very low stove over a double boiler or a quick zap in a warm oven (not hot) will loosen it.
- Add nuts and press. Sprinkle the 1 cup chopped almonds over the melted chocolate and gently press them in so they stick. I often wear a thin plastic bag over my hand to press without making a mess; the chocolate can be sticky.
- Chill and break. Refrigerate the pan until set, about 1 hour. Use the parchment overhang to lift the toffee out and break it into pieces. A knife works too, but I like that rustic, irregular breakage — it’s more charming in gift tins.
- Store. Keep in an airtight container. At room temperature it keeps well for up to two weeks (if it lasts that long!).
If you’re a visual learner, search for a short candy-making video that shows what the hard-crack stage looks like; seeing the color changes and the way melted chocolate spreads can make this step much easier to recognize.
Tips for Perfecting Your Toffee Ever
Here are the practical tips I learned by making this recipe dozens of times:
- Use a heavy-bottomed saucepan. Thin pans develop hot spots and will burn the sugar before the center reaches hard-crack.
- Low-and-steady heat. Medium heat is key. Too high and the outside will darken while the center lags, causing burnt flavor. Too low and you’ll spend forever running down the temperature without ever getting to the hard-crack stage.
- Candy thermometer is not optional. It’s the most reliable way to hit that 300°F mark. Visual cues can be misleading if your light is dim or your pan is dark.
- Don’t panic if the mixture looks grainy early. That often indicates sugar crystals; gentle, consistent heat will dissolve them. If it becomes very grainy late, you may have stirred too much or introduced sugar crystals — see troubleshooting below.
- Chocolate spread tip. If the chocolate sets too quickly and you end up with bumps, warm it gently (double boiler or low oven) and re-spread. A glossy finish means you did it at the right temperature.
Unique Flavor Variations & Toppings
Toffee is a wonderful base — once you’ve got the technique down, you can riff easily.
- Sea salt and dark chocolate – sprinkle flaky sea salt after the chocolate sets partially. The salt accentuates the caramel flavors.
- Espresso toffee – stir in a teaspoon of finely ground instant espresso to the melted chocolate before spreading for a coffee-kissed bar.
- Spiced toffee – a pinch of cinnamon and cayenne gives a warm, spicy kick that pairs well with pecans.
- Nut swaps – use toasted pecans, pistachios, or macadamia nuts for different textures and flavors.
- Fruit and crunch – sprinkle with finely chopped dried cherries or toasted coconut for added interest.
For a delightful twist, consider topping your toffee with some homemade chocolate turtles.
Common Mistakes and Troubleshooting
Even experienced cooks have mishaps with candy. Here’s what I’ve run into and how to fix it:
- Burnt toffee. Smell is the first giveaway — burnt toffee smells acrid and bitter. If only the edges browned too much, you can trim them away; otherwise, it’s best to start over. To prevent burning, lower the heat and use a heavier pan.
- Grainy texture. This usually means sugar crystals formed. To rescue: reheat gently and add a tablespoon of water, stirring until crystals dissolve, then continue cooking to the correct temperature. If that fails, salvage the flavor by melting it down and using it as a sauce.
- Won’t set. If your toffee remains sticky and soft, it likely didn’t reach hard-crack. Reheat to the correct temperature and pour again into a new pan. Remember to clean any sugar crystals off the pan before restarting.
- Chocolate won’t spread smoothly. Either the chocolate was too cool or the toffee too cool. Work quickly while both are warm; if needed, rewarm the chocolate briefly and smooth it with an offset spatula.
How to Package for Gifts
Presentation turns homemade toffee into something special. I wrap pieces in wax paper and stack them in decorative tins lined with parchment. For an elegant look, place small stacks into cello bags tied with ribbon and a handwritten tag.
Looking for gift ideas? You can also package buttery toffee pretzels as a delightful addition.
Small touches make a difference: include the date made and a note on ingredients if you used nuts or dairy-free substitutes. If mailing, separate layers with parchment and pack tightly to prevent shifting.
Conclusion
Toffee is one of those recipes where the technique matters more than the fanciest ingredients. A good thermometer, a patient eye, and prompt finishing steps yield a pan of buttery, crunchy toffee that people actually fight over. I hope the tips above give you the confidence to try this in your kitchen — and to experiment with flavors once you’ve nailed the base version.
Don’t forget to try our classic tiramisu for a decadent dessert option to accompany your homemade toffee.
Your toffee will shine with our chocolate chip cheesecake bars as another sweet treat to share!
FAQ
What type of chocolate should I use for the best toffee?
For the best flavor, use semisweet chocolate chips as specified in the recipe. They melt beautifully and complement the buttery toffee well. You can also try dark chocolate for a richer taste!
Can I make this toffee dairy-free?
Absolutely! You can substitute the unsalted butter with dairy-free butter or coconut oil to make a delicious dairy-free version of this toffee.
How can I prevent my toffee from burning?
To prevent burning, keep the heat medium and stir the mixture occasionally, especially as it approaches the boiling point. Using a candy thermometer will help you monitor the temperature closely.
Can I add other nuts or toppings to my toffee?
Yes! Feel free to get creative by adding different nuts like pecans or walnuts, or even toppings such as sea salt or dried fruits for a unique twist on the classic recipe.
How should I store the toffee once it’s made?
Store the toffee in an airtight container at room temperature. It will stay fresh for up to 2 weeks, but I doubt it will last that long once you taste it!
Now go make a pan, listen for that satisfying crack when you break it, and share a piece with someone you love. There’s a warmth to gifting food that’s hard to beat — and this toffee carries a lot of warmth in every bite.
Recipe summary (for reference): This recipe yields about 32 pieces. Prep time ~10 minutes; cooking to hard-crack ~20–30 minutes; chill time ~1 hour. Ingredients used: unsalted butter, white sugar, salt, semisweet chocolate chips, chopped almonds. Follow the steps above for slicing, setting, and storing.
Best Toffee Ever - Super Easy
Ingredients
Method
- Gather all the ingredients.
- In a large, heavy-bottomed saucepan, combine the butter, sugar, and salt over medium heat.
- Stir constantly in one direction until the butter melts, which should take about 5 minutes.
- Line a 9x13-inch baking dish with parchment paper, allowing it to overhang on two sides.
- When the butter is melted, stop stirring and allow the mixture to boil. Once it reaches a boil, cook while stirring only 2 to 3 times until it turns a dark amber color and reaches 300 degrees F (150 degrees C) on a candy thermometer, which may take 20 to 30 minutes.
- Quickly pour the toffee into the prepared baking dish. Sprinkle the chocolate chips on top and let them sit for 1 to 2 minutes until they soften.
- Use a spatula to spread the softened chocolate evenly across the toffee.
- Sprinkle the nuts over the melted chocolate and gently press down to secure them; wearing a plastic bag over your hand will help minimize mess.
- Refrigerate the toffee until it sets, which should take about 1 hour. Lift it out of the baking dish using the parchment paper.
- Break the toffee into pieces and store it in an airtight container.