
I started making cabbage chips on a whim when I wanted a crunchy, salty snack that didn’t derail a low‑carb day. My first batch was uneven — some leaves browned too quickly while others stayed limp — but after a few tries I learned how simple adjustments produce reliably crisp results. I keep coming back to these because they deliver that satisfying crunch with almost no fuss.
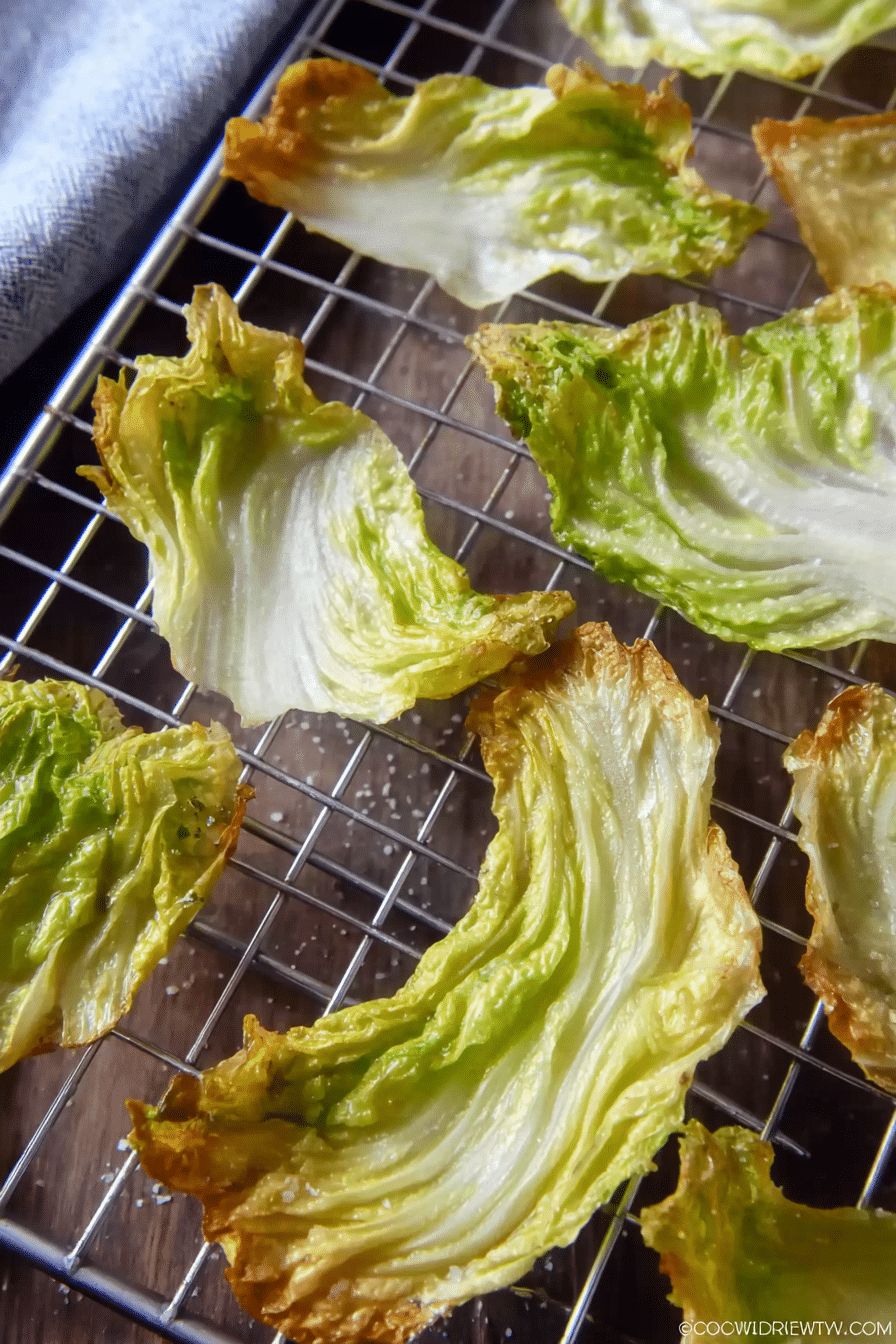
In my kitchen I treat cabbage like a mini blank canvas: a few leaves, a little oil, a sprinkle of salt, and the oven does the rest. Baking rather than frying keeps the chips light without sacrificing the golden color and toasted edges I look for. The aroma as they bake is pleasantly savory and faintly sweet, and the sound when you bite one is immediate proof it worked.
I’ve tested oven racks, parchment, higher temps, lower temps, and various seasonings. The key lessons I learned are practical and repeatable: remove the core, dry the leaves, space them when possible, and watch the edges. Below I walk through why these baked crispy cabbage chips are worth making, what you need, nutrition notes, and plenty of tips to help you succeed.
Why Baked Crispy Cabbage Chips Are the Guilt‑Free Crunch You Need
Cabbage chips give you the crunchy, salty snack satisfaction with a tiny fraction of the calories and fat found in fried potato chips. Cabbage is naturally low in calories and carbohydrates, and it brings vitamin C and vitamin K to the plate — nutrients you won’t get from most processed chips. Baking instead of frying removes excess oil while still allowing the leaves to develop deep golden edges and toasted notes.
- Low calorie and low carb: great for keto or calorie‑conscious snacking.
- Baked not fried: keeps fat content down and reduces oxidized oils from high‑heat frying.
- Diet‑friendly: naturally vegan, gluten‑free, paleo‑friendly, and sugar‑free.
Everything You Need for Baked Crispy Cabbage Chips
Gather simple ingredients and a couple of basic tools. The right tools make crisping predictable: a wire rack helps air circulate so moisture escapes, and a rimmed baking sheet catches any drips. If you prefer an oil‑free approach, you can skip the oil and still get a decent result with a slightly longer bake and careful watching.
- * Cabbage leaves – The base: choose fresh, tender leaves from a small head so they crisp without getting papery.
- * Oil – Adds browning and helps seasonings stick; use a neutral oil or one with a higher smoke point for best color.
- * Salt – Brings out the vegetal sweetness and balances the toasty flavors.
- * Wire rack and rimmed baking sheet – A rack lifts the leaves so air circulates; parchment works if you don’t have a rack (expect slightly different crisping).
- * Baking thermometer – Optional, but useful if your oven runs hot or cold so you can adjust baking time accordingly.
Nutritional Breakdown: Cabbage Chips vs. Traditional Snacks
To make a clear choice, look beyond taste: cabbage chips are markedly lower in calories and fat than fried potato chips and many store‑bought veggie chips. They also supply fiber and micronutrients that contribute to overall health.
- Calories & fat: A typical homemade serving of baked cabbage chips is very low in calories and fat compared with an equivalent serving of fried potato chips, which tend to be several times higher in both.
- Fiber & digestion: Cabbage contains fiber that helps digestion and satiety; the whole‑leaf form keeps that fiber intact versus highly processed snacks.
- Vitamins: Cabbage contributes vitamin C and vitamin K — both are largely absent in refined snack foods. These vitamins support immune function and blood‑health respectively.
- Sodium: Salt level is fully under your control, so you can season lightly to keep sodium lower than many packaged chips.
In short: if you want a crunchy nibble that supports a nutrient‑dense diet, cabbage chips are an easy win. They won’t match potato chips for identical texture or mouthfeel, but they deliver a satisfying crisp with clear nutritional advantages.
The Secret to Perfect Crispiness Every Time
Getting perfectly crisp cabbage chips is mostly about controlling moisture and heat. Small, deliberate steps prevent limp leaves and burnt edges.
- Remove the core and tear leaves into pieces so thickness is consistent across the batch.
- Pat leaves dry if they’re damp from washing; excess surface moisture prevents browning.
- Lightly coat leaves so oil is spread thinly — too much oil makes them greasy rather than crisp.
- Use a low, steady oven temperature so leaves dehydrate before edges burn; I usually aim for around 300°F and adjust by eye.
- Arrange on a wire rack when possible to let air circulate; if using parchment, give each piece some breathing room so steam can escape.
- Cool completely on the rack or sheet — chips crisp up as they cool, so resist the urge to taste immediately.
Flavor Ideas: Creative Seasoning Blends to Try
These chips are a perfect canvas for spices and seasonings — here are blends I like to rotate through depending on mood.
- Smoky Savory: smoked paprika, garlic powder, a pinch of onion powder, and salt.
- Cheesy Vegan: nutritional yeast, a little garlic powder, and salt for a savory, cheesy note.
- Spicy Citrus: chili flakes, lemon zest, and a touch of salt for brightness.
- Sweet Treat: cinnamon with a light dusting of powdered sweetener for a dessert‑style chip (keep it light so it doesn’t burn).
Try seasoning your cabbage chips alongside spicy cauliflower bites for a flavorful twist.
How to Make Baked Crispy Cabbage Chips (Step‑by‑Step)
- Preheat your oven to a low temperature (around 300°F/150°C) so the leaves dry without scorching.
- Cut away the center core of each leaf and tear or cut leaves into medium to large pieces for even baking.
- Place the pieces in a large bowl. Drizzle with a little oil and sprinkle with salt (or your chosen seasoning). Use your hands to rub the oil and salt evenly over the leaves.
- Arrange pieces in a single layer on a wire rack set inside a rimmed baking sheet; parchment is acceptable if you don’t have a rack. A little overlap is fine but avoid heavy stacking.
- Bake until the leaves look dry and the edges are deep golden brown, watching carefully toward the end to prevent burning — this typically takes around 30–35 minutes but ovens vary.
- Cool completely on the rack or sheet; chips become crisp as they cool. Taste and adjust seasoning if needed, then serve.
Pro-Tips, Troubleshooting, and Variations are listed as bulleted lists for quick scanning.
Pro Tips for Baked Crispy Cabbage Chips
- Cut leaves to uniform size for even baking.
- Pat leaves dry before seasoning to remove excess moisture.
- Use an oven thermometer to confirm your oven’s actual temperature.
- If edges brown too quickly, lower the temperature slightly and extend baking time.
- For an oil‑free version, skip the oil and bake a touch longer; the texture will be drier but still crisp.
- Cool completely before storing to lock in crunch.
How to Store and Keep Baked Crispy Cabbage Chips Crunchy
- Store completely cooled chips in an airtight container at room temperature — avoid refrigeration, which introduces moisture.
- Layer chips with a dry paper towel if the container is large to absorb any stray moisture.
- Re‑crisp briefly in a warm oven (low temperature) for a few minutes if they soften; watch closely to prevent burning.
- Expect the best texture within a few days; smell and appearance are the easiest spoilage checks.
Troubleshooting Common Issues with Cabbage Chips
- If your chips come out soggy, I found it helpful to pat the leaves dry and use a wire rack so steam can escape underneath.
- If edges burn before the centers are dry, I lower the oven temperature by 10–20°F and add a bit more time; thinner pieces finish faster.
- If chips are greasy, you likely used too much oil — next time rub the oil on sparingly so there’s only a thin sheen.
- If the chips are unevenly colored, aim for more consistent leaf sizes and rotate the pan halfway through baking if your oven has hot spots.
Recipes for Pairing and Garnishing with Cabbage Chips
Cabbage chips are versatile on a snack platter. Pair them with creamy dips or use them as a crunchy garnish on soups and salads for texture contrast.
- Try them with healthy dips like hummus, guacamole, or a lemony yogurt alternative for a bright contrast.
- For entertaining, let guests scoop dips with the chips alongside other oven snacks:
For a delicious crunch, pair your cabbage chips with our crispy baked green bean fries.
- Complement your cabbage chips with our cheesy garlic zucchini boats for a satisfying snack time.
- Use broken pieces as a crunchy topping for roasted vegetable salads or thick soups for added texture.
Frequently Asked Questions
Are baked crispy cabbage chips healthy? Absolutely! Baked crispy cabbage chips are low in calories, packed with nutrients, and are vegan, gluten-free, and keto-friendly. They make for a perfect guilt-free snack!
Can I make these cabbage chips without oil? Yes, you can! There’s an oil-free version for making cabbage chips; you can simply skip the oil and season the cabbage with salt for a lighter option.
How can I make my cabbage chips extra crispy? To achieve the perfect crispiness, make sure to bake them until they are deep golden brown. Also, arranging them in a single layer and ensuring they aren’t overcrowded helps a lot!
What are some seasoning ideas for cabbage chips? You can get creative with seasonings! Try adding garlic powder, smoked paprika, or nutritional yeast for a cheesy flavor. Experiment with your favorite spices!
How should I store leftover cabbage chips? To keep your cabbage chips crunchy, store them in an airtight container at room temperature. Avoid putting them in the fridge, as moisture can make them soggy!
Baked Crispy Cabbage Chips {vegan, keto, easy}
Ingredients
Method
- Preheat oven to 300F (150C). Place a wire rack inside a large baking sheet OR line the baking sheet with parchment paper.
- Cut away the center core of each cabbage leaf. Cut or tear the cabbage leaves into medium to large size pieces.
- Place the cabbage pieces in a large bowl. Drizzle with the oil and sprinkle with the salt. Use your hands to toss and combine, rubbing the oil and salt over the cabbage.
- Arrange the cabbage pieces on the prepared rack or parchment-lined baking sheet (it is fine if the leaves overlap a bit).
- Bake in the preheated oven for 30 to 35 minutes or until dry in appearance and deep golden brown at the edges. Cool completely on the rack or baking sheet. Eat!