
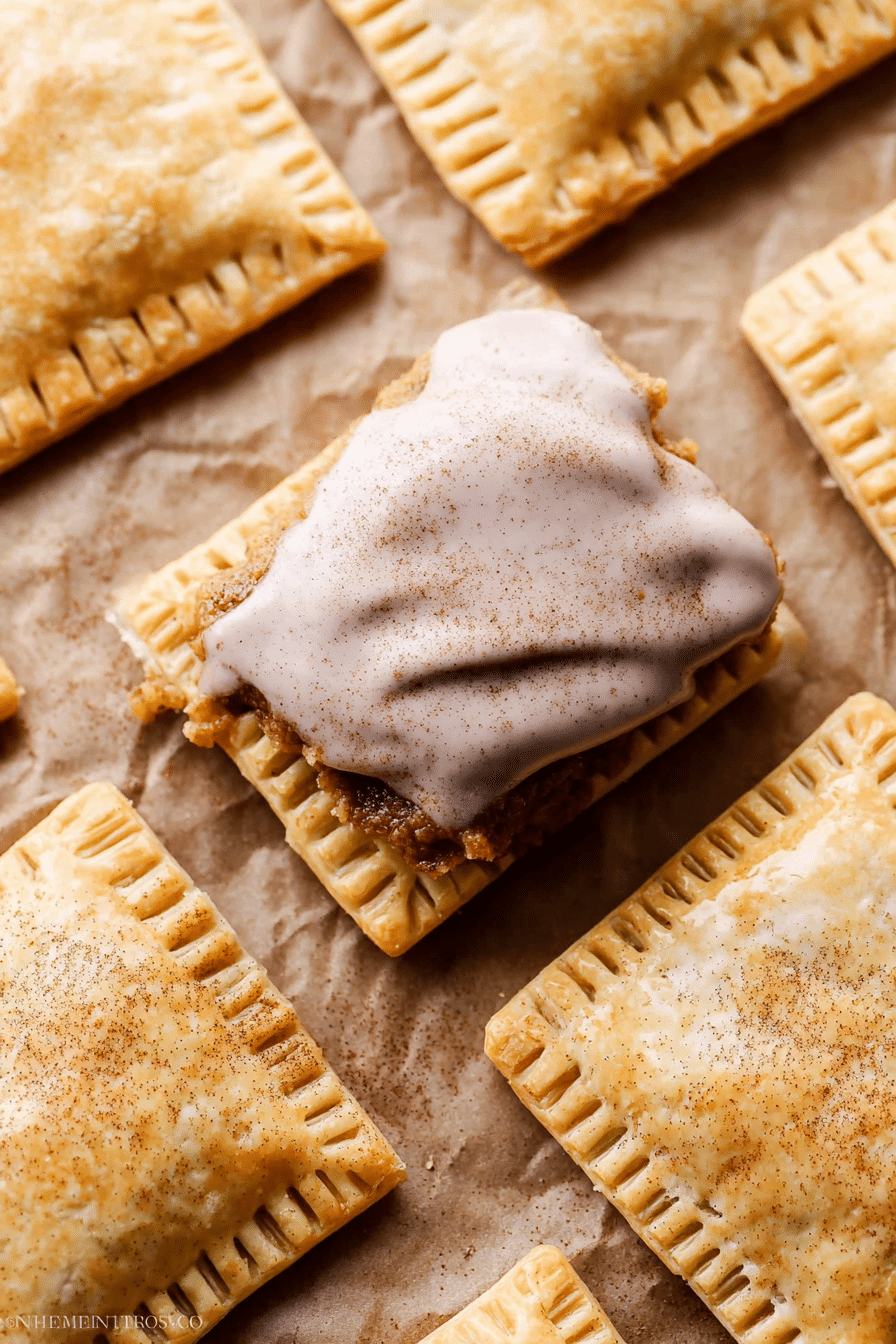
Pop-Tarts have been a comfort-food icon for decades: quick, sweet, and perfectly pocket-sized. Making them at home turns that nostalgic convenience into something far more satisfying — flaky, buttery pastry, real brown sugar that melts into ribbons of caramel-cinnamon, and a simple vanilla-cinnamon glaze that sets to a delicate sheen. I made a batch last weekend for a rainy Saturday breakfast and the kitchen smelled like warm bakery cinnamon within minutes. The edges blistered and browned in a way store-bought ones never do, and the first bite gave that soft-crisp contrast I was after — soft in the center, slightly crisp at the sealed edge, and the frosting gave a glossy finish that wasn’t too stiff.
For an easy and delicious way to make your own treats, consider trying our homemade pop tarts recipe!
Why make pop tarts from scratch? You get to control the butter content, the type of sugar, and whether to use a darker, more molasses-y brown sugar or a lighter version. You can also tailor the icing to your sweetness tolerance. In my kitchen this has become a weekend ritual — I’ll make a batch, freeze some, and tuck a couple into lunch boxes during the week. The recipe below is the version I settled on after testing several permutations: an all-butter pastry, a simple brown-sugar cinnamon filling, and a vanilla-cinnamon glaze. It yields 9 pop-tarts and needs a couple hours of chill time, so read through first and set aside time to chill the dough.
Ingredients Needed for Pop Tarts
- All-purpose flour – the structure-builder for the pastry; use a lower-protein AP flour for a tender crust. For gluten-free, see substitutes below.
- Granulated sugar – a touch in the dough for balance; it helps the crust brown.
- Salt – small but essential: it brightens the buttery flavor.
- Unsalted butter – cold, cubed, and all-butter is the goal here for the flakiest texture. If you want a lighter option, you can substitute part butter with a neutral oil, but the texture will change.
- Ice water – used to bring the dough together without warming the butter; cold water keeps the butter solid so the dough stays flaky.
- Dark or light brown sugar – the star of the filling; darker sugar gives a deeper molasses note.
- Ground cinnamon – warms and flavors the filling; adjust to taste.
- All-purpose flour (for filling) – a tablespoon or so helps the filling stay put and not ooze out excessively during baking.
- Egg (for egg wash) – gives the tops a beautiful sheen and helps with sealing.
- Confectioners’ sugar – for the icing; it creates a smooth, spreadable glaze.
- Milk – thins the icing; use more or less to reach spreadable consistency. Alternatives like almond milk work in a pinch.
- Vanilla extract – a little goes a long way in the glaze for depth.
- Optional extras – flaky sea salt for sprinkling, a pinch of nutmeg in the filling, or a tablespoon of browned butter for a nutty twist.
Quality matters: real butter and good brown sugar make a noticeable difference. For gluten-free bakers, a 1:1 gluten-free baking blend formulated for pastry works best. If you want to lower sugar, try coconut sugar in the filling and reduce the glaze, or use a confectioners’ sugar substitute designed for icings.
Step-by-Step Instructions to Make the Pastry
- Whisk the dry ingredients. In a large bowl, whisk together the flour, granulated sugar, and salt. I do this in a wide bowl so I can cut in the butter without crowding — it helps me see when the mixture looks right.
- Cut in the butter. Cut the chilled, cubed butter into the flour mixture with a pastry cutter, two forks, or pulse briefly in a food processor. My kitchen spatula and fingers do the final work: you want a mix that looks like coarse meal with pea-sized and larger bits of fat still visible. Those larger bits are good — they give you flaky layers. If you overwork it, the butter will warm and the pastry will be tough.
- Add ice water slowly. Drizzle in the ice water one tablespoon at a time, stirring with a spatula just until large clumps form. The dough should hold together when you squeeze it but not be sticky. If it’s too dry, add another tablespoon of cold water. If it’s too wet, dust with a little flour. I usually stop adding water once I can press a handful and it stays cohesive; you’ll still see bits of butter.
- Shape and chill. Transfer the dough to a floured surface, shape into a ball with floured hands, and divide into two equal portions. Flatten each into a 1-inch thick disc, wrap tightly in plastic wrap, and refrigerate for at least 2 hours. Chilling is non-negotiable here — I’ve tried shortcuts and the dough becomes slack and hard to roll, and the pastries spread in the oven rather than hold their shape.
- Roll out the dough. When ready, take one disc from the fridge and let sit 5 minutes so it’s rollable but still cold. Roll into a rectangle roughly 9×12 inches and about 1/8 inch thick. Trim ragged edges and cut into 9 rectangles (3×4 inches each). Transfer to a parchment-lined baking sheet and chill — cold dough, cold pan, better shape.
- Repeat with the second disc. Roll it out the same way, cut into 9 rectangles, and keep chilled on a baking sheet. Cold is your friend — warm dough becomes sticky and tears when you try to seal.
Tip: If you’re a visual learner, pausing after the chilling step and inspecting your dough is worth the extra minute. The dough should not be tacky — if it is, put it back in the fridge for 10–15 minutes. I’ve found that rolling between two pieces of parchment helps keep the dough from sticking and makes transferring rectangles much easier.
Filling Preparation and Assembly
The filling is simple — brown sugar and cinnamon thickened slightly with a tablespoon of flour. I use dark brown sugar when I want a deeper flavor; light brown sugar yields a milder, sweeter filling.
- Make the filling. In a small bowl, mix the brown sugar, ground cinnamon, and a tablespoon of flour. The flour helps the filling stay put and absorb any liquid that escapes while baking.
- Assemble the bottoms. Take one chilled sheet of pastry rectangles. Brush each rectangle lightly with egg wash (one large egg mixed with two teaspoons milk) — this acts as glue so the top layer seals to the bottom. Spoon a heaping tablespoon of filling into the center of each rectangle, spreading slightly but keeping at least a 1/4-inch border clear.
- Top and seal. Remove the second set of rectangles from the fridge. Brush their undersides with the egg wash (or brush the tops of the bottom pieces) and place each top rectangle over a filled bottom. Press firmly around the filling to seal, then poke 6–8 small holes in each with a toothpick or knife slits to vent steam. Crimp the edges with the tines of a fork to seal well; this prevents messy leaks during baking.
- Chill again. Return the filled pop tarts to the refrigerator, uncovered, for 20 minutes to up to an hour. This final chill firms the butter back up so the pastries keep their shape while baking.
Sealing is the step that separates tidy pop tarts from leaky ones. If you find filling seeping out while sealing, it’s either overfilled or the pastry edge is too thin; trim and reseal or use less filling next time.
Baking Tips for Perfect Pop Tarts
Preheat your oven to 350°F (177°C). Place a rack in the center so the bottoms brown evenly.
- Brush and bake. Brush the tops of the chilled pop tarts with the remaining egg wash and bake for 25–30 minutes, rotating the pan halfway through for even browning. You’re looking for golden-brown edges and tops. My oven runs a touch hot, so I watch at 22 minutes; your oven might need the full 30.
- Cool properly. Let them cool on the pan about 5 minutes before transferring to a cooling rack. They’ll be soft right out of the oven and firm up as they cool — the filling sets as it cools, which makes them easier to ice.
What can go wrong? If the edges puff excessively, your butter was probably too warm or the oven temperature is too high. If the tops brown too fast but the pastry is still pale underneath, lower the temperature by 10–15°F and bake a little longer. If the filling oozes, either you overfilled or the seal wasn’t tight. To salvage an oozing tart mid-bake, quickly trim off the leaking bits with a spatula and press the seam back together with a fork when it’s safe to touch.
Ideas for Customizing Your Pop Tarts
While brown sugar and cinnamon are classic, these pop tarts are a great base for creativity. Here are ideas I’ve tested and enjoyed:
- Swap the filling: try apple butter with extra cinnamon, or use pumpkin purée with a pinch of nutmeg and less flour to thicken.
- Add texture: stir a handful of raisins, chopped nuts, or shredded coconut into the brown sugar filling for chew and crunch.
- Change the glaze: swap vanilla for maple extract and use a touch more milk for a looser drizzle, or mix in a little cream cheese for a tangy frosting.
- Make mini versions: roll thinner and cut into smaller rectangles for bite-sized treats — they’ll need less baking time.
If you’re a fan of brown sugar, you might also love our brown sugar overnight oats for a nutritious breakfast option.
Storing and Reheating Your Pop Tarts
These pop tarts keep well, but storing them correctly preserves texture and flavor.
- Room temperature: Store in an airtight container at room temperature for up to 3 days. Keep them single layer or separated with parchment so the icing doesn’t stick.
- Refrigerator: They’ll last up to 5 days refrigerated. Cold tarts are firmer; bring to room temperature or reheat before eating.
- Freezer: Let cool completely, wrap tightly in plastic wrap, and store in an airtight container for up to 3 months. Thaw at room temperature and reheat if desired.
For a sweet treat to enjoy with your pop tarts, check out these pumpkin cheesecake truffles.
Reheating tips: For a fresh-baked texture, reheat in a 350°F oven for about 8–10 minutes (from room temp) or 12–15 minutes if straight from the fridge. The oven restores crisp edges better than a microwave. If you do use a microwave, zap for 10–15 seconds — the filling will be very hot, so let it rest 30 seconds before biting.
Nutritional Information and Helpful Substitutes
The original recipe source did not include a formal nutrition label. Because ingredient brands and portion sizes vary, I avoid inventing precise calorie counts here. To get exact numbers, plug the ingredients and yields into a trusted nutrition calculator or app — that will account for the butter, sugar types, and any swaps you make.
That said, here are reliable guidelines about the nutritional profile and how to make the recipe lighter:
- General profile – These are pastry-based and contain butter, sugar, and some icing, so they’re an indulgent treat rather than a light snack. Expect them to be higher in fat and sugar than plain breakfast pastries.
- Lower-sugar swaps – Use coconut sugar or a brown sugar substitute in the filling, and reduce the glaze amount. Using less glaze will cut sugar without changing the pastry texture.
- Lower-fat options – Replacing all the butter will noticeably change texture; instead, try reducing butter by a small percentage and adding a tablespoon of Greek yogurt to maintain tenderness. I don’t recommend swapping all butter for oil — you’ll lose flakiness.
- Gluten-free – Use a high-quality 1:1 gluten-free flour blend that includes xanthan gum (or add it separately) for structure. Gluten-free pastry can be a touch more fragile, so chill well and handle gently.
- Egg-free – For an egg wash alternative, brush with milk or with a mix of milk and a tiny sugar to help browning, but the shine will be less pronounced.
If you need precise nutritional numbers for dietary tracking, I recommend entering the exact ingredients you use (brand and amounts) into a nutrition calculator — that will give accurate per-serving calories, fats, carbs, and sugars.
FAQ
Can I substitute the all-purpose flour with a gluten-free option?
Yes! You can use a gluten-free all-purpose flour blend in place of regular flour. Just ensure it’s specifically designed for baking to get the best results.
How can I make the filling healthier?
You can use coconut sugar or a sugar substitute instead of brown sugar for a healthier filling. Additionally, you can reduce the amount of sugar to suit your taste.
What size is each pop tart after baking?
Each pop tart will measure approximately 3×4 inches after baking, which is a perfect size for a quick snack or breakfast treat!
Can I freeze the pop tarts for later?
Absolutely! You can freeze the baked pop tarts. Just let them cool completely, then wrap them tightly in plastic wrap and store in an airtight container. They’ll last in the freezer for up to 3 months.
How long should I let the pop tarts cool before icing?
Let the baked pop tarts cool on the baking sheet for about 5 minutes, then transfer them to a cooling rack and allow them to cool completely before icing, which helps the frosting set better.
Conclusion and Final Thoughts
Making frosted brown sugar cinnamon pop tarts at home is one of those small kitchen projects that rewards patience. The two-hour chill is the secret to tidy squares and flaky layers; the rest is straightforward. Expect warm, comforting aromas as they bake and a soft center with a slightly crisp edge when they come out. I make them in small batches, freeze extras, and reheat in the oven for a quick weekend treat.
Don’t forget to treat yourself with our chocolate covered banana pops as a delightful dessert after your homemade pop tarts!
If you try these, leave a note about the variations you tested — I love hearing what worked (and what didn’t). Happy baking, and enjoy the cinnamon-sugar nostalgia with a homemade upgrade.
Frosted Brown Sugar Cinnamon Pop Tarts
Ingredients
Equipment
Method
- In a large bowl, whisk together the flour, sugar, and salt. Cut the butter into the mixture until it resembles coarse meal. Drizzle in water, one tablespoon at a time, until large clumps form. Shape the dough into discs and refrigerate for at least 2 hours.2 teaspoons granulated sugar, 1 teaspoon salt, 1 cup unsalted butter, 1/2 cup ice water, 1/2 cup packed brown sugar
- Roll out the dough, cut into rectangles, and refrigerate. Repeat for second disc.
- In a small bowl, mix brown sugar, cinnamon, and flour.
- Brush pastry rectangles with egg wash, add filling, and place another pastry on top. Seal edges.
- Preheat oven, bake pop tarts until golden brown, then cool.
- Mix confectioners' sugar, milk, cinnamon, and vanilla for icing. Spread on cooled pop tarts.