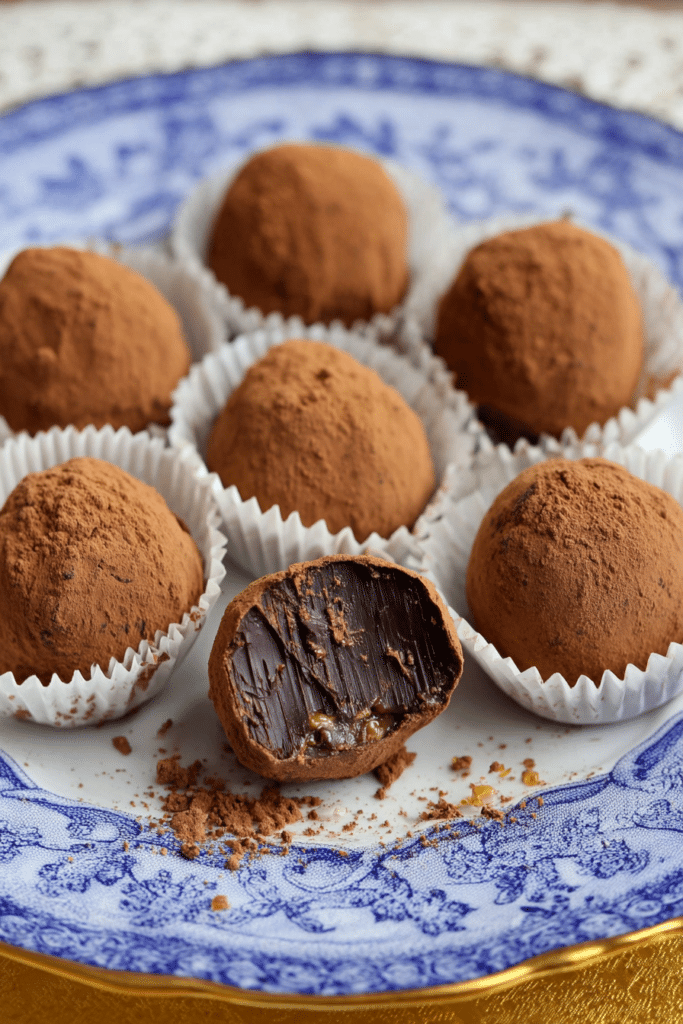
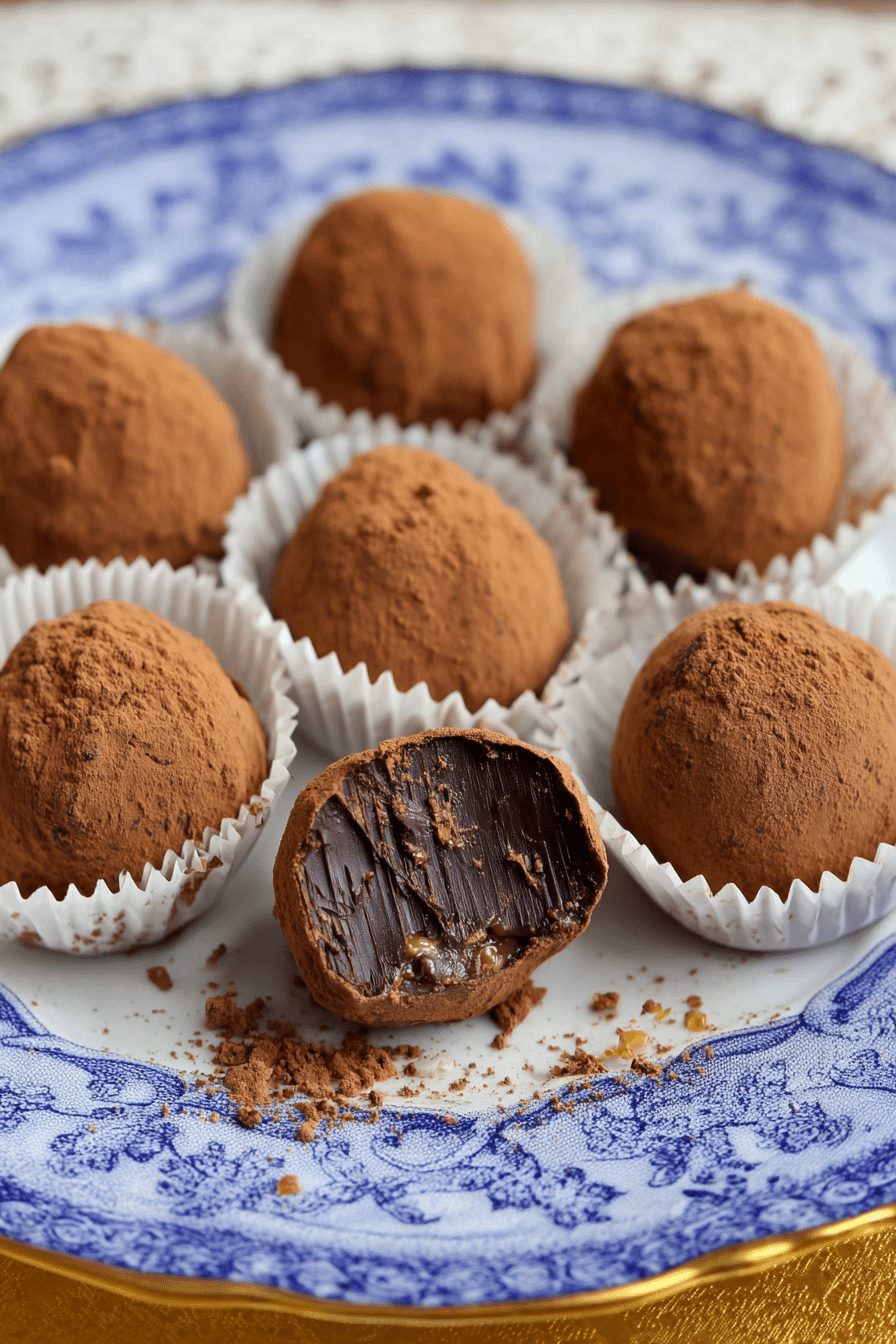
There’s a reason salted caramel chocolate truffles show up at every holiday gathering, bridal shower, and last-minute gift box I assemble: they hit that perfect sweet-salty spot, are deceptively simple, and feel impossibly fancy. I make a batch whenever I want something luxurious that doesn’t require an afternoon of tempering lessons — and yes, I’ve made them in a cramped rental kitchen at midnight more than once. The first time I tried this recipe I remember thinking the ganache looked too soft when I stirred it, but after a good long chill it firmed to a silky, scoopable consistency that rolled into glossy little spheres.
These truffles are basically a salted caramel ganache coated in bittersweet chocolate and finished in cocoa. They’re adaptable — make them vegan, low-sugar, or upgrade them for a dinner party with fancy finishing salts or edible gold. In this post I’ll walk you through what worked in my kitchen, what went wrong the first few times, and how to turn this into a repeating gift that neighbors actually ask for.
Ingredients You’ll Need
- Bittersweet chocolate – the backbone of the ganache; choose 60–70% cacao for a balance of chocolate flavor and sweetness.
- Salted caramel sauce – provides the sweet-salty, gooey center; store-bought is fine, but homemade gives the best depth.
- Heavy cream – adds silkiness and helps the ganache set with the right mouthfeel; swap for a dairy-free cream for vegan truffles.
- Coating chocolate – a second portion of chocolate for the shell; use a couverture or dipping chocolate for a shinier coat.
- Cocoa powder – for dusting; unsweetened cocoa gives a refined finish and cuts sweetness.
- Finishing sea salt – flaked sea salt to sprinkle on top and make the caramel pop.
- Optional toppings – chopped toasted nuts, crushed toffee, or edible gold for special occasions.
Enhance your dessert spread by including our salted caramel butter bars for a deliciously complementary flavor.
Step-by-Step Instructions
Below are the tested steps I used to get consistent results. Total yield: about 30 truffles. Prep time is quick but plan a long chill — the ganache needs time to set.
- Chop the chocolate: Roughly chop 1 ⅓ cups (8 oz / 225 g) bittersweet chocolate and place it in a medium heatproof bowl. The smaller the pieces, the faster and more evenly they’ll melt. I always use a serrated knife and take my time — oversized chunks can leave you with unmelted bits.
- Heat the caramel and cream: In a small saucepan over low heat (or in short bursts in the microwave), warm ¾ cup (7½ oz / 213 g) salted caramel sauce together with ¼ cup (2 oz / 57 g) heavy cream until it’s hot but not boiling — you should see steam and little bubbles at the edge. If it boils aggressively the caramel can seize or become grainy.
- Pour and rest: Pour the hot caramel-cream mix over the chopped chocolate. Let the bowl sit untouched for 10 minutes so the heat can melt the chocolate gently. I sometimes cover the bowl with a plate to trap heat — it helps steady the temperature so the chocolate melts smoothly.
- Emulsify carefully: After 10 minutes, stir the mixture briefly until it’s smooth and glossy. Don’t overwork it — vigorous mixing can cause separation and make the ganache look oily. If the mix looks slightly grainy, a short burst in the microwave (5–8 seconds) and a gentle stir usually brings it back together.
- Chill to set: Transfer the ganache to the refrigerator and chill until firm, about 4 hours or overnight. I often make the ganache the night before so it has time to settle; it also makes rolling less sticky on busy days. The ganache should be scoopable but not rock-hard.
- Scoop and roll: Line a small baking sheet with parchment. Using a rounded teaspoon (or a small cookie scoop), scoop out the ganache and quickly roll into balls between your palms. If your hands are too warm, the ganache will melt — chill the scooped balls for 10–15 minutes if they get too soft. Place the rolled truffles back onto the baking sheet and chill until firm.
- Melt the coating chocolate: Melt 1 cup (6 oz / 170 g) bittersweet chocolate in a heatproof bowl over a pot of barely simmering water (double boiler). Make sure the bottom of the bowl doesn’t touch the water. Alternatively, microwave in short bursts, stirring between each burst until mostly melted, then let stand to finish melting.
- Coat the truffles: Place a spoonful of the melted coating chocolate in the palm of your hand and roll a chilled truffle into the chocolate until it’s coated. Immediately toss or dust with 3 tablespoons unsweetened cocoa powder (or other topping), and sprinkle a small pinch of flaked sea salt on top while the coating is still wet. Work quickly — the coating sets fast. Continue with remaining truffles, re-melting the coating chocolate if it starts to thicken.
- Set and store: Allow coated truffles to set in the refrigerator. Once set, store them in an airtight container in the fridge. Take them out 20–30 minutes before serving so the flavors open up and the texture softens slightly.
If you’re a fan of variations, be sure to check out our chocolate cream cheese truffles for a rich and creamy alternative.
Tips for Customization and Flavor Variations
I’ve played with dozens of flavor twists. Start simple and then build: subtle infusions are the easiest way to change the profile without breaking the process.
- Orange or citrus: Stir a teaspoon of finely grated orange zest into the warm caramel-cream before pouring it over the chocolate for a fresh, bright note.
- Spiked truffles: Add a tablespoon of bourbon, rum, or espresso liqueur to the warm caramel mixture for adult-only truffles. Reduce other liquids slightly if the ganache feels loose.
- Spicy-sweet: Fold a pinch of ground cinnamon or a tiny pinch of cayenne into the ganache for warmth and complexity.
- Nutty crunch: Roll finished truffles in finely chopped toasted hazelnuts or pistachios for texture contrast.
- Vegan or dairy-free: Use a high-quality vegan chocolate and a full-fat coconut cream in place of heavy cream; keep the rest of the method identical.
- Low-sugar option: Choose a lower-sugar chocolate and a caramel made with alternative sweeteners; expect slightly different texture and set times.
For a seasonal twist, try making pumpkin cheesecake truffles to impress your guests.
Storage and Serving Suggestions
Real talk about storage: these truffles live best in the refrigerator, but the texture and flavor are nicer if you let them come to room temperature before serving.
- Refrigeration: Store truffles in an airtight container layered with parchment. They’ll keep up to two weeks in the fridge; after that the texture starts to change and the caramel can get denser.
- Freezing: Freeze truffles on a baking sheet until solid, then transfer to a freezer-safe container with parchment between layers. Freeze up to 3 months. Thaw in the refrigerator overnight and bring to room temperature before serving.
- Serving temperature: Take truffles out of the fridge 20–30 minutes before serving. The ganache should be soft but not melty — this is when the flavor is most rounded.
- Presentation: Arrange truffles on a shallow dish or in paper candy cups. For parties I scatter a few whole toasted hazelnuts and a pinch of flaky sea salt on the platter to make the display pop.
- Pairings: Match them with a bold coffee, a tawny port, or a nutty Madeira. For non-alcoholic pairings, try an espresso or a robust black tea to cut the sweetness.
Why These Truffles Make Perfect Gifts
Homemade truffles read like something you put thought into: they’re hand-rolled, customizable, and feel luxurious without spending a fortune. Packaging them in small boxes or mason jars with a ribbon makes an immediate impression — and people genuinely appreciate edible gifts.
Add a personal touch by gifting homemade chocolate turtles along with your truffles for a delightful treat combination.
- Occasions: Birthdays, holidays, teacher thank-yous, date nights, or a hostess gift. They travel well if packed snugly.
- How to label: Add a small note with the date made and any allergens — especially important if you’ve used nuts or alcohol.
- Make-ahead: Ganache can be made and stored for up to 3 days before forming truffles; fully coated truffles keep up to two weeks refrigerated, making them easy to prepare early.
FAQs About Making Chocolate Truffles
Can I use dark chocolate instead of bittersweet chocolate?
Absolutely! Dark chocolate can add a richer flavor to your truffles, but keep in mind that it may result in a slightly different sweetness level.
How long do these truffles last?
When stored in an airtight container in the refrigerator, these truffles can last up to two weeks. Just remember to let them sit at room temperature for the best flavor before serving!
Can I make these truffles vegan?
Yes, you can use vegan chocolate and a dairy-free cream alternative for a delicious vegan version of the truffles!
What should I do if my truffle mixture is too soft?
If your mixture is too soft, simply chill it in the refrigerator for a bit longer until it firms up enough to scoop and roll into balls.
Are there any good toppings or flavor variations I can try?
Definitely! You can experiment with toppings like crushed nuts, sea salt, or even edible gold. Infusing the chocolate with flavors like orange zest or spices can also enhance the truffles!
Common Problems and How to Fix Them
I’ve had my share of missteps. Here’s what I learned and how you can salvage a batch:
- Ganache is grainy: Metal utensils or sugar-crystallized caramel can cause grittiness. Warm the mixture gently and whisk slowly; if that fails, pass it through a fine mesh strainer and re-chill.
- Separation or oily ganache: Overmixing or too-hot liquid will sometimes split the emulsion. Stop stirring, add a teaspoon of warm cream and whisk gently to bring it back together. If still separated, try a handheld blender on low for a few seconds.
- Truffles melt in your hands: Chill the ganache balls on a baking sheet for 10–20 minutes between scooping and coating. Keep your palms cool by briefly dipping them in cold water and drying them, or use two spoons to shape the truffles.
- Coating chocolate seizes: If a single water drop gets into melting chocolate, it can seize. Remove the bowl from heat and add a small amount of warm cream to re-emulsify, or start with fresh chocolate for coating.
Final Thoughts
There’s a real, small-satisfactions joy to making salted caramel chocolate truffles: the smell of warm caramel, the glossy ganache pouring into a bowl, and the first bite that melts the right amount of salt on your tongue. I keep a jar of finished truffles in the back of my fridge for emergencies (or guests), and they’ve become my go-to gift because they’re personal, flexible, and reliably delicious. Try the basic method once, then pick one variation to experiment with — you’ll quickly find the finishing touch that becomes your signature.
Encouraging you to give them a go: these truffles are forgiving, spectacular, and absolutely worth the few hours of chill time. When you make them, take a photo and tuck a little note in the box — homemade treats taste even better when someone knows you cared enough to make them.
Can’t wait to hear which variation becomes your favorite. Happy rolling!
Salted Caramel Chocolate Truffles
Ingredients
Method
- Roughly chop the bittersweet chocolate and place into a medium bowl. Set aside.
- In a small pot or in the microwave, heat the salted caramel sauce and cream together until hot.
- Pour the hot caramel sauce over the chocolate, and let stand for 10 minutes. Once the chocolate has melted give the truffle mix a stir to emulsify but just briefly. Over mixing can cause the mix to separate and become oily.
- When the mixture is smooth, transfer to the refrigerator and allow to chill until set, about 4 hours or overnight.
- Line a small baking sheet with parchment. Using a spoon, scoop out the truffle in rounded teaspoonfuls and roll until smooth in your hands.
- Melt the coating chocolate over in a bowl over a pot of simmering water. Roll the chilled truffle in the melted chocolate until coated.
- Straight away toss the truffle into cocoa powder and allow the cocoa to stick to the wet chocolate. Continue with the remaining truffles.
- Allow the truffles to set in the fridge. Store in an airtight container in the refrigerator until ready to gift.
- Just before eating allow them to sit at room temperature for the best flavor.