
I started making these gummies on a rainy afternoon in my kitchen when a craving for something chewy and tart hit harder than usual. I wanted a candy that didn’t wreck a low‑carb day, that still had bright raspberry notes and a punch of sour on the tongue. After a few batches and a couple of texture missteps, I landed on a method that consistently gives me glossy, bouncy little bears that store well in the fridge.
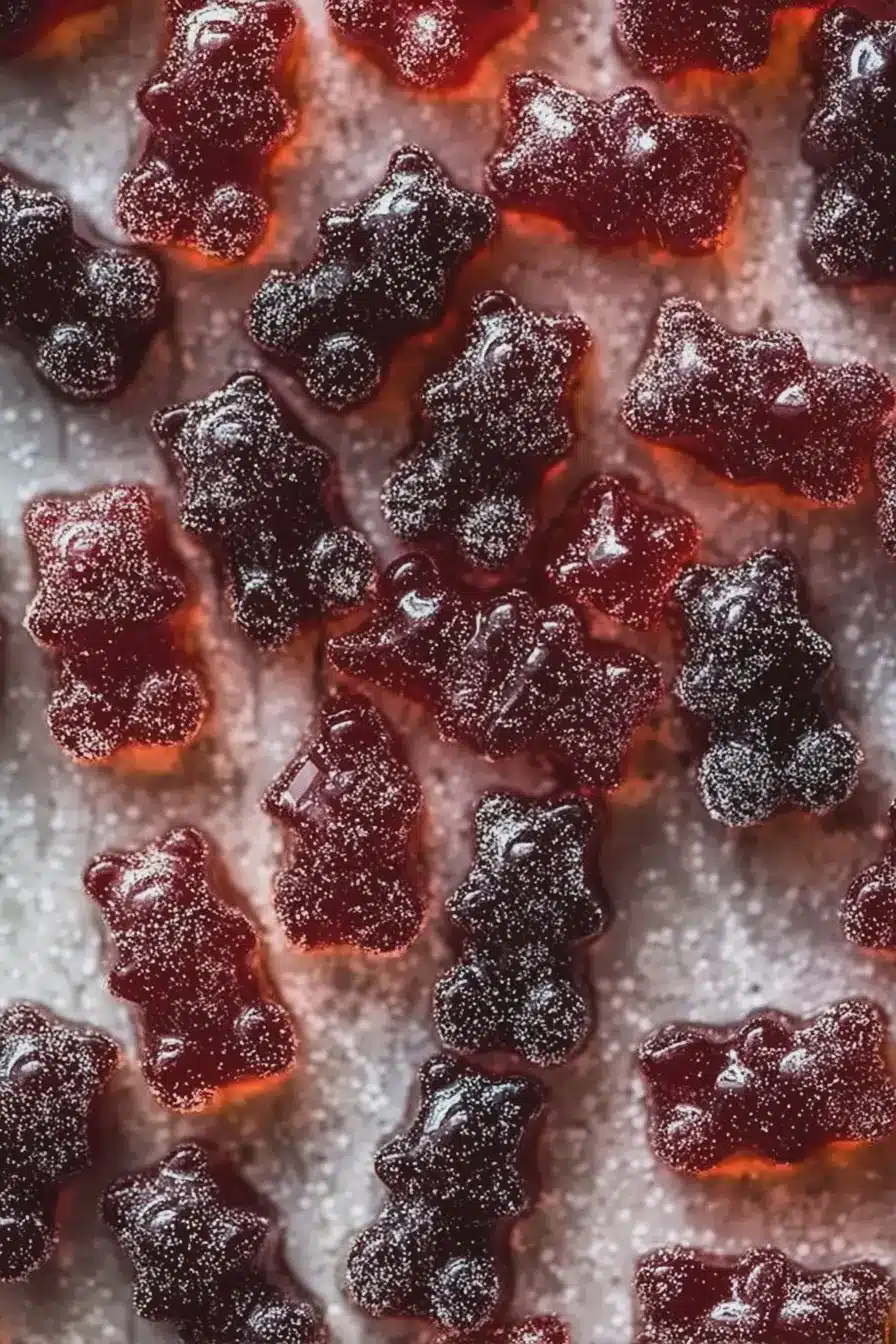
In my experiments I played with sweeteners, adjusted the sour punch, and learned how gentle heat and the right amount of gelatin make all the difference. The aroma of berry powder warming in water filled the kitchen — it’s subtle and fresh, not cloying or artificial, and the final gummy color is cheerfully translucent. That visual pop makes these treats irresistible to my kids and to adults who are watching carbs.
I value ingredients that do more than taste good. Gelatin brings chew and a host of nutritional perks; the low‑carb sweeteners keep blood sugar steady; and fruit powders give real fruit flavor without the sugar rush. I’ll walk you through why each component matters, the small technique details that saved my batches, and how to keep that bright sour coating intact when you want it.
Along the way I’ll share quick troubleshooting notes I use in my kitchen so you don’t waste a pan of wobbling gummies. These recipes are simple, adaptable, and reliably kid‑friendly when you follow the key steps.
Satisfy Sweet Cravings Without Carb Guilt: Why These Paleo & Keto Gummies Work
These gummies balance low‑carb ingredients so you can enjoy a chewy treat without undoing a keto or paleo day. Instead of cane sugar, the recipe uses low‑glycemic sweeteners that provide sweetness with minimal impact on blood sugar. Fruit powder or natural extracts deliver vivid flavor and aroma — think bright raspberry that smells fruity before you even pour the mixture into molds. The result is a colorful, satisfying snack that reads like candy but fits your health goals.
Everything You Need for Paleo & Keto Gummies
Below I list the ingredients in a conversational way so you understand each item’s role and possible swaps. I’ll also mention the simple tools you need so you’re ready before you heat a saucepan.
- * Water – The neutral base that dissolves powders and hydrates the gelatin.
- * Fruit powder (raspberry or other) – For true fruit flavor and color without the sugar; swap in lemon, strawberry, or citrus blends for variation.
- * Low‑carb sweetener (allulose, xylitol, or preferred) – Adds sweetness; some are softer on the tongue (allulose feels more like sugar) while others can be cooling (erythritol).
- * Vitamin C powder or lemon juice – Supplies the sour note that mimics sour candy and helps stabilize flavor.
- * Gelatin – The structural agent that gives gummies their chew; different gelatins vary in bloom strength so texture shifts slightly with brand.
- * Silicone molds – A flexible mold set makes unmolding effortless; gummy shapes are mostly aesthetic but fun for kids.
Tools: a small saucepan, a heatproof bowl for pouring, a small whisk or spoon, and a pipette or small measuring cup to fill molds cleanly.
Why Gelatin Is a Health Win for Joints, Skin, and Gut
Gelatin is more than the gummy backbone; it’s a source of collagen peptides that support skin elasticity and can be gentle on digestion. When you warm gelatin it melts into a silky liquid that blends with your flavor base — that silky feel is part of why the final gummy is so pleasing in the mouth. Regular, modest consumption of gelatin can be a practical way to add collagen‑building amino acids into your routine.
As a primer on the broader benefits, you can learn about the health benefits of gelatin in this short guide:
Learn about the health benefits of gelatin, a key ingredient in our paleo keto gummies.
Choosing the Best Low‑Carb Sweetener for Flavor & Texture
Picking the right sweetener is about balancing taste, texture, and your dietary needs. Allulose tastes most like sugar and keeps gummies soft and glossy; xylitol and erythritol are low‑carb but can produce a cooling sensation on the tongue and sometimes slightly grainy texture if not fully dissolved. Taste each sweetener in small amounts before committing — that way you can smell and imagine the final flavor while you’re still making adjustments.
For a deeper look at options and how they behave, check this resource on low‑carb sweeteners that pairs well with this recipe:
For optimal taste and dietary adherence, learn more about low-carb sweeteners to enhance your gummies.
The Secret to the Perfect Chewy Gummy Texture
The texture hinges on two things: gentle heat and the gelatin‑to‑liquid ratio. Overheating breaks down gelatin’s structure, so you want the mixture hot enough to dissolve everything but never boiling. The right ratio gives you chew without being rubbery — too little gelatin yields floppy gummies; too much gives you a hard chew.
- I always bloom my gelatin briefly in the liquid so it hydrates evenly before heat is applied — this prevents clumps and produces a smooth pour.
- Keep the heat on low; stir constantly until the mixture is fully smooth and slightly steaming, then remove from heat. You should not see active bubbling.
- If your gummies turn out too soft, increase the gelatin slightly next batch. If they’re too firm, reduce it a bit or add a touch more liquid.
- Troubleshooting tip: if you see graininess from certain sweeteners, warm the mixture a touch longer off‑heat while stirring to help them dissolve fully.
For more texture tips and technical notes, this short guide is helpful:
Discover tips for achieving the perfect chewy texture for your gummies to enhance their taste and feel.
How to Make Paleo & Keto Gummies (Step-by-Step)
- Combine your water, chosen fruit powder, low‑carb sweetener (start with less than you think you need), and vitamin C powder or lemon juice in a small saucepan. Stir to marry the powders into the liquid.
- Add the gelatin and stir to hydrate it into the mixture before turning the heat on low.
- Warm gently over low heat, stirring continuously until the mixture is completely smooth and you see wisps of steam. Do not let it simmer or boil — you want dissolved ingredients, not a rapid bubble.
- Remove from heat as soon as everything is dissolved. Pour the mixture into a heatproof bowl to make it easier to work with and avoid overcooking in the pan.
- Use a pipette, dropper, or small cup to fill silicone molds evenly. A little wobble in the liquid is normal; it will set as it cools.
- Let molds sit at room temperature for about 15 minutes, then chill in the fridge for 30 minutes or until fully set.
- For the sour coating: mix a small amount of vitamin C powder with a touch more fruit powder and a pinch of sweetener to taste. Toss a serving of gummies in the coating just before eating; it won’t store well on long‑kept gummies.
- Store finished gummies in an airtight container in the refrigerator; they stay best for roughly two weeks.
Pro Tip for paleo keto gummies: Preserve the Sour Coating & Texture
- I find the sour coating is most vibrant the moment you dust it on and serve. It dissolves if left on the gummy for days, so coat just before serving for the best punch.
- When filling molds, work quickly but deliberately — the mixture begins to set around the edges as it cools. Filling molds from a bowl with a steady pour gives more consistent shapes than pouring directly from the saucepan.
- Keep a small towel handy to wipe the mold rims; cleaner rims make demolding easier and prevent gummy bits from sticking together.
- If you want a firmer exterior, let the molded gummies sit a few extra minutes at room temperature before chilling; conversely, shorten room time for softer centers.
How to Store, Freeze, and Customize Your Gummies
Temperature and humidity change gummy texture. Warmth makes them softer and stickier; humidity can make them clump. For short‑term storage keep your gummies in an airtight container in the fridge to maintain a good chew and glossy surface.
If you’re interested in finding ways to store and customize your gummies, check out our detailed guide.
- Refrigeration: Store in a single layer if possible, or use parchment between layers to prevent sticking.
- Freezing: You can freeze gummies for longer storage; flash‑freeze them on a tray first, then transfer to a sealed container. Thaw in the fridge to avoid condensation making them sticky.
- Customization ideas: swap fruit powders (lemon, strawberry, blueberry), add a pinch of powdered collagen for extra protein, or fold in tiny bits of freeze‑dried fruit for texture.
Serving suggestion: serve straight from the fridge for a pleasant snap and a cool, chewy mouthfeel. If you want them softer, let them sit at room temperature for a few minutes before serving.
Frequently Asked Questions
What are paleo and keto gummies?
Paleo and keto gummies are sugar‑free, low‑carb gummy candies made using natural ingredients that fit within the paleo and ketogenic diet guidelines. They’re a guilt‑free treat that satisfies sweet cravings!
How many net carbs are in a serving of these gummies?
Each serving of 25 gummy bears contains only 1.5g net carbs, making them a great low‑carb snack option!
Can I customize the flavor of my gummies?
Absolutely! You can use different fruit powders or extract flavors to create your own tasty variations. Just adjust the recipe accordingly.
How should I store the gummies?
Keep your gummies stored in an airtight container in the fridge for about 2 weeks to maintain freshness and quality.
Can I make these gummies without gelatin?
Gelatin is a key ingredient for achieving the chewy texture of these gummies. If you’re looking for a vegetarian or vegan substitute, consider using agar powder, but the texture may vary.
Paleo & Keto Gummies
Ingredients
Method
- Add the water, raspberry powder (or flavor of choice), sweetener (starting with the lower amount), and vitamin C to a saucepan. Stir to combine and feel free to adjust the sweetness (or anything) to taste.
- Add the gelatin, stir to combine and turn on the heat to low. Continue stirring to ensure everything is well dissolved and evenly distributed, about 3 minutes. Remove from heat once the mixture is smooth and you begin to see some steam.
- Pour into a bowl right away and, using the gum drop, begin to fill up the silicon molds.
- Allow the molds to come to room temperature, about 15 minutes, and place in the fridge for 30 minutes or until set. Keep stored in an airtight container in the fridge for about 2 weeks.
- Mix all the ingredients together in a small glass or bowl, adjusting sourness with the vitamin C to taste. Mix in a serving of gummies, toss until evenly coated and enjoy right away.
- Keep in mind that the sour version doesn't store well (the sour coating dissolves) and are best enjoyed right away!