
I make baked sweet potato fries all the time when my week gets busy. They come together fast — a little peeling, a quick toss with oil and spices, and the oven does most of the work. I love that they’re a healthier swap for regular fries but still deliver a satisfying texture and warm, savory aroma in my kitchen.
I learned a few hard lessons: don’t overcrowd the pan, dry the fries well, and don’t be afraid to crank the oven a bit higher than you might for other vegetables. Those small changes are what move these from soft-roasted sticks to fries with a snap and a golden edge.
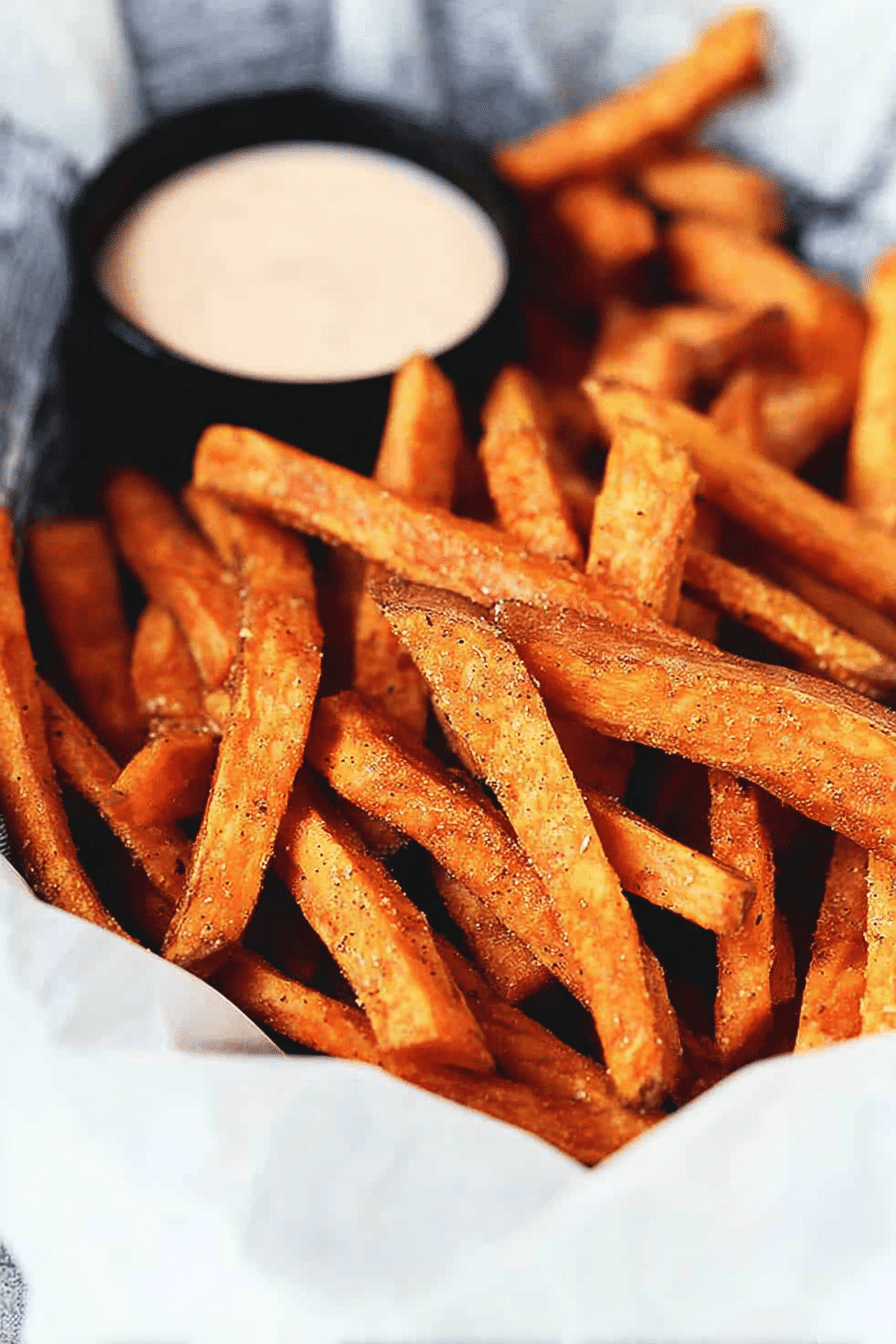
In my kitchen I usually pair these fries with whatever protein I have on hand or a quick dipping sauce from pantry staples. The orange color pops on the plate, the spices smell warm and garlicky as they bake, and the crisp edges contrast with the tender interior in a way that keeps everyone coming back for more.
I’ll walk you through what I use, why each choice matters, and the exact steps I follow so you can get the same result at home — even if your oven runs a little hot or cool.
Why These Baked Sweet Potato Fries Are Perfect for Busy Weeknights
Minimal hands-on time and straightforward steps mean these fries slot easily into weeknight routines. Prep takes about ten minutes, then the oven takes over for about twenty-five minutes while you finish the rest of dinner. Sweet potatoes bring fiber and vitamin A, making these a healthier side compared with deep-fried white-potato fries. They also pair with nearly anything you’re serving — salads, grilled proteins, or a quick sandwich — so they’re versatile when you need a fast, crowd-pleasing side.
Everything You Need for Baked Sweet Potato Fries
Below is a conversational breakdown of the essentials and why they matter. Use the substitutions if you need to accommodate dietary preferences or what’s in your pantry. Visualize the bright orange flesh and the grain of the spices dusting each stick.
- Sweet potatoes – The base; look for firm, evenly shaped tubers for consistent sticks. You can leave the skin on if you prefer more texture.
- Oil – Helps the fries crisp and carry the seasoning. Use a neutral oil or olive oil for a bit more flavor. For oil-free options, a light spray of vegetable broth can work but won’t brown the same.
- Salt & pepper – Essential for balance; season after tossing so each fry gets coated.
- Garlic powder – Adds savory depth without the moisture of fresh garlic. Substitute onion powder if desired.
- Paprika or chili powder – For smoky or spicy notes. Smoked paprika gives a barbecue-like flavor; use cinnamon if you want a sweet-spice twist.
- Baking sheet & parchment – A rimmed sheet keeps fries from sliding off. Parchment or a silicone mat prevents sticking and helps clean-up.
- Mixing bowl – For tossing fries evenly with oil and seasoning.
- Optional: wire rack – Placing fries on a rack over the sheet allows hot air under the fries for extra crispness.
The Secret to Perfect Crispiness
Crispiness comes down to removing surface moisture, using enough fat, and giving each fry exposure to hot, dry air. Picture the edges turning golden and the inside staying tender — that contrast is what you want to aim for. Preheating, spacing, and finishing time matter more than exotic ingredients.
- Dry the cut fries thoroughly with a clean towel before seasoning — less surface moisture means faster browning.
- Use enough oil to coat the fries lightly so the seasoning sticks and the exterior can brown.
- Spread the fries in a single layer with space between pieces; crowding creates steam and soft fries.
- Consider a quick dusting of cornstarch if you want an extra-crispy crust (pat the fries dry, toss lightly with cornstarch, then oil and season).
Why Oven Temp and Space Matter
Oven temperature controls the rate of browning versus steaming. Higher heat promotes Maillard reaction (browning) while too low a heat steams them. Air circulation around each fry is equally important — the hot air needs to touch all sides to make the edges crisp. If your oven is small or crowded, cook in batches rather than sacrificing texture.
Flavor Variations & Seasoning Ideas
Keep these as quick mix-and-toss options so you can switch flavors without adding time. Smell the spice blends before you bake; they should smell fresh and inviting.
- Smoky BBQ – Smoked paprika, a pinch of chili powder, and a touch of brown-sugar-like sweetness.
- Garlic & herb – Garlic powder with dried rosemary or thyme added after baking for fresh scent.
- Taco-style – Cumin, chili powder, onion powder, and a squeeze of lime post-bake.
- Sweet-spiced – Ground cinnamon and a tiny pinch of cayenne for sweet-heat contrast.
- Cheesy finish – Sprinkle finely grated hard cheese right after they come out of the oven so it melts slightly and adds savory richness.
How to Make Baked Sweet Potato Fries (Step-by-Step)
- Preheat your oven so it reaches the target high temperature before the fries go in; this jumpstarts browning.
- Peel (optional) and cut the sweet potatoes into even sticks so they cook uniformly.
- Pat the sticks dry with a towel to remove surface moisture.
- Toss the fries in a bowl with oil and the spice blend so each stick is lightly coated.
- Arrange fries in a single layer on the prepared baking sheet without overlapping; use two sheets if needed.
- Bake, flip about halfway through, and watch the edges — once they’re golden and crisp, remove them. Times vary by oven, so use color and texture as your cue.
- Serve hot so the contrast between crispy edge and tender center is at its best.
Pro Tip for Baked Sweet Potato Fries: Get Crispy Fries in Any Oven
- I often preheat the baking sheet in the oven so the fries hit a hot surface and start crisping immediately.
- If you have a convection setting, use it for more even browning and a bit shorter cook time; reduce the recommended time slightly and keep an eye on color.
- For thicker fries, increase the bake time; for thinner fries, check earlier to avoid burning.
- Rotate the pan halfway through if your oven has hot spots — I rotate mine to get even browning across the batch.
- For more tips on achieving the perfect crunch, check out our crispy oven baked sweet potato fries recipe.
Best Dips and Serving Ideas
Pairing matters: a creamy dip contrasts nicely with the sweet potato’s natural sweetness, while acidic or spicy sauces cut through the richness. Visualize a platter with orange fries and colorful sauces for dipping.
- Garlic aioli – Creamy and rich; a classic companion.
- Spicy ketchup or sriracha-mayo – Pantry-friendly and quick to make for a little heat.
- Yogurt-herb dip – Tangy and cool; great if you want a lighter option.
- Chipotle-lime crema – Smoky, spicy, and bright with citrus.
- Serve these fries alongside sandwiches or wraps for an easy meal — these fries pair beautifully with cheesy garlic chicken wraps for a satisfying plate.
- For a party or heartier side, top fries with pulled protein, quick pickles, and a drizzle of sauce — or serve with wings like buffalo chicken meatballs for a spicier combo.
- For special occasions, these go surprisingly well with richer mains — try alongside something indulgent like creamy garlic butter lobster tails.
How to Store, Reheat, and Make-Ahead Baked Sweet Potato Fries
- Cool completely before storing to avoid sogginess from trapped steam.
- Store leftovers in an airtight container in the refrigerator for up to three days.
- Reheat in a preheated oven or toaster oven on a baking sheet to restore crispiness; avoid microwaving if you want them crisp.
- Make-ahead: par-bake the fries until just tender, cool, then refrigerate; finish the crisping step when you’re ready to serve.
- To freeze: flash-cool on a sheet, then freeze in a single layer before transferring to a bag; bake from frozen, adding a few extra minutes to the cook time.
Cooking Methods Beyond Baking
You can adapt this recipe for other methods if you want a different texture or flavor profile. Each method changes the mouthfeel and aroma slightly — air frying gives extra crunch, grilling adds a smoky char, and frying gives the classic crisp.
- Air fryer – Cook at a moderate-high temperature and shake the basket halfway; check for doneness a few minutes earlier than oven times.
- Grilling – Use thicker sticks and a hot, oiled grill grate. Grill briefly to get charred edges and a smoky aroma.
- Pan-frying or deep-frying – For the crispiest result, fry in hot oil until golden, then drain well; this is the most traditional texture but also the highest in added fat.
Troubleshooting
- I find limp fries? Make sure the fries were patted dry and not crowded on the pan; I always pull the pan and give them space next time.
- If fries burn on the edges before cooking through, your pieces are too thin or the oven runs hot — I cut sticks more uniformly and lower the rack position.
- Fries are unevenly browned? Rotate the pan halfway and consider using convection or a preheated sheet for more consistent results.
- If seasoning isn’t sticking, toss fries with oil first, then add the dry spices so they cling better.
These steps and small adjustments will help you get reliably crispy, flavorful baked sweet potato fries that fit into a busy weeknight routine. Serve hot and enjoy the contrast of crunchy edges and tender centers.
Frequently Asked Questions
Can I make sweet potato fries in an air fryer?
Yes! You can definitely make sweet potato fries in an air fryer. Follow the same recipe, but cook them at 375°F for about 15-20 minutes, shaking the basket halfway through for even cooking.
What can I use instead of oil for making fries?
If you’re looking to make these fries oil-free, you can try using a light spray of vegetable broth or an oil substitute like applesauce. Keep in mind that the texture may vary slightly.
How can I store leftover baked sweet potato fries?
Store any leftover fries in an airtight container in the refrigerator for up to 3 days. For the best results, reheat them in the oven to maintain their crispiness.
Are sweet potato fries healthier than regular fries?
Yes, sweet potato fries are generally considered healthier than regular fries as they are lower in calories and higher in fiber and vitamins. Just keep an eye on the amount of oil and salt used in the recipe!
Can I freeze baked sweet potato fries?
Yes, you can freeze baked sweet potato fries! Let them cool completely, then store them in a freezer-safe bag. When ready to eat, bake them directly from frozen, adjusting the cooking time.
Baked Sweet Potato Fries
Ingredients
Method
- Preheat the oven to 415°F. Line a baking sheet with parchment paper. If using foil, lightly spray with nonstick cooking spray.0.5 teaspoon Kosher salt, 2 tablespoons oil
- In a small bowl, mix together salt, pepper, garlic powder, and paprika, if using.
- Place sweet potatoes in a single layer on the baking sheet. Toss with oil and sprinkle salt mixture evenly over the top. Bake 15 minutes. Flip and bake an additional 10 to 15 minutes, or until crisp.
- Serve fries while hot! These are best served right away. Enjoy with your favorite dipping sauce.