I make these kohakutou candies any time I want to add a little visual drama to a dessert table. The first batch I attempted looked lovely and tasted fine, but the crust never formed properly — I learned quickly that timing, patience, and the right agar agar matter more than fancy tools. After a couple of retries in my kitchen, I settled on a method that reliably gives me a glassy, crunchy exterior and a soft, jewel-like interior every time.
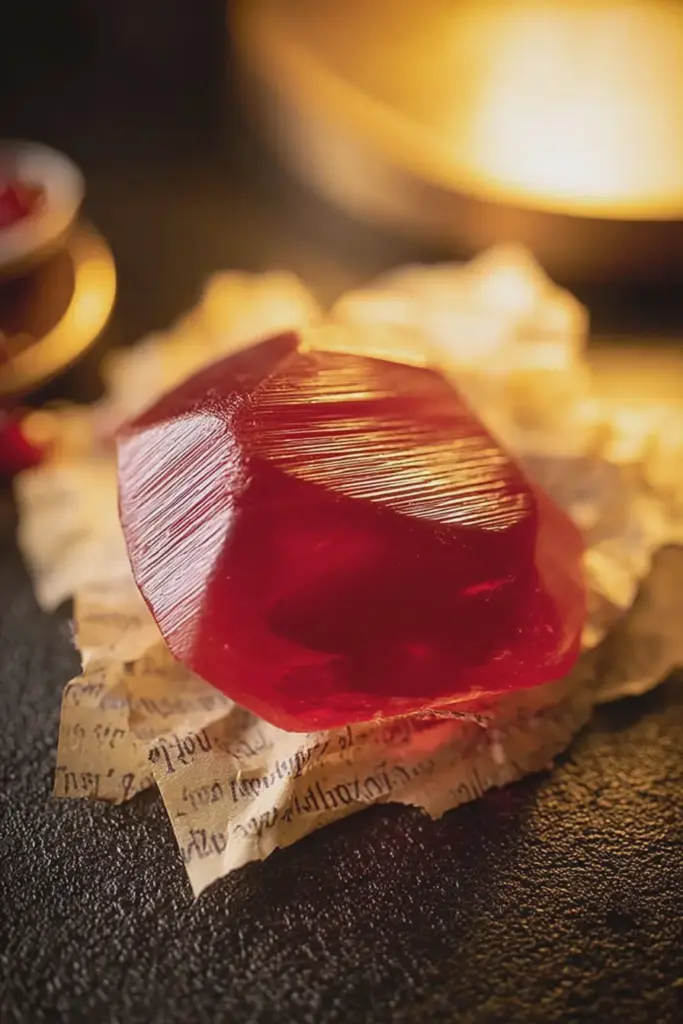
My favorite moment is when guests pick one up for the first time: they expect a hard candy and are surprised when the shell gives way to a yielding, slightly chewy center. I love setting them in a bowl that looks like a treasure trove; the color and light make the candies look like tiny gems collected from a storybook. I also sometimes pair them with other treats to build a magicked spread for parties.
Along the way I learned small, practical lessons: gently heat the agar mixture until it’s truly bubbling, don’t be afraid to let the set block sit longer than you think before cutting, and keep humidity low while the crust forms. Those small steps are the difference between an okay treat and something that makes people stop and ask how you made it.
There’s a little mythic fun baked into this recipe too: the candies mimic the look of legendary crystalline stones, so they’re perfect for a themed gathering. Read on and I’ll walk you through what I use in my kitchen, what to expect as the candy dries, and ways to customize flavors and colors for your own party table.
Why These Candy Philosopher’s Stones are Perfect for Themed Parties and Playful Gatherings
These candies bring a theatrical touch to any spread. Their glossy, faceted shapes catch light and invite touch, and because you can make them in bold, jewel-tone colors they become instant focal points on a dessert table. They fit especially well with fantasy- or wizard-themed parties, but they also work for birthdays, prom decorations, or winter displays where crystal-like shapes feel seasonal.
Think about serving: scatter a few stones in a glass cloche, arrange them in antique bowls, or present them in jars labeled with fanciful names. They’re small enough to nibble while guests mingle, and dramatic enough to spark conversation.
If you’re looking for a delightful dessert to accompany your Candy Philosopher’s Stones, consider making our Caramel Apple Eclair Cake.
Everything You Need for Candy Philosopher’s Stones
Below I list the base ingredients and the tools I reach for in my kitchen. I explain what each ingredient does and what you can swap if you need to — no exact measurements here, just the reasons behind each choice so you can feel confident before you start.
- Agar agar – The vegan gelling agent that creates the jelly interior; different brands set differently, so pick one you trust and test if needed.
- Sugar – Provides structure and sheen; granulated sugar dissolves into the agar to give that glassy finish.
- Water – The base; clarity and purity of water affect the final look, so use fresh water for the cleanest results.
- Acid (citric acid or similar) – Balances sweetness and helps flavor pop; it also sharpens the candy’s profile.
- Flavoring – Candy or concentrated flavoring gives bold, consistent taste; choose concentrated extracts for the clearest flavor without watering down texture.
- Gel food coloring – Gel colors give vivid hues without thinning the mixture; they help create that jewel-like intensity.
Essential equipment I keep nearby: a heavy-bottomed saucepan for even heating, a reliable whisk, a shallow glass pan for setting (so you get the correct thickness), and parchment-lined trays for drying. If you have a dehydrator with a low-temp setting, it’s handy for speeding the crusting process.
If you want something sweet to nosh on while you work, try our Gooey Cinnamon Cream Cheese Muffins — they’re my go-to while I wait for candy blocks to set.
The Secret to the Perfect Crystal Crust (Texture Explained)
The magic of kohakutou is the contrast: a delicate, crunchy crystal crust and a tender, jelly-like core. That crust forms as sugar at the surface slowly recrystallizes during drying. Temperature, airflow, and time all influence whether the crust becomes glassy and crisp or stays tacky and soft.
Humidity is the common enemy here — in a damp kitchen the surface will struggle to crystallize. I keep a fan moving air gently around my drying trays on humid days and, when possible, choose a dry room for long drying. The crust develops over days; patience is the technique.
For beginners: expect the texture to evolve. When the crust is young it will feel faintly gritty, then become crunchy. Inside, the center should remain jelly-like and slightly bouncy. If your pieces never form a distinct shell, double-check your drying environment and that your agar mixture reached a proper simmer during cooking.
Why Temperature & Drying Time Matter for Kohakutou
Temperature affects both the gelling action of agar and how the sugar behaves on the surface as it dries. You don’t need a thermometer to notice the difference — you can feel when the pot reaches the right point — but consistent heat during the cook and gentle, steady warmth or room-temperature drying afterward yield the best results.
- Heat during cooking: bring the agar and water to a strong simmer so the agar fully dissolves — I look for a steady bubbling rather than tiny simmering bubbles.
- Setting conditions: the set block needs time to firm up at room temperature; chilling speeds this but can compress the structure slightly, so I usually let it finish at cool room temps if I can.
- Drying temperature: low, steady warmth (around the temperature of a cool oven or a dehydrator set low) will speed crystal formation without melting the candy’s interior; room drying is slower but just as effective in a dry environment.
Keep explanations simple: hotter isn’t better once the candy is set — you only want to encourage the sugar to form crystals slowly, not melt the interior.
Best Flavors & Vegan-Friendly Swaps for Creative Stones
I love pairing unusual flavors with jewel tones: hibiscus gives a rosy tartness, bergamot brings a tea-like perfume, and spice blends like chai make warm, approachable stones. Because this recipe uses agar, it’s naturally vegan — that’s a big plus for themed parties where you want inclusive treats.
- Fruit-forward: raspberry, pomegranate, yuzu, and lemon extract create bright, tangy stones.
- Floral and herbal: lavender, rosewater, bergamot, or a light basil/lemongrass infusion add subtle aromatics.
- Spiced and cozy: chai extract, cinnamon, or a touch of ginger make deeper, autumnal candies.
- Vegan coloring and flavoring: use plant-based or alcohol-free extracts and certified vegan gel colors if labels matter to your guests.
For flavor pairing ideas, take inspiration from other treats — try the flavor profiles in recipes like our Chocolate Rice Krispie Balls when you want to match textures and tastes across your dessert table.
How to Make Candy Philosopher’s Stones (Step-by-Step)
Follow these steps in order and pay attention to texture changes as you cook and set. I find keeping everything measured and ready before I start helps prevent rushed mistakes.
- Sprinkle the agar agar into the water and whisk to disperse; bring the mixture to a strong simmer and keep whisking so no clumps form.
- When the agar is bubbling and thickening, stir in the sugar until it dissolves completely; the mixture should be clear and glossy.
- Remove from heat and whisk in your chosen flavoring, acid, and gel color until evenly distributed; work quickly so the mixture stays fluid.
- Pour the liquid into a shallow glass pan so the depth is sufficient for gem-sized pieces; let it cool until it firms to a rubbery texture before attempting to unmold.
- Loosen the set block with a knife or use your fingers carefully, then invert onto a cutting board and break or cut into the desired stone shapes; tear edges for natural crystals or trim for faceted stones.
- Place the pieces on parchment-lined trays and choose your drying method (room drying or dehydrator). Rotate pieces periodically so all sides develop a crust.
- Dry until you can hear a light crunch when you tap the surface and the interior remains slightly yielding — times vary with your method and humidity.
If you want a small baked treat while you wait for the candies to set or dry, I often make Gooey Cinnamon Cream Cheese Muffins — they keep guests happy while the candies finish.
Pro-Tips, Troubleshooting, and Variations are presented below as bulleted lists for easy scanning.
Pro Tip for candy philosophers stones: Quick Dry vs Long Dry — which to use and when
- Quick Dry (dehydrator) — Use this when you need a faster turnaround or live in a damp climate; it speeds crusting and gives predictable results. Set to a low temperature (below 100°F) and rotate pieces every 12 hours.
- Long Dry (room) — Use this if you have time and dry air; it often yields a slightly more crystalline, natural-looking crust. Expect multiple days and check for moisture regularly.
- When to choose which — pick quick dry for parties on a deadline; pick long dry when you want the most delicate, irregular crystals and have patience.
- Troubleshooting tips — If crust stays tacky, increase air flow or move to a lower, steady heat source. If interior is too firm, you may have overcooked the agar; reduce simmer time slightly next batch.
How to Store, Make-Ahead, and Serve Candy Philosopher’s Stones
These candies store best in an airtight container at room temperature. The crystal crust is fragile and will soften if exposed to moisture, so keep them away from humid areas and serve at room temperature for the best contrast between shell and center.
- Storage: an airtight container is essential; separate layers with parchment if you stack them.
- Make-ahead: you can complete the drying up to a couple of days before your event; if you must make them further in advance, keep the container sealed and check texture before serving.
- Serving: display in small bowls, on mirrored trays, or in labeled apothecary jars for theater; they look gorgeous alongside cupcakes and other small sweets.
Pair your Candy Philosopher’s Stones with our Delicious Strawberry Cheesecake Cupcakes for a colorful dessert table.
Pro-Tips (quick reference):
- Use the clearest water you can for the best-looking gems.
- Gel color yields brighter, truer hues than liquid dye.
- Work with a cool, dry kitchen for easier crust formation.
- Label flavors clearly if you’re serving mixed colors — guests love tasting different varieties.
Troubleshooting (from my kitchen):
- If your agar mixture never thickens, make sure you brought it to a full simmer long enough for the agar to dissolve — I sometimes leave it bubbling gently for a few minutes more than I think I need.
- If the surface gets sticky instead of crusty, your drying environment is too humid; use a fan or a dehydrator on low.
- If the center is rock-hard, you overcooked the agar or used too much — reduce cook time or test a smaller batch next time.
- If colors streak, stir in color off heat and pour quickly to avoid separation.
Variations to try:
- Layer different colors for striped gems — pour one layer, let it set to tacky, then add another color.
- Add a light dusting of edible shimmer after drying for a more magical look.
- Infuse the water with herbs or tea before adding agar for delicate, natural flavors.
Frequently Asked Questions
What flavoring can I use for my Candy Philosopher’s Stones?
You can use any candy flavoring you like! The recipe calls for pomegranate flavoring, but feel free to experiment with flavors like raspberry, lemon, or even vanilla for a unique twist.
Can I make Candy Philosopher’s Stones vegan?
Yes, this recipe is already vegan-friendly! It uses agar agar instead of gelatin, making it a great option for those following a plant-based diet.
How do I achieve the perfect crystal crust on my candies?
The key to a perfect crystal crust is the drying method. You can choose to dry them at room temperature for 7-10 days or use a dehydrator set to 95°F for about 72 hours. Both methods will help develop that lovely crust!
Why is my kohakutou not crystallizing?
If your kohakutou isn’t crystallizing, it could be due to using the wrong brand of agar agar or not simmering the mixture long enough. Always ensure the pieces are dried uncovered at room temperature in a dry environment.
How should I store leftover Candy Philosopher’s Stones?
Store any leftover candies in an airtight container at room temperature for up to 2 weeks. Keep an eye on the texture—once they lose their crispy crust and jelly interior, it’s best to enjoy them fresh!

Candy Philosopher's Stones
Ingredients
Method
- Fill a pot with the water and sprinkle the agar agar over the top. Whisk together and turn on the heat to medium-high. Whisk continuously until the agar agar is bubbling and thickening, then stir in the sugar. Continue to stir until the sugar is completely dissolved.
- Turn off the heat and whisk in the red food coloring, citric acid, and candy flavoring.
- Pour the liquid into a shallow glass pan so that the liquid is at least 1-2 inches deep. Let the liquid set at room temperature for 2-3 hours or in the fridge for 1 hour or until fully hardened.
- Use your fingers or a butter knife to loosen the solidified block from the container. Flip the container onto a cutting board or plate. For a more natural look, tear the block into pieces; for a cut-stone look, use a knife.
- For a long dry, leave the candies uncovered at room temperature for 7-10 days. For a quick dry, use a dehydrator at 95°F for 72 hours.
- Serve the candies at room temperature. Store in an airtight container for up to 2 weeks.