
I grew up watching nightmarket stalls pile up trays of glossy, jewel-toned jellies and thinking how playful they looked on a hot evening. Years later, I still make fruit jelly when I want a simple, cooling dessert that looks like I spent much more time on it than I actually did. In my kitchen this is the kind of recipe I pull out when friends stop by or when the kids beg for something sweet after school.
I like using agar-agar because it gives a clean, firm jiggle that holds fruit beautifully and keeps the recipe vegetarian-friendly. The pantry ingredients are minimal, the technique is forgiving, and you can customize it with whatever fruit is in season. I’ve learned a few small tricks—especially about heating the agar—that make the difference between a floppy wobbler and a perfectly set, bouncy jelly.
Making fruit jelly is also social: set out molds and bowls of chopped fruit and let everyone pick their combos. The bright colors, the cold, slightly springy texture, and the little pop of fresh fruit in each bite make this a hit for gatherings, picnics, and easy weeknight desserts. If you like, finish with a drizzle of honey or a spoonful of whipped cream for contrast.
Below I walk you through everything I do in my kitchen so your jellies come out vibrant, firm, and full of fresh fruit flavor.
Why Choose Fruit Jelly for Quick & Fun Desserts?
Fruit jelly is ideal when you want something fast, family-friendly, and visually appealing. It uses a handful of pantry staples and cooks in minutes, with the fridge doing the rest of the work. Because it’s so simple, it’s a great project with kids or a nice make-ahead option for parties.
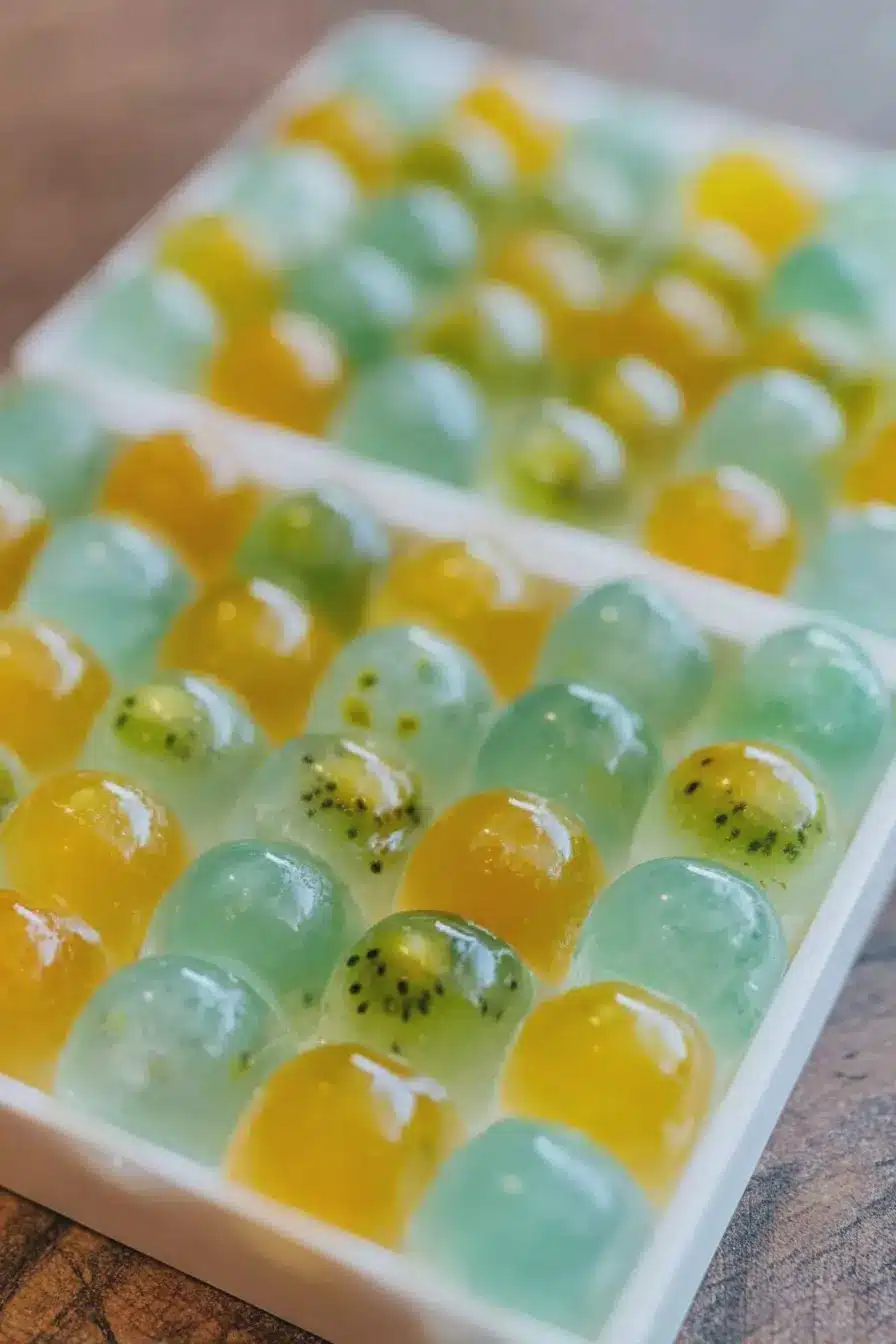
Sensory note: look for bright, saturated fruit colors and expect a cooling, springy texture when you bite into the jelly. The contrast between silky gel and fresh fruit is what keeps people going back for another spoonful.
- Minimal ingredients and short active prep—mostly chopping and a brief simmer.
- Versatile for presentations: molds, cups, or layered glasses work equally well.
- Make-ahead friendly—prepare it hours or a day before your event.
Gather Your Fruit Jelly Essentials!
Here’s what I always have ready on the counter. I describe why each item matters and offer simple swaps so you don’t need specialty gear.
- Any fresh fruit – Provides flavor, texture, and color; choose firm pieces so they hold shape in the gel.
- Water or light juice – The base liquid that carries the flavor; use juice for extra sweetness and color.
- Acid (lemon or lime) – Brightens flavors and balances sweetness; a little lift makes fruit pop.
- Sweetener (honey or sugar) – Adjusts sweetness to taste; natural sweeteners add a different mouthfeel.
- Agar-agar powder – The gelling agent and vegetarian alternative to gelatin; I recommend a reliable brand on the packet for consistent results.
- Molds or a container – Anything from silicone molds to a glass dish works; individual cups are great for serving.
- Basic tools – A small saucepan, whisk, ladle, and measuring spoons; if you don’t have a whisk, a fork will do in a pinch.
If you want brand guidance for agar-agar, choose one with a fine powder (not flakes) for faster, more even dissolving. For equipment, silicone molds release jellies easily, but a simple glass dish is perfectly fine and more common in most kitchens.
Achieving the Perfect Jiggly Texture with Agar-Agar
Agar-agar sets differently than gelatin: it needs to dissolve in hot liquid and be kept simmering for a short time to fully activate. When handled correctly, it yields a firm, slightly springy texture that’s clean on the palate.
Sensory focus: you want a bouncy, firm-yet-tender feel—think of a gentle spring when you press the surface, and a cool, smooth bite.
Key science points and common pitfalls:
- Agar must fully dissolve into the hot liquid—undissolved bits = gritty texture.
- Too little heating produces runny jelly; too much concentration or excess agar yields an overly firm, almost rubbery result.
- Acidic fruit juices can reduce gelling strength slightly; it’s fine with most everyday fruits, but balance with the base liquid if you’re heavy on citrus.
Flavorful Fruit Combinations for Your Jelly Adventures!
Play with colors and contrasts—sweet versus tart, soft versus firm. Seasonal fruit gives the best flavor, and small garnishes like mint or citrus zest lift the whole cup visually and aromatically.
- Summer berries + a touch of citrus zest for brightness.
- Mango + passionfruit for a tropical, lush profile.
- Apple or pear slices + warm spices for an autumn twist.
- Kiwi + strawberry for playful color contrast.
Suggestion: pair your fruit jelly with our delightful homemade strawberry truffles for an extra sweet treat that balances the lightness of the jelly with a rich bite.
Step-by-Step Guide to Making Delicious Fruit Jelly
- Prepare your fruit: chop into bite-sized pieces and place them into your molds or serving containers so they stay put when you pour the gel.
- Mix base liquid: combine water or light juice with your chosen sweetener and a splash of lemon or lime in a saucepan so flavors are even and balanced.
- Heat gently: warm the liquid until it’s steaming and just below a full boil—this brings out the aromatics from the citrus without breaking delicate juices.
- Add and dissolve agar-agar: sprinkle the agar powder into the hot liquid while whisking constantly so it dissolves evenly; continue to heat so the mixture reaches a steady simmer.
- Simmer properly: keep the mixture at a hard simmer for the recommended short time to activate the agar (see tips below), whisking to prevent settling.
- Assemble: remove from heat, let the surface calm for a moment, then carefully ladle or pour the gel over the fruit in your molds.
- Chill: transfer to the fridge and let the jelly set until firm and cold—this typically takes about an hour or two depending on portion size.
- Serve: unmold if desired, or serve directly in cups. Add a drizzle of honey, a spoonful of whipped cream, or a mint sprig for garnish.
Safety note: the gel and the saucepan are hot—use oven mitts and pour slowly to avoid splashes.
Essential Tips for a Perfectly Firm Fruit Jelly
- I always whisk the agar into hot liquid and then keep it simmering briefly; this step is non-negotiable for a firm set.
- Simmer the agar for the short recommended time to ensure full dissolution—this is what prevents a runny set later.
- Use firm fruit pieces so they don’t release too much juice into the gel as it sets, which can soften the surrounding jelly.
- Cool the mixture slightly before pouring to reduce air bubbles and avoid fruit floating to the top.
- Chill uncovered for the first stage, then cover once the surface skins over to prevent condensation drip.
Troubleshooting
- Runny jelly? Reheat the mixture, add a small additional amount of dissolved agar, simmer briefly, and pour back into molds.
- Too firm or rubbery? You likely used too much agar; for next time reduce the agar slightly and increase liquid for a softer set.
- Grainy texture? That means the agar didn’t fully dissolve—warm and whisk it until smooth before pouring.
- Fruit sinks or clumps? Cut fruit smaller and partially press it into the mold, or allow a thin, cooled layer of gel to set first and then arrange fruit and top with remaining gel.
Creative Variations on Fruit Jelly: Explore Layers and Flavors!
- Layered jellies: pour a thin layer of gel, chill until just set, then add another flavored layer—this creates neat, colorful stripes.
- Use brewed tea or floral waters (like rose or jasmine) as part of the base liquid for delicate aromatics.
- Try exotic fruits like lychee, dragonfruit, or guava for unexpected textures and colors.
- Swap refined sugar for maple syrup, agave, or a light honey for different flavor notes and sweetness levels.
For a creative dessert spread, try layering your fruit jelly with our blueberry cheesecake cupcakes to make a visually stunning and varied dessert table.
Storing and Serving Your Delicious Fruit Jelly
Store jellies covered in the fridge for up to a couple of days to maintain their texture and freshness. Keep them away from strong-smelling foods so the delicate fruit aroma stays pure. If you’re preparing ahead, they travel well chilled in a cooler for short periods.
- Cover once chilled to avoid condensation and preserve appearance.
- Make-ahead tip: unmold and store in airtight containers layered with parchment for parties.
- Serving ideas: present in clear cups, layered parfaits, or unmolded on a plate with a garnish of fresh herbs or cream.
If you’re preparing ahead, consider serving your jelly with a slice of pecan pie lasagna for a decadent dessert combination that contrasts cool, light jelly with rich, spiced layers.
Nutritional Value and Health Benefits of Fruit Jellies
Fruit jelly showcases the vitamins, fiber, and antioxidants of fresh fruit while keeping calories relatively low compared with heavier desserts. Using agar-agar keeps the recipe vegetarian and low in fat. Choosing natural sweeteners and fresh juice reduces refined sugar compared with many commercial jellies.
Sensory angle: you’ll notice the clean fruit flavor comes forward more in a lighter gel—this lets the fruit’s natural sweetness and acidity shine through without being masked by heavy creams or syrups.
Dietary Swaps and Vegan Alternatives
- Honey substitute: use maple syrup or agave to keep the recipe vegan-friendly.
- Lower-sugar option: use unsweetened juice and a low-calorie sweetener to reduce carbs while preserving fruit flavor.
- Alternative gelling agents: agar-agar is my go-to for vegetarian jellies; for different textures you could experiment with konjac or pectin, understanding each sets differently.
- For keto-friendly versions, focus on low-sugar fruits like berries and use a keto-friendly sweetener to keep carbs down.
Pairing suggestion: enhance your fruit jelly experience by serving it with chocolate chip cheesecake bars to satisfy a variety of tastes at your gathering.
Frequently Asked Questions
Can I use any type of fruit in the Fruit Jelly recipe? Absolutely! You can use any fruit of your choice, just make sure to chop them into bite-size pieces for easy enjoyment.
Is agar-agar a good substitute for gelatin? Yes! Agar-agar is a fantastic vegetarian alternative to gelatin and helps achieve that perfect jiggly texture in your jelly.
How long does it take for the jelly to set? The jelly typically needs about 1-2 hours in the fridge to set properly, so you’ll want to plan for that time!
Can I make Fruit Jelly in advance? Definitely! You can prepare Fruit Jelly a day ahead, just store it in the fridge until you’re ready to serve.
What are some creative variations I can try with this recipe? You can layer different flavored jellies, incorporate exotic fruits, or use natural sweeteners for a unique twist on your Fruit Jelly!
Fruit Jelly
Ingredients
Method
- Add the chopped fruit to the mold/container.
- In a pot, mix water, lemon juice, honey, and agar powder, and heat until simmering.
- Pour the mixture into the container, let it rest in the fridge for around 1-2 hours.
- Enjoy with honey or on its own!