
When my kids first asked for the neon candy in the grocery aisle, I felt that familiar tug between nostalgia and what I want on our pantry shelf. So I started making gummies at home — simple ingredients, bright flavor, and none of the artificial dyes I try to avoid. There’s something warm about stirring apple juice on a quiet afternoon and thinking of the small pleasures that become family memories.
I like recipes that are honest and forgiving. In my kitchen I lean on good-quality apple juice, a little lemon for brightness, and a whisper of spirulina when I want that apple-green color. The process is short enough that the kids can help and long enough to enjoy the scent of warm apple and citrus that fills the house.
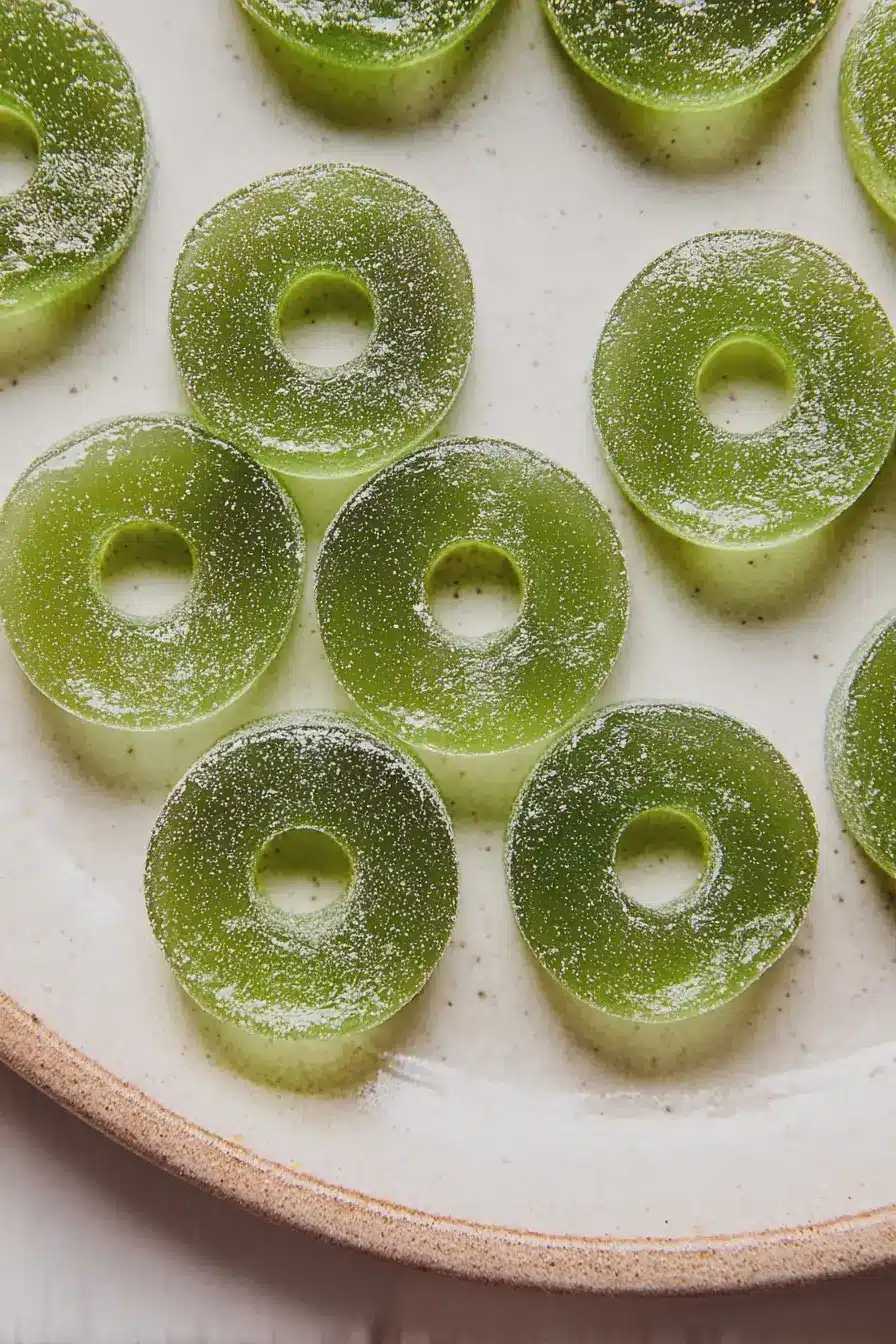
These sour apple ring gummies are a recipe I return to when I want a healthier take on candy—tart, chewy, and playful without the label full of unpronounceable words. They take minutes to make and a few hours to set, but every gummy tastes like a small, homemade celebration.
Why These Sour Apple Ring Gummies Are Perfect for Health-Conscious Families
Homemade gummies give you control: you choose the juice, the sweetener, and whether anything artificial goes into the jar. For families watching additives or sugar, these let you keep the fun of candy while using real-food ingredients. The aroma of fresh apple warmed with a touch of lemon brings back afternoons of simple treats, and making them together is a tradition in the making.
Because they’re easy and wholesome, I often use them for small celebrations or as a special lunchbox surprise. These Kids’ Dirt Dessert with Gummy Worms can be a fun way to incorporate gummy sweets into family traditions while keeping the ingredients cleaner than store-bought options.
Everything You Need for Sour Apple Ring Gummies
Choose the best ingredients you can find—the difference is noticeable in both flavor and aroma. Organic apple juice makes a clearer, brighter gummy; fresh lemon keeps the tart edge. If you want the green color, spirulina gives you that sour-apple shade without dyes. For a balanced snack plate, these pair nicely with other wholesome desserts.
Consider pairing these gummies with our Healthy Banana Pudding for a well-rounded treat.
- Apple juice – The flavor base; choose a clear, high-quality juice for the cleanest flavor.
- Lemon juice – Adds tartness and brightness; balances sweetness and helps preserve freshness.
- Honey or other liquid sweetener – Optional for added sweetness; swap with maple or agave if you prefer a vegan option.
- Spirulina powder – Natural green color; a small pinch goes a long way and also brings a nutritional boost.
- Gelatin – Gives chew and structure; quality matters here for the right texture.
- Granulated sweetener (for coating) – Adds a sour-sweet finish when you toss the set gummies in it.
- Tools – Flexible silicone molds or a shallow pan, a small saucepan, and a dropper or small spoon for filling molds.
How to Make Sour Apple Ring Gummies (Step-by-Step)
- Pour your apple juice and lemon juice into a small saucepan and stir to combine. If you’re using a liquid sweetener and spirulina, stir those in now so they’re evenly distributed.
- Sprinkle the gelatin evenly over the surface of the juice and let it sit to bloom. You’ll notice it absorb liquid and thicken slightly.
- Heat the mixture gently over low heat, stirring often. Warm just until the gelatin fully dissolves—do not boil; too much heat can change the texture.
- Once fully liquid, remove from heat and taste. Adjust tartness or sweetness if needed, remembering it will firm slightly as it cools.
- Use a dropper or small spoon to fill silicone ring molds carefully, or pour the mixture into a shallow pan for later cutting.
- Transfer molds to the fridge and chill until fully set, about 4 hours for the best texture.
- Pop gummies from molds; toss gently in the granulated sweetener mixture for that classic sour coating. Store in the fridge.
The Secret to the Perfect Chewy Texture
The chew comes down to gelatin quality and control of temperature and time. High-quality gelatin yields a clean, elastic bite instead of a gummy or rubbery one. Setting time matters: too short and the centers stay soft; too long and they can become overly firm. Imagine biting through a glossy, springy ring that gives with a pleasant chew—that’s the texture you’re aiming for.
Troubleshooting
- Gummies too soft? I usually double-check that I sprinkled the gelatin evenly and let it bloom fully before heating; sometimes a little extra bloom time fixes it.
- Gummies rubbery or too firm? I found that overheating the mixture leads to a tighter set—keep the heat low and dissolve gently.
- Color too pale? Add spirulina in tiny pinches; it intensifies quickly, so go slow.
- Mixture grainy or sugary after coating? Make sure gummies are fully set and dry before tossing in granulated sweetener to avoid clumping.
Why Blooming Gelatin Matters (and How to Do It Right)
Blooming lets gelatin hydrate so it can dissolve smoothly and set with the right texture. When you sprinkle gelatin over cold liquid, it swells and becomes gel-like—this visual change shows it’s ready to dissolve. Skipping or rushing this step often creates lumps or a weak set.
- Evenly sprinkle the gelatin over the surface so it hydrates uniformly.
- Let it sit undisturbed until it plumps and thickens—this usually takes a few minutes.
- Gently warm the bloomed gelatin until it fully dissolves; avoid boiling or rapid simmering.
- If the gelatin looks stringy after heating, remove from heat and whisk gently until smooth.
Choosing Natural Color: How Spirulina Gives That Sour Apple Look
Spirulina provides a vibrant green without artificial dyes and brings a subtle nutritional lift. A little goes a long way: start with the smallest pinch and increase until you reach the color you like. Choosing a natural green is also an emotional choice—using whole-food colorants feels kinder to both the body and the conscience when feeding little ones.
If you don’t have spirulina, the gummies still taste great without it; they’ll be paler but still tart and chewy.
Pro Tip for sour apple ring gummies: Keep the Tart Without Artificial Dyes
- Use a balance of apple and lemon juice for bright tartness—lemon sharpens the apple without adding artificial sour flavors.
- Adjust sweetness gradually; you can always add a touch more after tasting when warm.
- Add a tiny pinch of food-grade citric acid if you want a candy-like sour spark, but test sparingly—it’s potent.
- For natural pectin, a small amount of apple concentrate or a brush of reduced apple jam can enhance body and mouthfeel without artificial additives.
- Coat with a mix of granulated sweetener and a touch of citric acid for that classic sour-sugar finish while keeping ingredients simple.
How to Store, Make-Ahead, and Pack These Gummies
Store gummies in an airtight container in the fridge to keep them chewy and fresh. Layer them with parchment paper if you’re stacking, and keep them cold until you serve. These are great to make ahead for parties or school lunches.
For serving or packing, I like to portion them into small reusable containers so they don’t stick together. If you’re planning a party platter, pair them with savory bites to balance sweetness—try our Creamy Shrimp and Crab Spinach Dip for an unexpected combination that lets guests nibble across flavors.
- Refrigerate in an airtight container; they keep about a week chilled.
- Freeze for longer storage, but expect slight texture changes—thaw in the fridge.
- Pack in small containers for lunches to avoid crushing and sticking.
Dietary Swaps and Variations
- Vegan option: Use agar-agar instead of gelatin, but note the texture will be slightly different and setting proportions and technique must be adjusted.
- Lower-sugar: Choose a lower-sugar apple juice and rely on lemon for brightness; taste and adjust sweetness to your preference.
- Flavor variations: Swap some apple juice for pear or white grape juice for a different sweet-tart profile, or add a touch of ginger for warmth.
- Color alternatives: Use a tiny amount of matcha for a muted green or spinach juice for a very natural tint if you prefer not to use spirulina.
- For more treat ideas and easy swaps, try our Marshmallow Chocolate Poke Cake, which can easily be made gluten-free and adapted for party menus.
I hope these sour apple ring gummies become a small, regular pleasure in your home the way they have in mine—simple, bright, and made with ingredients you can be proud of.
Frequently Asked Questions
Are these sour apple ring gummies safe for kids?
Absolutely! These gummies are made with natural ingredients and no artificial dyes, making them a healthier option for children.
Can I substitute the honey in the recipe?
Yes! If you’re looking for a vegan option, you can use agave syrup or maple syrup instead of honey.
What if I don’t have spirulina powder?
If you don’t have spirulina, you can simply omit it. The gummies will still taste great, though they won’t have the green color.
How should I store these gummies?
Store your gummies in an airtight container in the fridge to maintain their chewy texture. They should last for about a week.
Can I make these gummies gluten-free?
Yes, this recipe is naturally gluten-free! Just make sure the gelatin you use is certified gluten-free.
Sour Apple Ring Gummies
Ingredients
Method
- Pour the apple juice, lemon juice, honey, and spirulina powder into a pot and stir well to combine.
- Sprinkle the gelatin over the juice mixture and allow to bloom for 5 minutes. The mixture should thicken.
- Transfer the pot to the stove and heat over low heat for 3-4 minutes or until fully liquid.
- Use a dropper to carefully transfer the liquid into the mold. Alternatively, you can use a large glass container.
- Transfer to the fridge for 4 hours or until fully set.
- Carefully remove from the mold. Add the sweetener to a bowl and carefully toss the gummies. Store in the fridge!